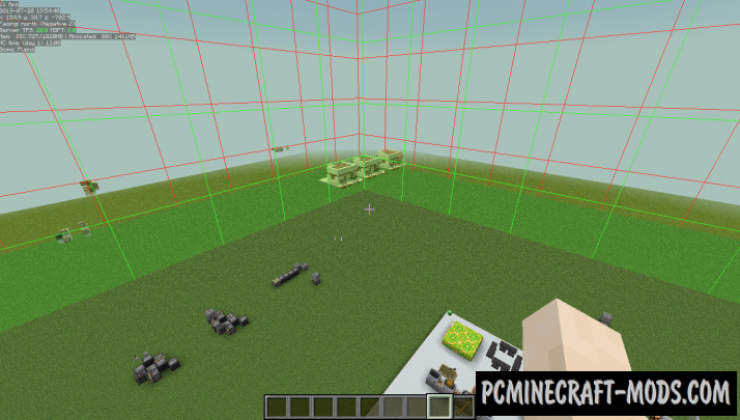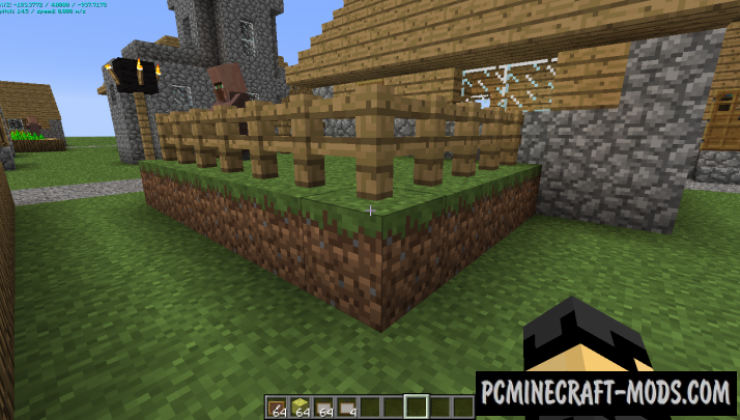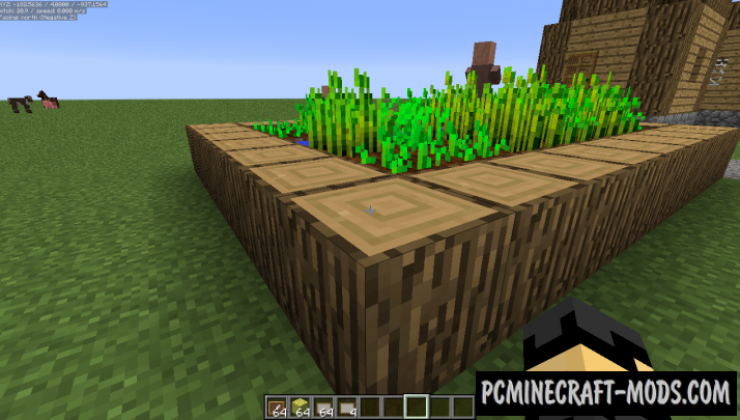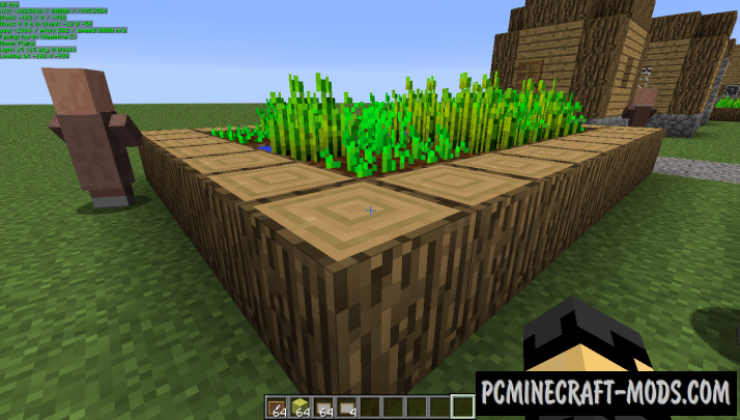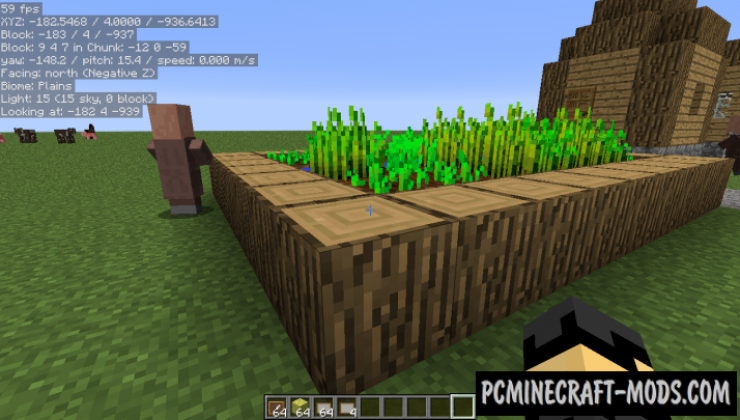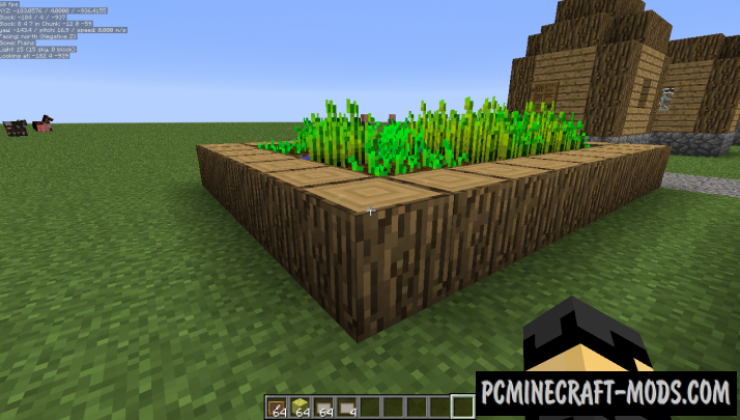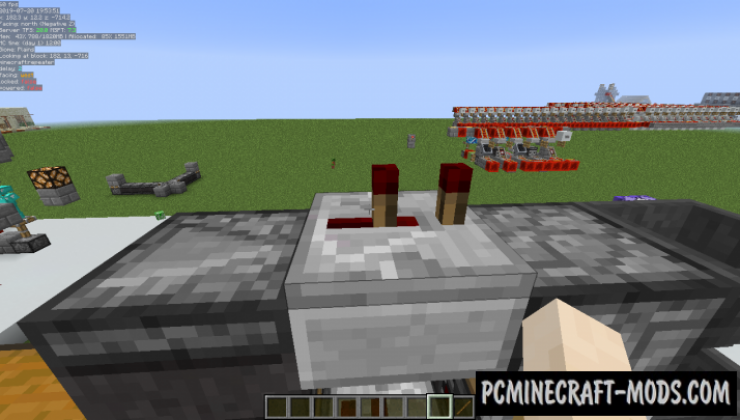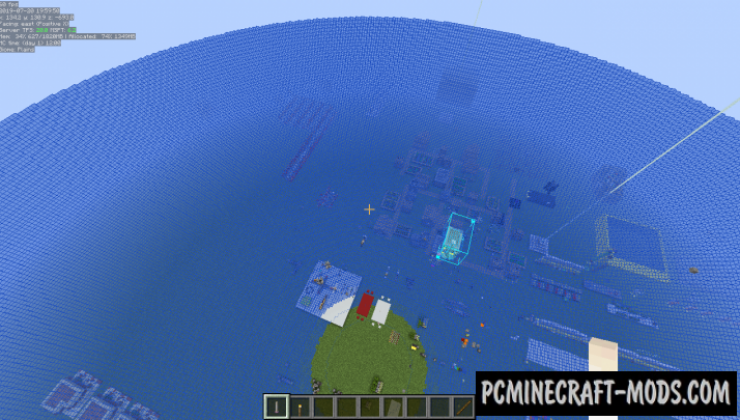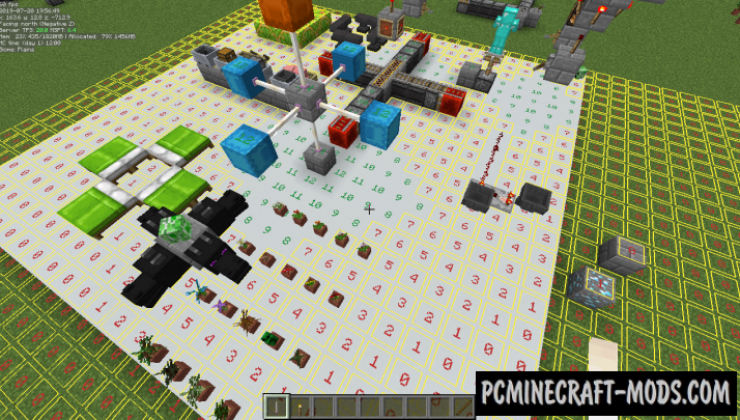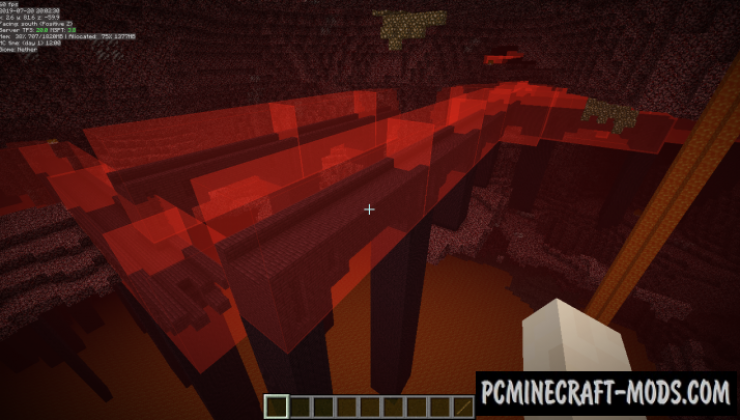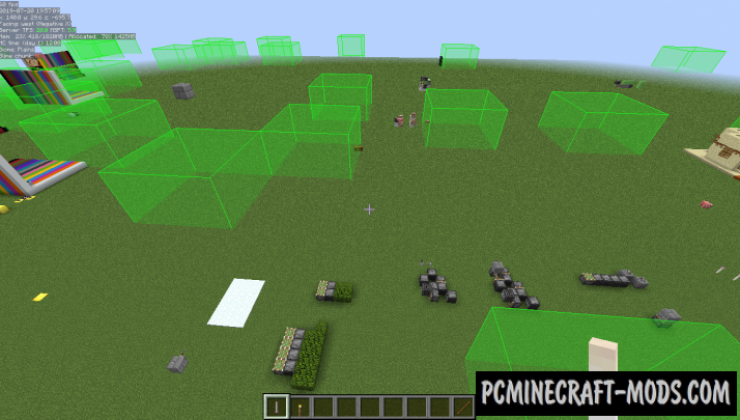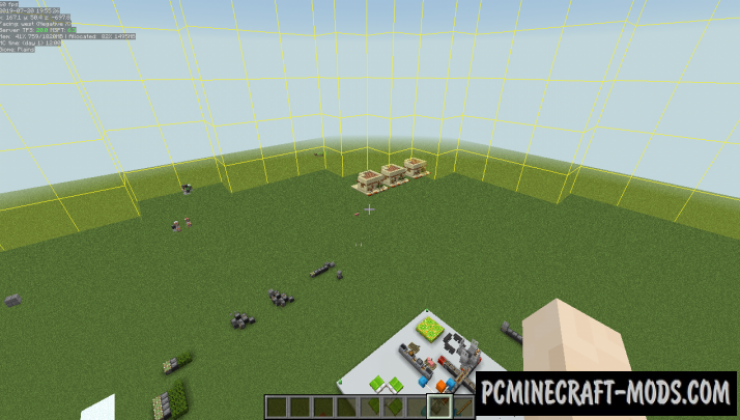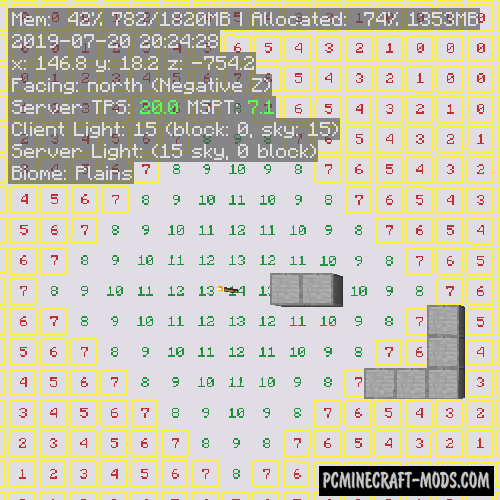
Here MiniHUD 1.20.4-1.12.2 is a modification that consists of a cool set of interfaces that display the most useful information for map developers! You will be able to see the light level in numbers, clear boundaries of structures, the sphere of spawn mobs, as well as the display of chunks where slimes can be spawned.
This way you can fix all possible bugs and vanilla mechanics so that it does not affect the gameplay inside your project. Additionally, this is a highly optimized option that does not interact with other addons, so you can be sure that you will be able to use all the necessary tools.
Features
This is a client side modification that allows you to display additional hidden information on your screen. To activate this, use the F3 key. Now the player will be able to see the basic information:
- Alignment (screen angle).
- Background and text color.
- Font size.
You can also set up additional functions that display the following data:
- Frames that restrict the structure.
- Coordinates and numbering of chunks blocks.
- Light level overlay with markers.
- Region file boundaries.
- Random range of ticks.
- Block Grid.
- The range of fragments of the mob generation algorithm.
- Height map.
It also has hotkeys to enable/disable vanilla debugging visualizers for blocks, collision fields, elevation maps, object pathfinding, etc.
How To Use It?
- The hotkey of the in-game configuration menu by default is H + C
- On/off key, default is H
- You can provide the initial value of the world for the MiniHUD (used only for the information line and the overlay of slime fragments) in a multiplayer game, or by running the vanilla /seed command.
Commands
The following information is currently available:
- Real time.
- World time in ticks.
- World time formatted to days, hours, minutes.
- Player’s current block position.
- Player’s current position in chunk.
- Player’s coordinates.
- Player’s current dimension ID.
- Player’s yaw rotation.
- Player’s pitch rotation.
- Player’s current moving speed.
- Player’s facing.
- The Chunk the player is currently in.
- The region file the player is currently in.
- Looked-at-entity’s name and health.
- Looked-at-entity’s registry name.
- The block the player is looking at.
- Block’s registry name and the BlockState properties of the looked-at-block (like on the F3 screen).
- Current light level.
- Current biome.
- Current biome’s registry name.
- Current FPS.
- Entity count.
- C value (rendered chunk sections) from F3.
- P value (number of particles) from F3.
- Current local difficulty number (from F3).
- Is the current chunk a slime chunk. Note: in multiplayer you need to manually run the /seed command!.
Screenshots
How to install MiniHUD
- For fabric version: install Fabric Core, Fabric API and Malilib (Contained inside the archive)
- For Forge version: install Forge API
- Make sure that you have the “Java” application installed.
- Download the “Zip” archive from our website.
- Inside this is a “Jar” mod. It can also contain old and new builds.
- Select the latest version of the “Jar” file that matches the game version.
- Please note that some releases may contain bugs, incompatibilities with other modifications, and in some cases may cause conflicts within Forge or Fabric. You can try installing the previous build to fix this.
- Move the “Jar” file to the “Mods” folder.
- This folder is located at the following path:
Mac OS X:
/Users/Your Profile Name/Library/Application Support/minecraft/
Quick way to get there: Click on the desktop and then press the combination of “Command+Shift+G” keys at the same time.
Type ~/Library and press the “Enter” key.
Open the Application Support folder and then MinecraftWindows 11, 10, 8, 7:
C:\Users\Your Profile Name\AppData\Roaming\.minecraft\
Quick way to get there: Press the “Windows” key and the “R” key at the same time.
Type %appdata% and press “Enter” key or click OK. - The “Mods” folder is created automatically when you install Forge or Fabric, but you can always create it manually.
- Open the launcher and select the desired modloader.
- Launch the game and enjoy the new gameplay.
- Ready!
Created by: masady


 (10 votes, average: 3.70 out of 5)