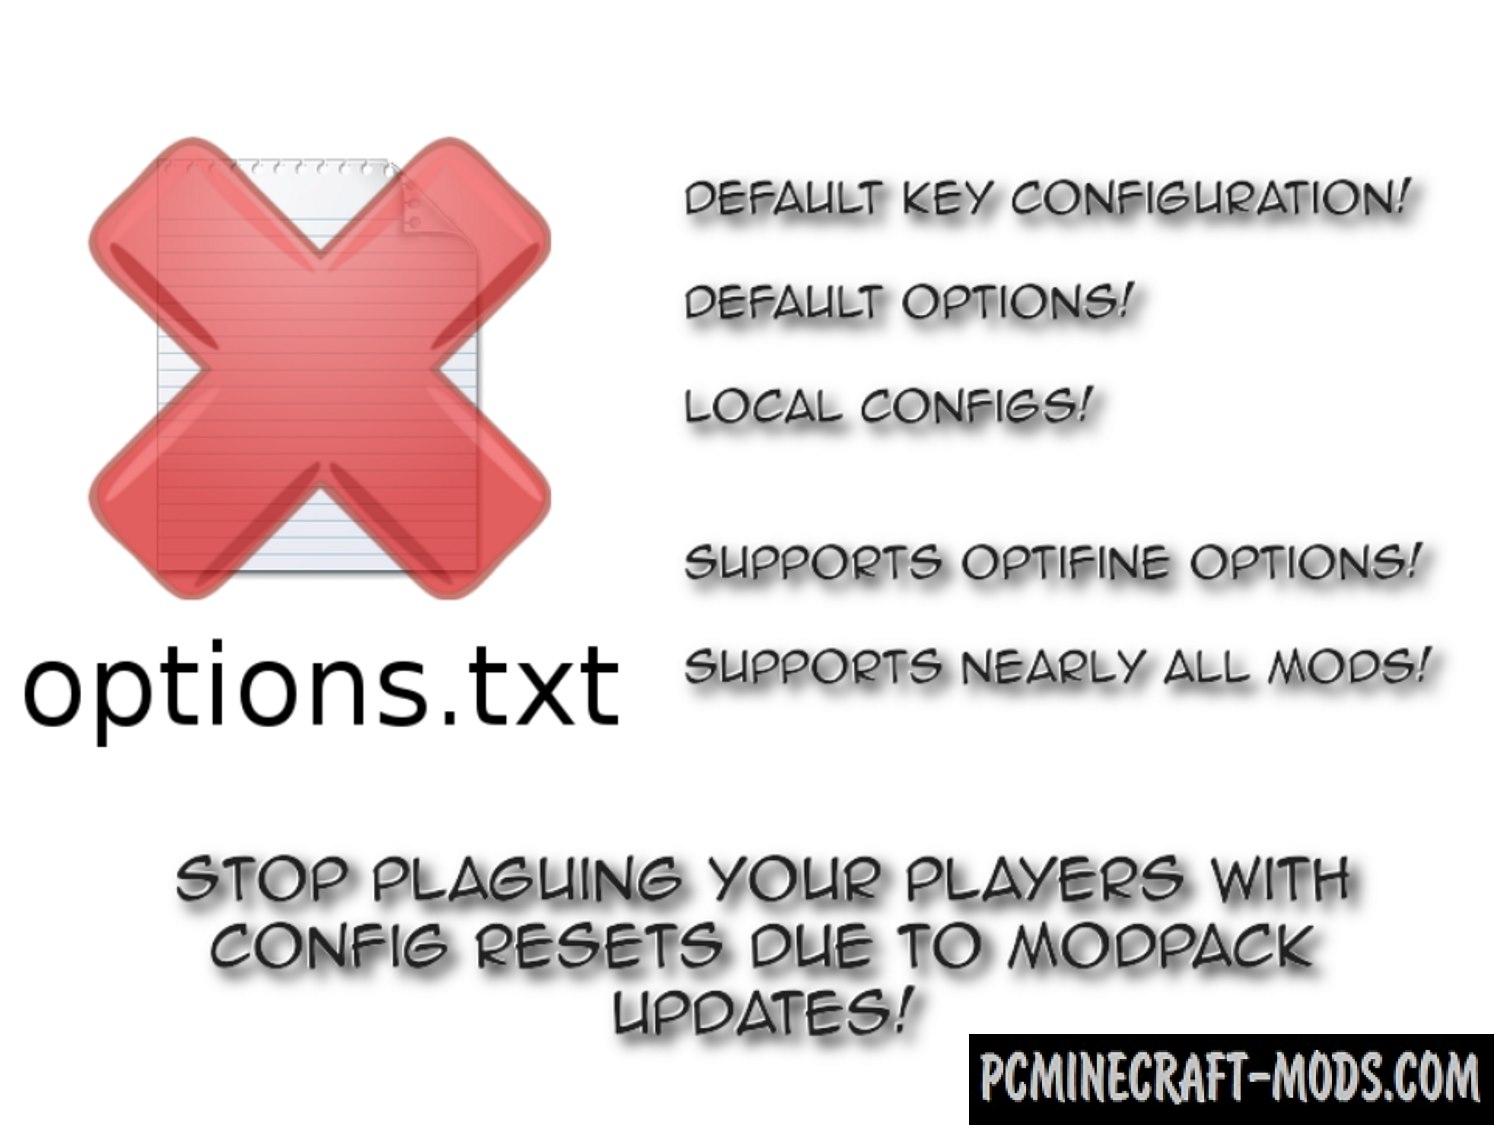
Default Options/Settings 1.20.4-1.19.3 is a very useful mod that was created to help the developers of mod packs. Now you will have the opportunity to distribute default settings and key bindings without overriding user changes every time the modpack is updated.
Now instead of sending options.txt you will directly send the “defaultoptions” folder to your modpack, which contains the default values previously saved using the /defaultoptions command.
Features
- At the first launch, players will start with the settings you have configured, and future changes will not be undone when updating.
- The key bindings configured by the modpack will be set by default, which means that changes made by users will persist even when updating.
- The list of servers will be pre-populated with the list of servers provided by the modpack (and user changes will be saved in updates, as before)
How to use it?
- Configure the parameters, key bindings and server list the way you would like them to be sent in the mod pack.
- Join any world and run “/defaultoptions saveAll” to save the current settings in the defaultoptions folder (located in the configuration folder where it should remain).
- Do not turn on options.txt and servers.dat from the root directory in your mod pack.
- New installations (meaning the absence of existing ones options.txt ) will now start with your default settings.
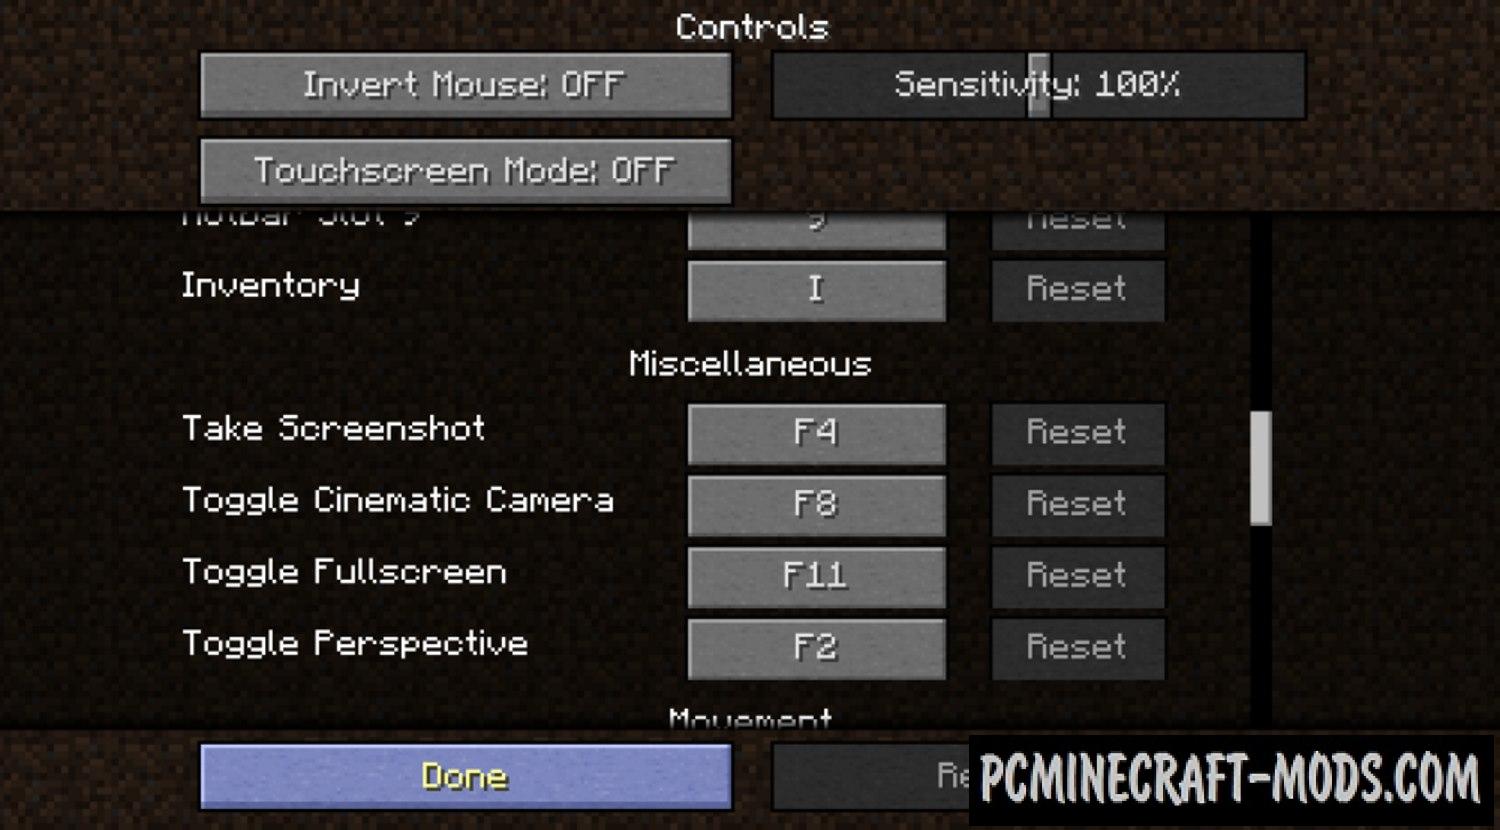
Screenshots
How to install Default Options
- Download and install Forge with Balm API (Contained inside the archive) or Fabric with Balm API (Contained inside the archive)
- Make sure that you have the “Java” application installed.
- Download the “Zip” archive from our website.
- Inside this is a “Jar” mod. It can also contain old and new builds.
- Select the latest version of the “Jar” file that matches the game version.
- Please note that some releases may contain bugs, incompatibilities with other modifications, and in some cases may cause conflicts within Forge or Fabric. You can try installing the previous build to fix this.
- Move the “Jar” file to the “Mods” folder.
- This folder is located at the following path:
Mac OS X:
/Users/Your Profile Name/Library/Application Support/minecraft/
Quick way to get there: Click on the desktop and then press the combination of “Command+Shift+G” keys at the same time.
Type ~/Library and press the “Enter” key.
Open the Application Support folder and then MinecraftWindows 11, 10, 8, 7:
C:\Users\Your Profile Name\AppData\Roaming\.minecraft\
Quick way to get there: Press the “Windows” key and the “R” key at the same time.
Type %appdata% and press “Enter” key or click OK. - The “Mods” folder is created automatically when you install Forge or Fabric, but you can always create it manually.
- Open the launcher and select the desired modloader.
- Launch the game and enjoy the new gameplay.
- Ready!
Credits
Created by: Jaredlll08