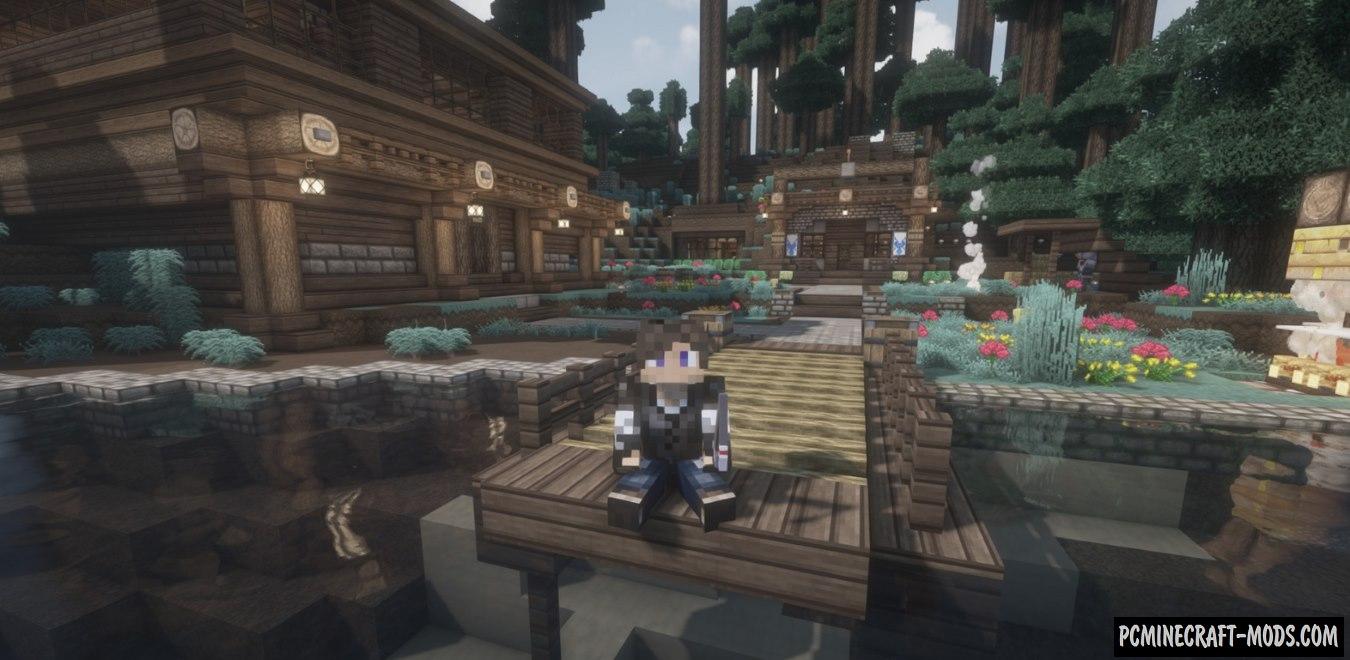
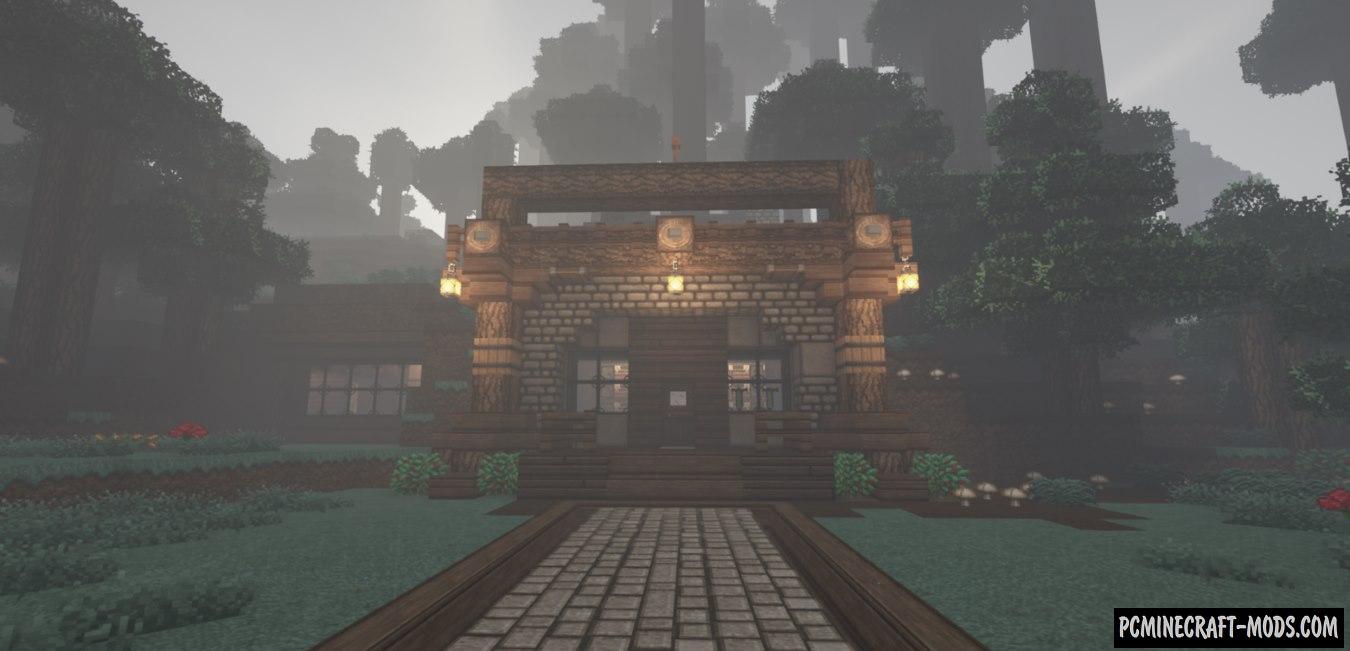
OzoCraft Remix 1.20.1-1.19.4 is a slightly dark 32×32 size option that will bring the spirit of the Middle Ages! Most of the textures were made in unusual colors, and also in some biomes and places has a dark and mysterious style. As a result, we get this amazing visualization of the Middle Ages.
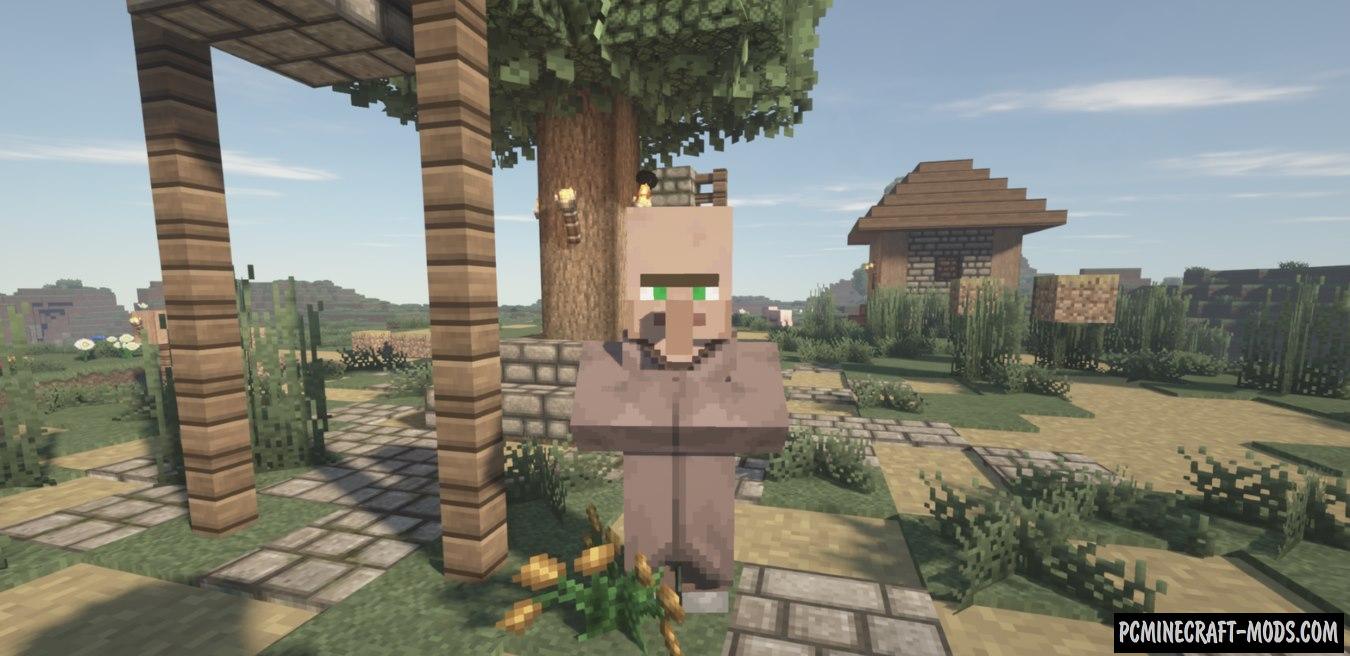
These textures are best suited for RPG or medieval maps, where there is architecture of castles, fortresses and other types of buildings, for example, maps with custom or vanilla villages. Since OzoCraft textures are very popular in the PC version, so this resource pack was released for minecraft Pocket edition but the paid version.
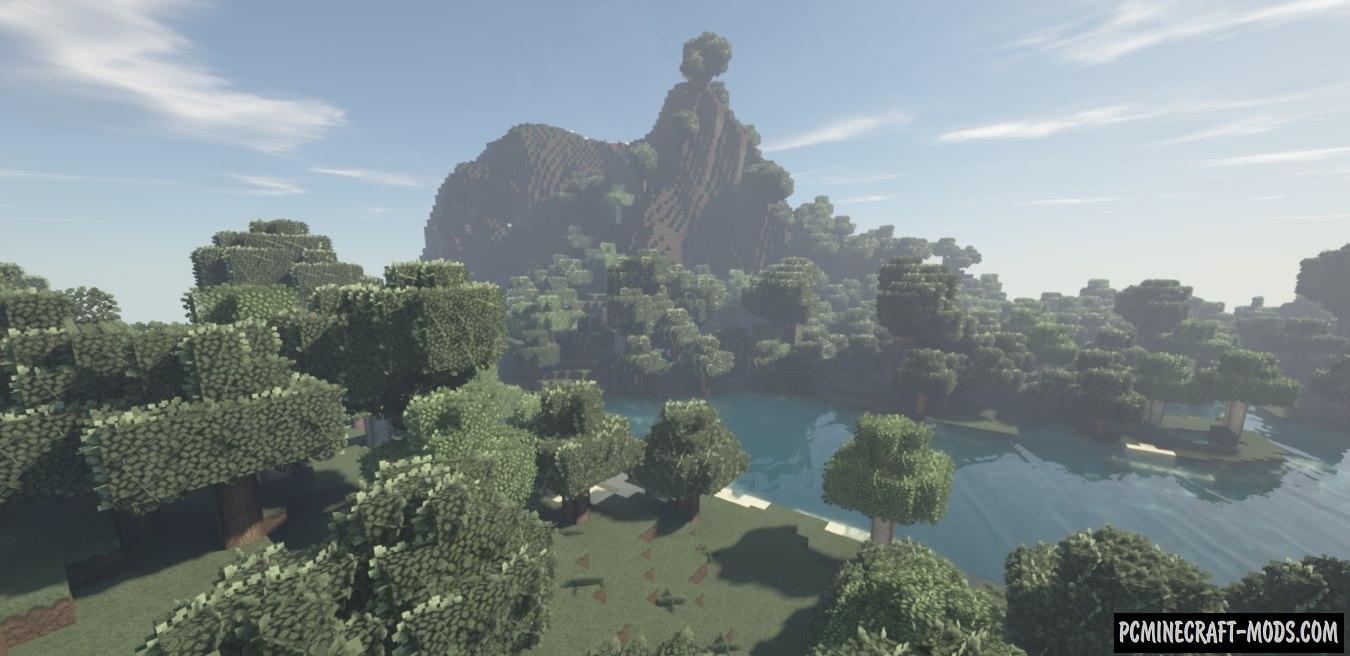
After the developer’s creations were checked out in Mojang and approved in the marketplace, he no longer updated this pack. But after many years, fans still managed to draw options that are very similar to the original ones. Now we can explore all new biomes and generate terrains while having our favorite texture pack.
As it turned out, Ozocraft perfectly combines with BSL shaders that smooth and slightly illuminate the dark tone of textures, as a result of which you can look for adventures in the game world for much longer than with default ones. It also has many improvements for both vegetation and GUI, HUD, as well as armor and weapon sets. To some extent, we can say that this pack expands the vanilla gameplay features and brings a lot of beautiful details to each of the things that makes the player find more fun impressions.
Screenshots
How to install OzoCraft 32x
- Install Optifine HD
- Download the texture pack from the section below.
- Sometimes the authors create different resolutions, Bedrock (Minecraft PE) or Java versions, so choose the option that you like or that you think your graphics card can handle.
- Please note that some releases may contain bugs, incompatibilities with shaders and other graphics addons, and in some cases may cause conflicts within Optifine HD. You can try installing a previous build to fix this.
- Move the “Zip” file to the “Resourcepacks” folder.
- This folder is located at the following path:
Mac OS X:
/Users/Your Profile Name/Library/Application Support/minecraft/
Quick way to get there: Click on the desktop and then press the combination of “Command+Shift+G” keys at the same time.
Type ~/Library and press the “Enter” key.
Open the Application Support folder and then MinecraftWindows 11, 10, 8, 7:
C:\Users\Your Profile Name\AppData\Roaming\.minecraft\
Quick way to get there: Press the “Windows” key and the “R” key at the same time.
Type %appdata% and press “Enter” key or click OK. - Next, use step 14 to complete the installation.
- Launch the game client via the launcher.
- In the main menu of the game, click “Options” button.
- In the “Options” menu, select the “Resource Packs” button.
- Click on the “Open Resource Pack folder” button.
- Move the downloaded zip file to an open folder.
- Click the “Done” button.
- Your pack should have appeared in the left “Available” list, just hover over it and click on the arrow pointing to the right.
- This will move the pack to the right “Selected” list that displays the used packs or shaders and other addons.
- Select the desired resolution, desired addons and click the “Done” button again.
- Now it’s loaded and ready to use in the game world!
Manual installation:
Quick installation:
Credits
Created by: Aeonix_Aeon, Dawn_TM, OZO