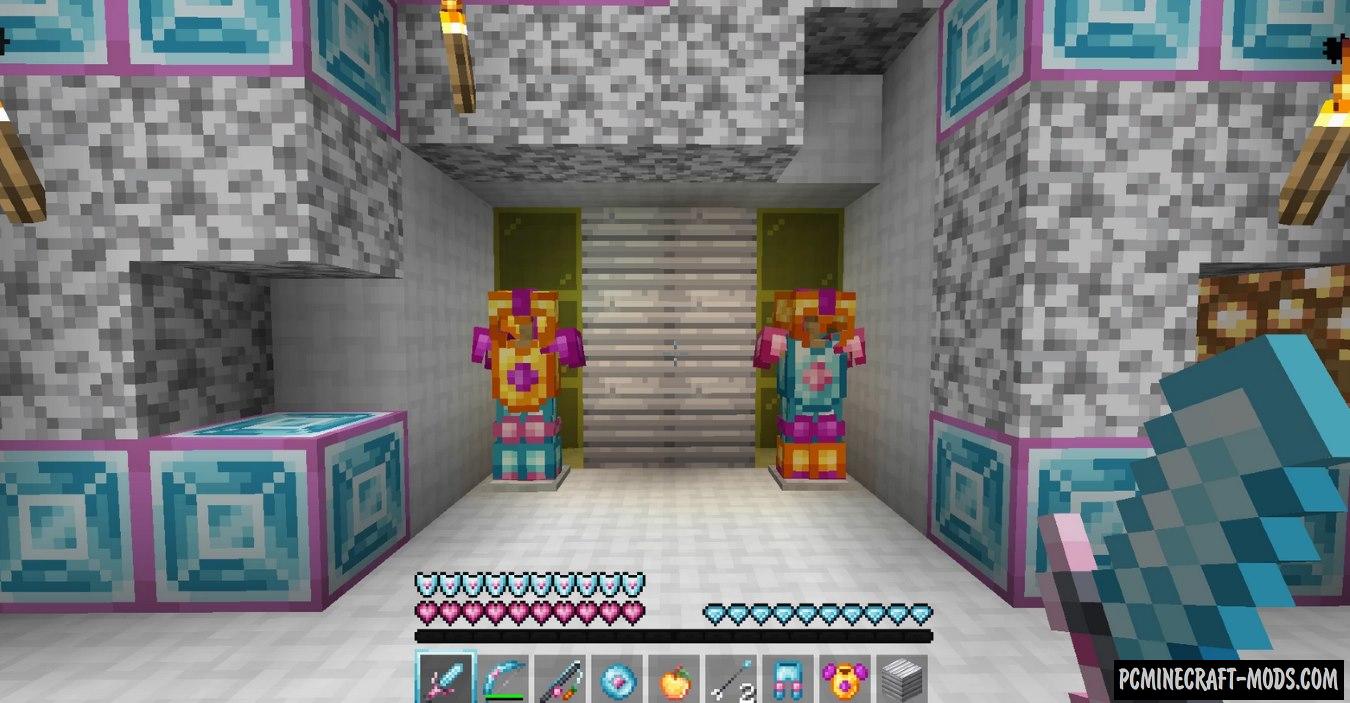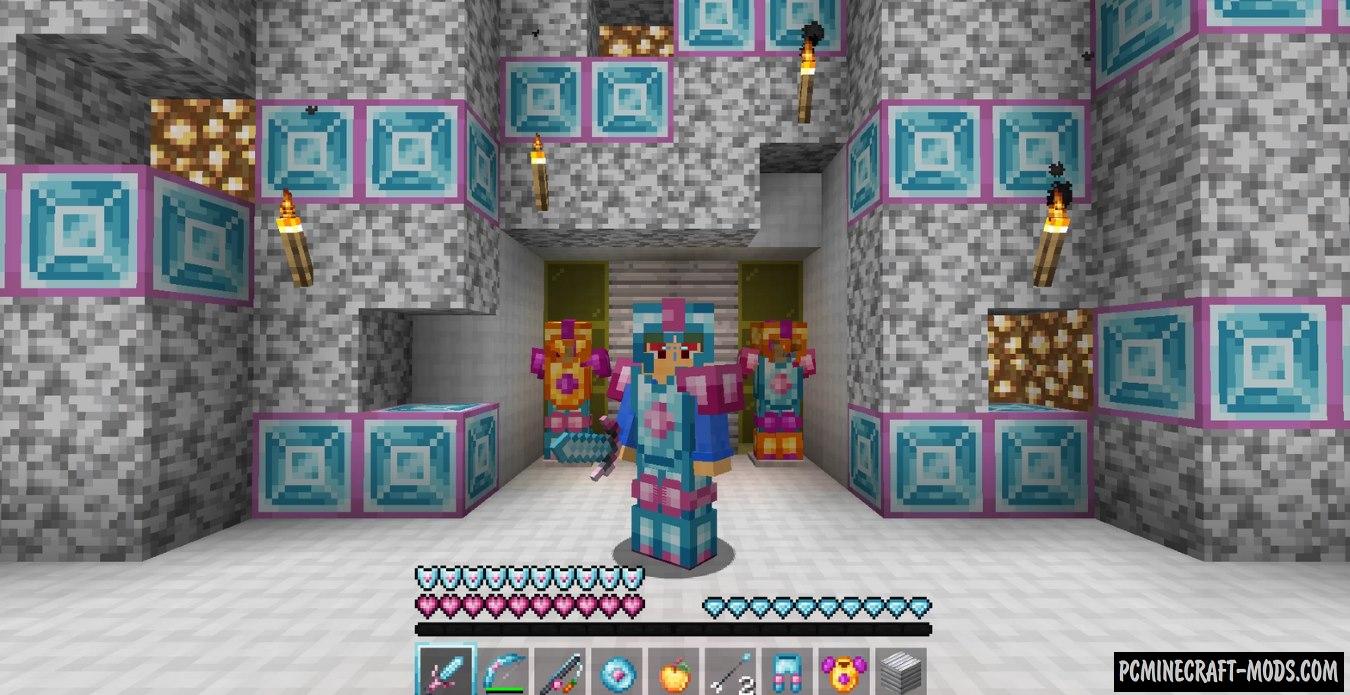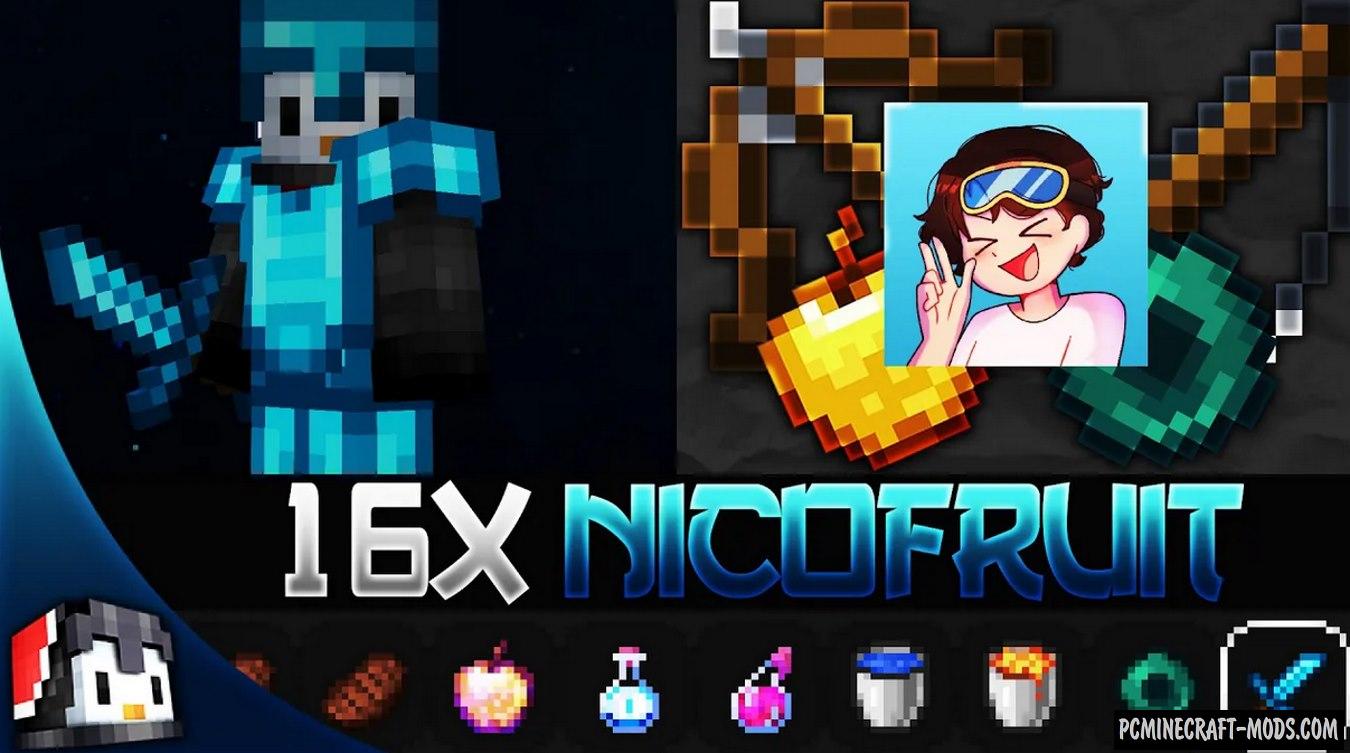
MrBeast 16x 1.20.4-1.8.9 is a very optimized and FPS-enhanced resource pack that was developed specifically for Mr.Beast. It uses the most advanced texture cheating features that allow you to get more advantages among other players in the PvP arena, in particular BedWars mini-games.
As you know, Mr.Beast is very rich, so he hired several developers to craft a texture pack that will have all the advantages that are known today. As a result, we got a very light (About only 1 MB in size) pack. All its elements have png resolution, which allows you to draw the environment much faster than 3D/JSON options. It turned out to achieve this effect by using mcpatcher functions that are built into the standard Java functionality of vanilla Minecraft. This means that players will not need Optifine HD. As a result, you will get a much larger increase in FPS than before.
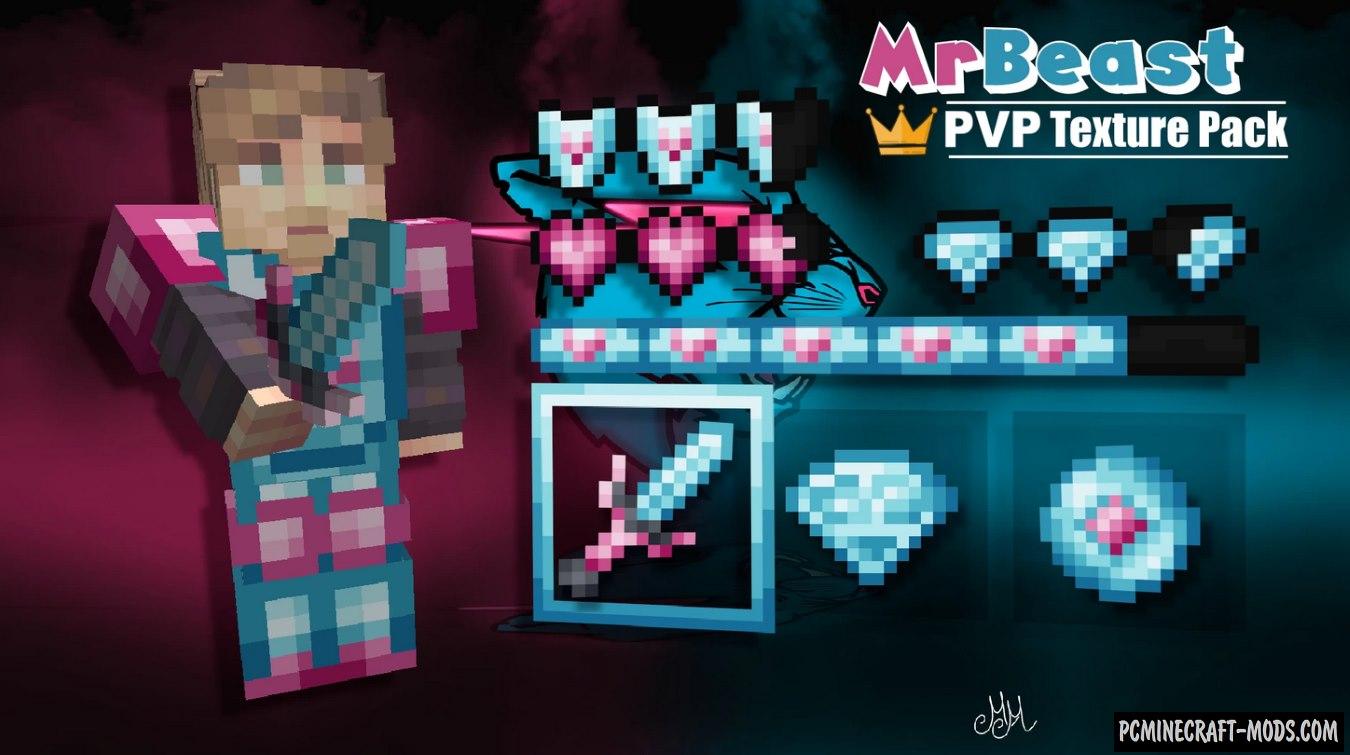
At the expense of stylistics, the resources have a light blue and a little pink color, which is standard for Mr.Beast fonts, which he uses in his logo for videos for YouTube screensavers.
Additionally, there are many improvements in this pack for vanilla armor options, weapons, items and blocks. This makes the gameplay a little more diverse than before.
For example, you will notice that the diamond armor has some pink inserts that enhance its appearance very nicely. The same improvements are applied to the pickaxe, sword, axe and even the golden apple.
So now you can become a real fan of Mr.Beast and protect his image in various PvP arenas.
Screenshots
How to install MrBeast 16x
- Install Optifine HD (Not necessary but desirable)
- Download the texture pack from the section below.
- Sometimes the authors create different resolutions, Bedrock (Minecraft PE) or Java versions, so choose the option that you like or that you think your graphics card can handle.
- Please note that some releases may contain bugs, incompatibilities with shaders and other graphics addons, and in some cases may cause conflicts within Optifine HD. You can try installing a previous build to fix this.
- Move the “Zip” file to the “Resourcepacks” folder.
- This folder is located at the following path:
Mac OS X:
/Users/Your Profile Name/Library/Application Support/minecraft/
Quick way to get there: Click on the desktop and then press the combination of “Command+Shift+G” keys at the same time.
Type ~/Library and press the “Enter” key.
Open the Application Support folder and then MinecraftWindows 11, 10, 8, 7:
C:\Users\Your Profile Name\AppData\Roaming\.minecraft\
Quick way to get there: Press the “Windows” key and the “R” key at the same time.
Type %appdata% and press “Enter” key or click OK. - Next, use step 14 to complete the installation.
- Launch the game client via the launcher.
- In the main menu of the game, click “Options” button.
- In the “Options” menu, select the “Resource Packs” button.
- Click on the “Open Resource Pack folder” button.
- Move the downloaded zip file to an open folder.
- Click the “Done” button.
- Your pack should have appeared in the left “Available” list, just hover over it and click on the arrow pointing to the right.
- This will move the pack to the right “Selected” list that displays the used packs or shaders and other addons.
- Select the desired resolution, desired addons and click the “Done” button again.
- Now it’s loaded and ready to use in the game world!
Manual installation:
Quick installation:


 (5 votes, average: 3.80 out of 5)