
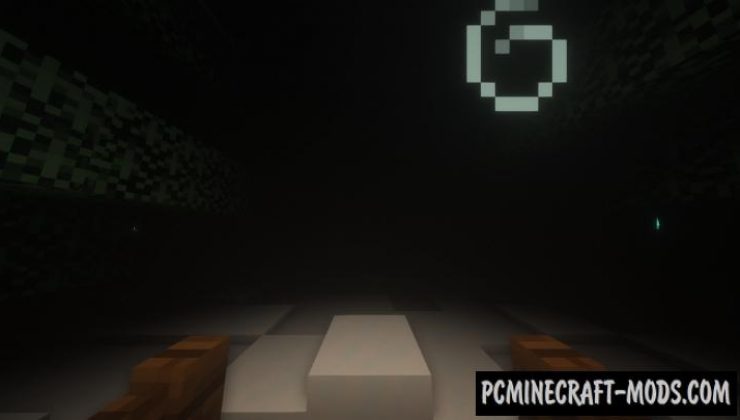
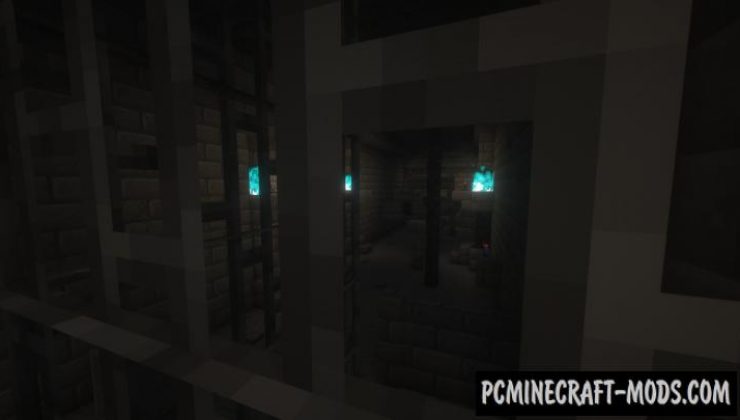
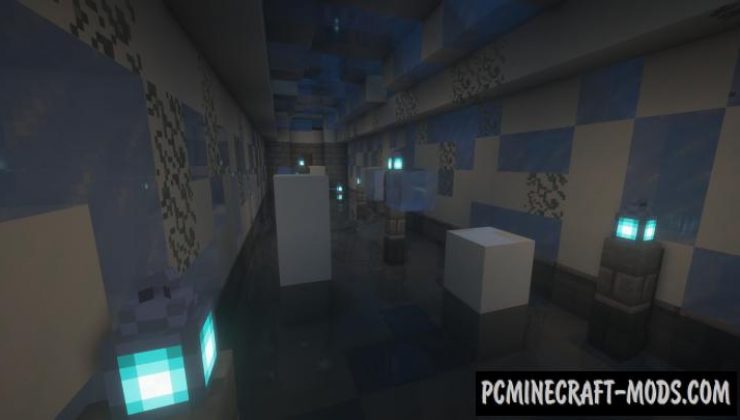
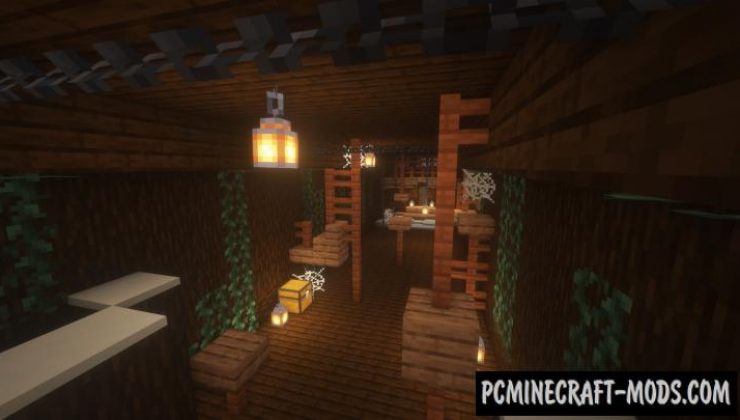
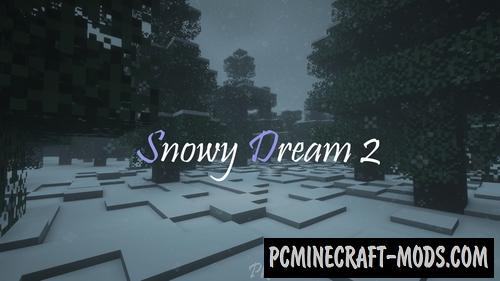
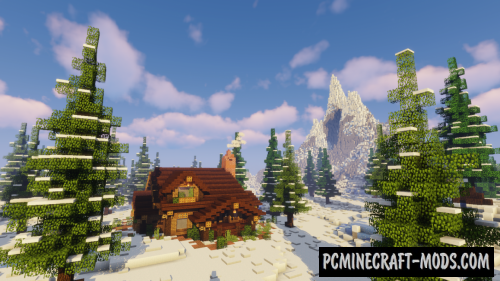
The story of this map is as follows: you fell asleep and found yourself in a terrible dream! You have to go through four different stages, which will not be quite colorful and bright, and sometimes even gloomy and very scary! You need to go ahead soon, otherwise you may not wake up anymore and stay forever in the prison of sleep! To make the atmosphere more mysterious and pleasing to the eye – play with the appropriate shaders!
Screenshots
How to install Snowy Dream
- Make sure that you have the “Java” application installed.
- Download the “Zip” archive from our website.
- Inside there is a folder with the source map. Additionally, you can also find various folders that contain alternative data packs and resource packs.
- Select the latest version of the “Source” folder that matches the game version.
- Please note that some releases may contain bugs, custom data packs that are incompatible with other modifications, and in some cases may cause conflicts within Forge, Fabric or Optifine. To fix this, install a previous build or change the version of the game.
- Move the “Source” map folder to the “Saves” folder.
- This folder is located at the following path:
Mac OS X:
/Users/Your Profile Name/Library/Application Support/minecraft/
Quick way to get there: Click on the desktop and then press the combination of “Command+Shift+G” keys at the same time.
Type ~/Library and press the “Enter” key.
Open the Application Support folder and then MinecraftWindows 11, 10, 8, 7:
C:\Users\Your Profile Name\AppData\Roaming\.minecraft\
Quick way to get there: Press the “Windows” key and the “R” key at the same time.
Type %appdata% and press “Enter” key or click OK. - The “Saves” folder is created automatically after creating at least one new game world, but you can always create it manually.
- Open the launcher and select the desired game version.
- Find a new map in the list of created worlds.
- Start the game and enjoy new adventures.
- Ready!


 (8 votes, average: 3.63 out of 5)


//
Made by ProKotyara on the Minecraft inside.