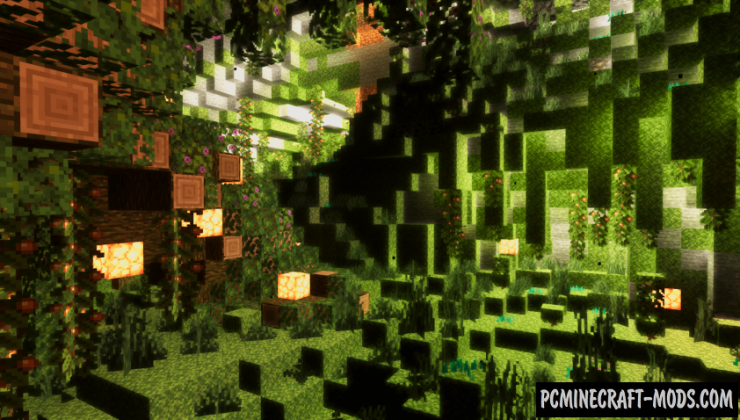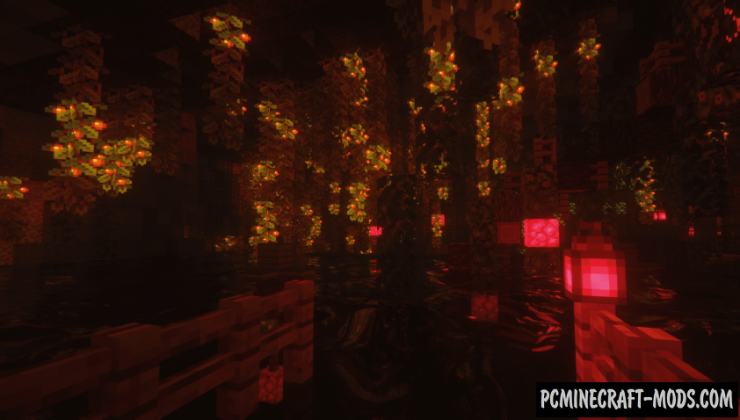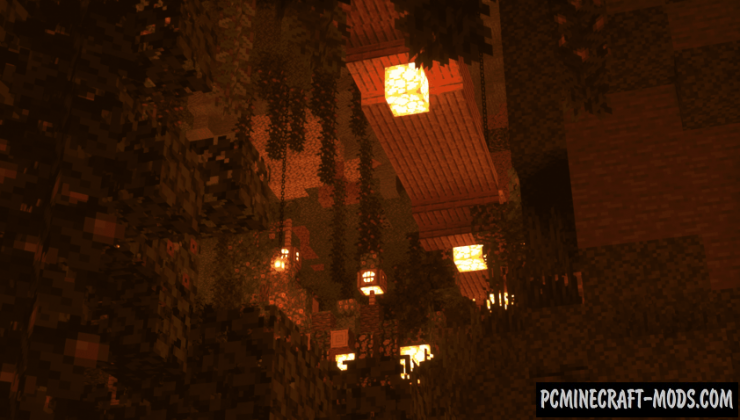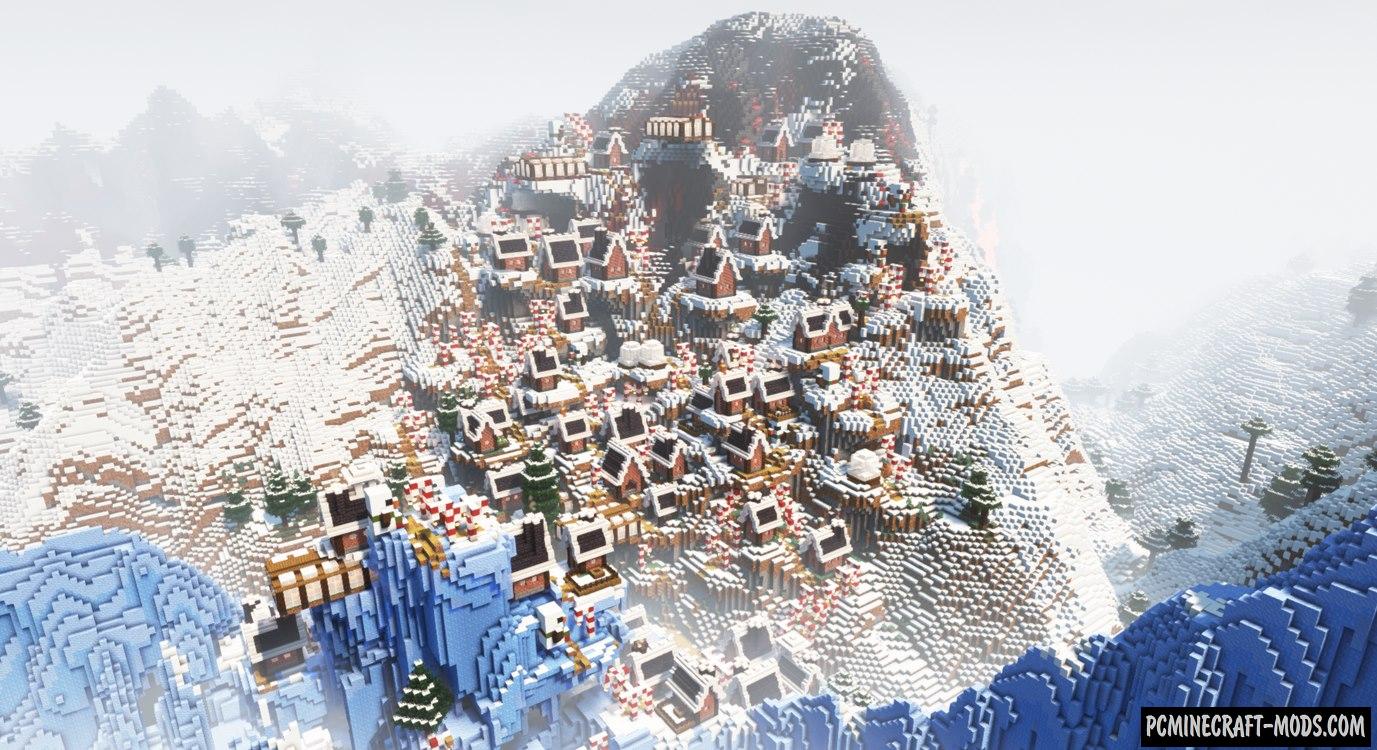
On this map you are a real traveler, and accidentally heard a rumor about a village of elves who were driven underground! You, as a real fighter, decided to check it out! This map gives you the opportunity to find yourself in this very underground village! Here you can find yourself in this 300-year-old village of elves, which no one has ever found before you! See the local beauty and see that great tree!
We recommend playing with shaders (BSL and Voyager)
The history of the Elf village
Once the ancient people of the elves, who used to live on the surface of the world, in an oak forest, were driven into caves, frightened of their enemy, they fenced themselves off from the world from above, found a suitable place to live and have been living there for 300 years. They were attracted to that place by a huge tree, they called it “Tree of Protection”. This people prospered, but they did not want to increase much. According to the calculations of adult heads, there were only 12 of them:
- Morray Orman
- Desmond Filancino
- Bell Campbell
- Hilly Lynch
- Nick Filanchino
- Doyle Gamer
- Peep
- Poop
- Coffin Tambourine
- Kai Siamura
- Ken Yoshimura
- Artem Vasilinko
Screenshots
Review
How to install The underground village of elves
- Make sure that you have the “Java” application installed.
- Download the “Zip” archive from our website.
- Inside there is a folder with the source map. Additionally, you can also find various folders that contain alternative data packs and resource packs.
- Select the latest version of the “Source” folder that matches the game version.
- Please note that some releases may contain bugs, custom data packs that are incompatible with other modifications, and in some cases may cause conflicts within Forge, Fabric or Optifine. To fix this, install a previous build or change the version of the game.
- Move the “Source” map folder to the “Saves” folder.
- This folder is located at the following path:
Mac OS X:
/Users/Your Profile Name/Library/Application Support/minecraft/
Quick way to get there: Click on the desktop and then press the combination of “Command+Shift+G” keys at the same time.
Type ~/Library and press the “Enter” key.
Open the Application Support folder and then MinecraftWindows 11, 10, 8, 7:
C:\Users\Your Profile Name\AppData\Roaming\.minecraft\
Quick way to get there: Press the “Windows” key and the “R” key at the same time.
Type %appdata% and press “Enter” key or click OK. - The “Saves” folder is created automatically after creating at least one new game world, but you can always create it manually.
- Open the launcher and select the desired game version.
- Find a new map in the list of created worlds.
- Start the game and enjoy new adventures.
- Ready!
Created by: TrinityTeam


