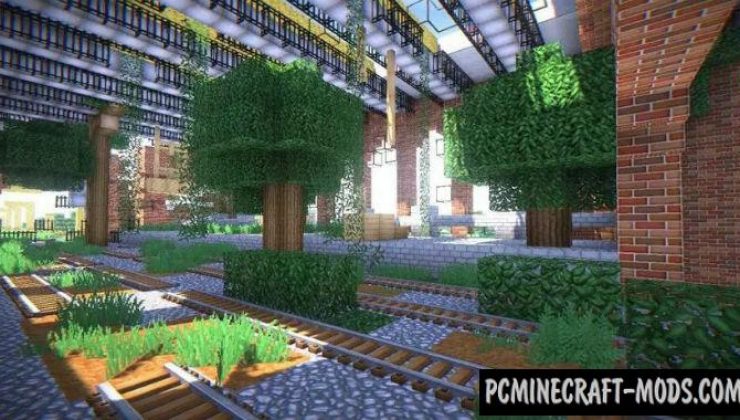
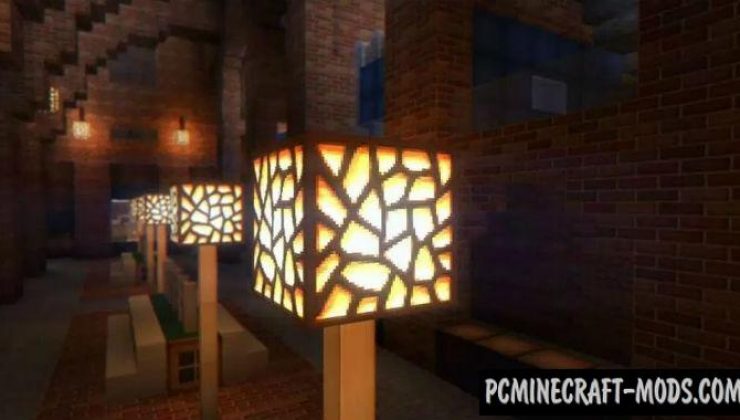
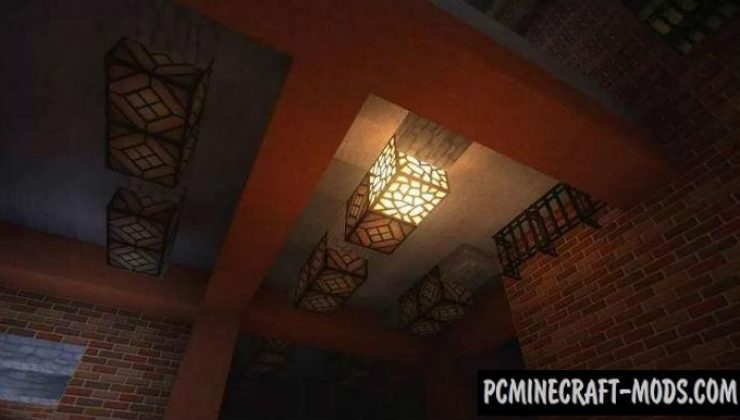
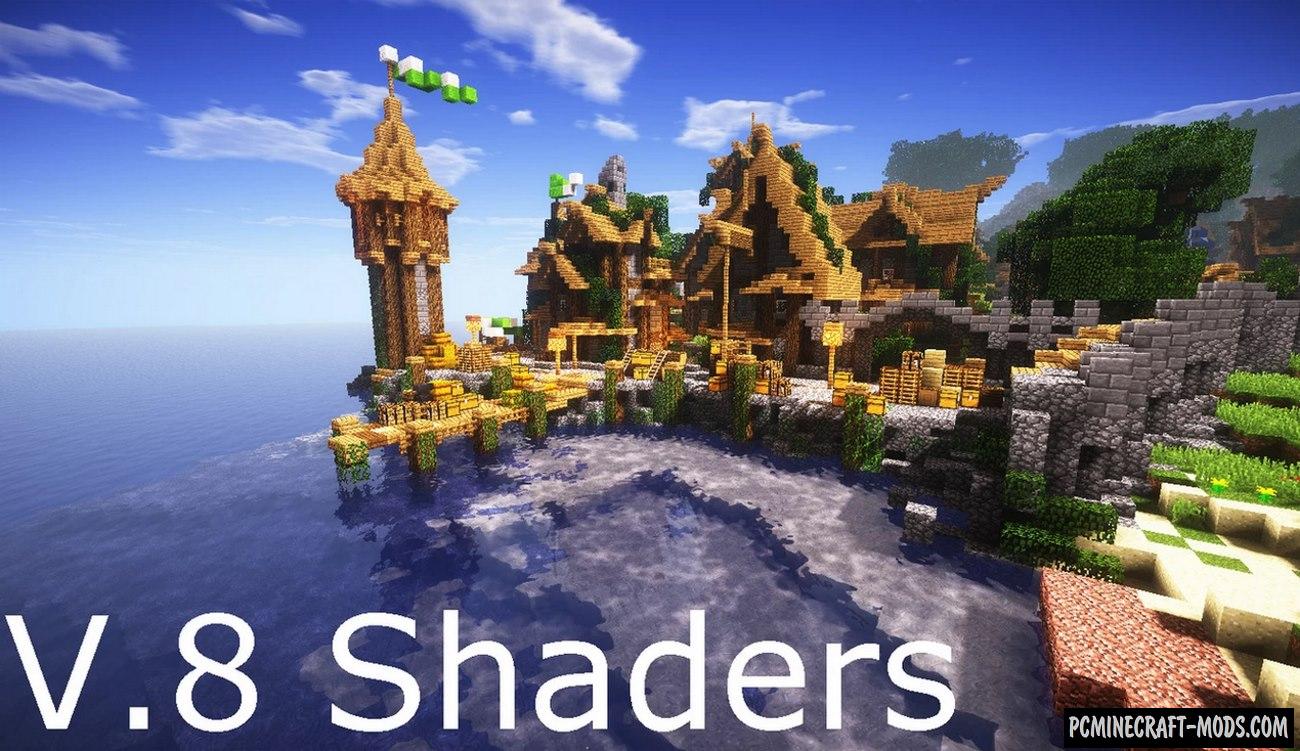
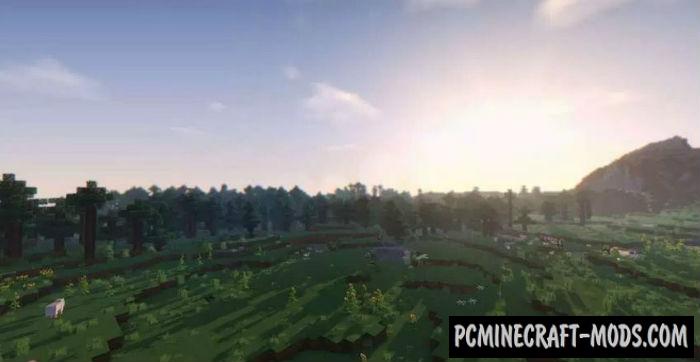
 The KUDA 1.20.4-1.19.4 are top 1 shaders for realistic lighting in Minecraft. The author spent a lot of time to improve the light sources in the game, for each light source there is a custom algorithm radiation of rays, such as Sun radiation is very powerful, for a Glowstone less rays, etc.
In sum, it looks very nice and realistic. At lunchtime you can observe very bright bleaching of lighting from blocks and very clear edges of shadows, but at night the shadows will become a little square and not clear due to the low concentration of rays.
Screenshots
How to install KUDA
- Download and install Sodium or Optifine HD
- Download the shader pack from the section below.
- Sometimes the authors create different simplified or advanced, Bedrock (Minecraft PE) or Java versions, so choose the option that you like or that you think your graphics card can handle.
- Please note that some releases may contain bugs, incompatibilities with resource packs and other graphics addons, and in some cases may cause conflicts within Optifine HD. You can try installing a previous build to fix this.
- Unpack the “Zip” file in the “Shaderpacks” folder.
- This folder is located at the following path:
Mac OS X:
/Users/Your Profile Name/Library/Application Support/minecraft/
Quick way to get there: Click on the desktop and then press the combination of “Command+Shift+G” keys at the same time.
Type ~/Library and press the “Enter” key.
Open the Application Support folder and then MinecraftWindows 11, 10, 8, 7:
C:\Users\Your Profile Name\AppData\Roaming\.minecraft\
Quick way to get there: Press the “Windows” key and the “R” key at the same time.
Type %appdata% and press “Enter” key or click OK. - For GLSL Shaders: Click on “Shaders”, choose the desired Shader and click “Done”
- For OptiFine: In settings, click on “graphics options” -> “Shaders”, choose the desired Shader and click “Done”
- Now it’s loaded and ready to use in the game world!
Manual installation:
Quick installation:


 (18 votes, average: 3.83 out of 5)