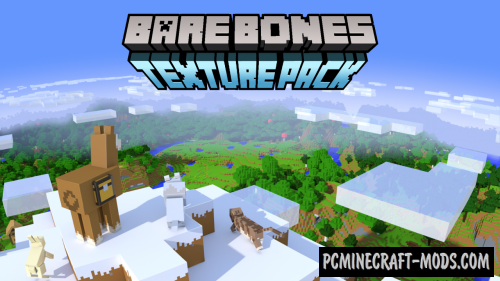
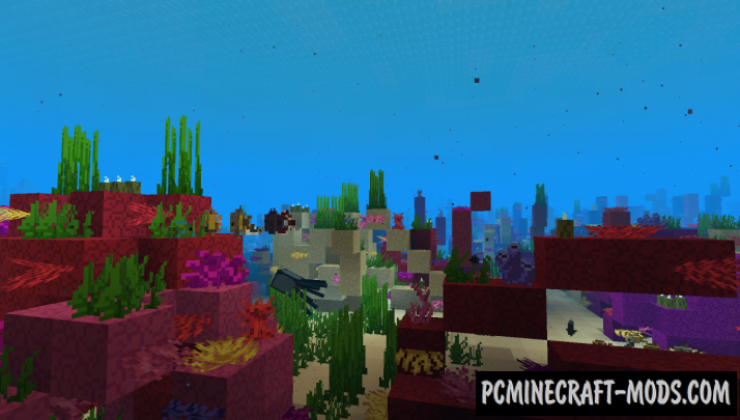
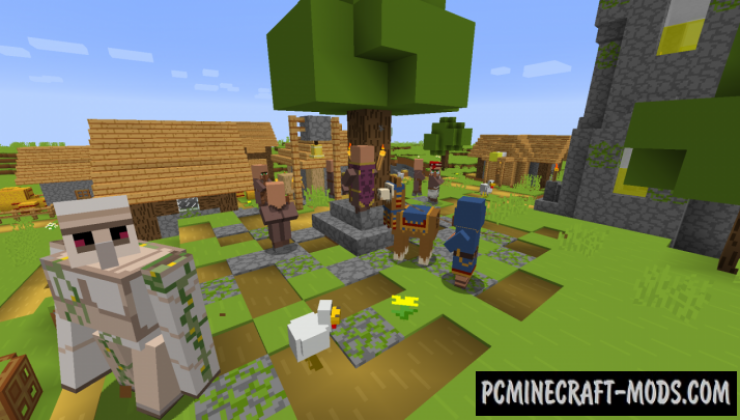
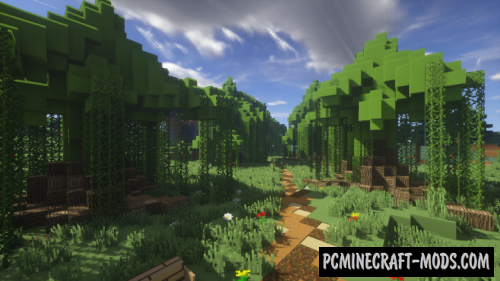
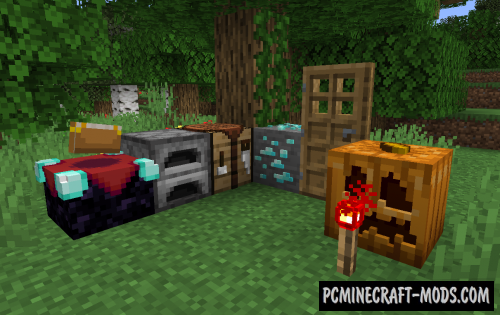
A resource pack called Bare Bones 1.20.2-1.19.4 will be able to saturate the game as much as possible with more simplified and bright textures, while retaining the vanilla style. Together with these resources, you will be able to look at your favorite cubic and long-familiar world in a completely different way!
Join the game with a slightly increased level of satisfaction along with a wonderful package of bare bones! The style of this pack is very unusual, because it has a very simple combination of just a few colors, but the painstaking work on the textures turns the blocks into very high-quality graphic components. This is great for both simple survival and use while creating or shooting beautiful screensavers or videos.
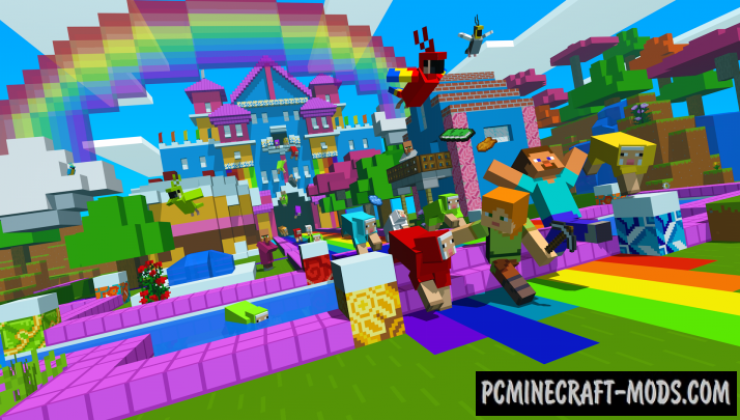
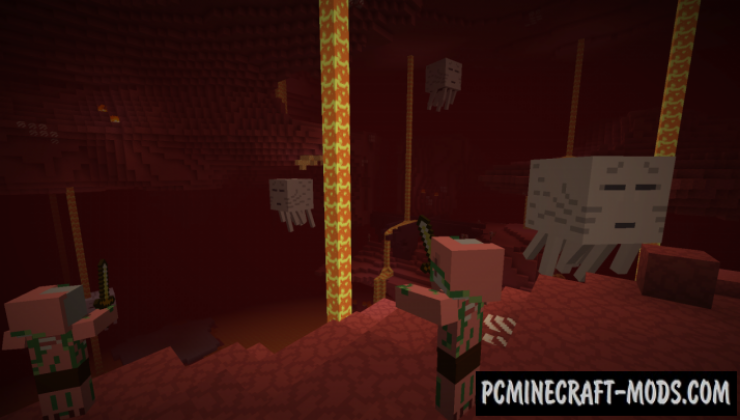
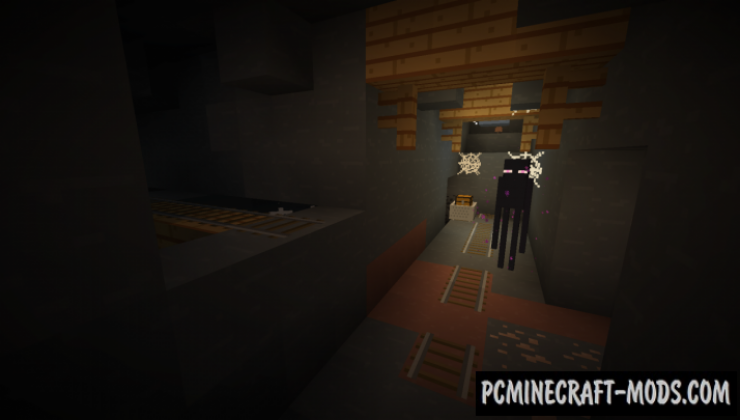
A smoother drawing style will replace vanilla adventures into something better which has updated gameplay with a bunch of new features. Each player will be able to notice more beautiful and interesting places that will become a springboard for their survival. The author also tried to add more colorful elements for some types of blocks and updated animal skins with monsters, so it’s a great option to make the game lighter than it was before.
Screenshots
Review
How to install Bare Bones
- Install Optifine HD (Not necessary but desirable)
- Download the texture pack from the section below.
- Sometimes the authors create different resolutions, Bedrock (Minecraft PE) or Java versions, so choose the option that you like or that you think your graphics card can handle.
- Please note that some releases may contain bugs, incompatibilities with shaders and other graphics addons, and in some cases may cause conflicts within Optifine HD. You can try installing a previous build to fix this.
- Move the “Zip” file to the “Resourcepacks” folder.
- This folder is located at the following path:
Mac OS X:
/Users/Your Profile Name/Library/Application Support/minecraft/
Quick way to get there: Click on the desktop and then press the combination of “Command+Shift+G” keys at the same time.
Type ~/Library and press the “Enter” key.
Open the Application Support folder and then MinecraftWindows 11, 10, 8, 7:
C:\Users\Your Profile Name\AppData\Roaming\.minecraft\
Quick way to get there: Press the “Windows” key and the “R” key at the same time.
Type %appdata% and press “Enter” key or click OK. - Next, use step 14 to complete the installation.
- Launch the game client via the launcher.
- In the main menu of the game, click “Options” button.
- In the “Options” menu, select the “Resource Packs” button.
- Click on the “Open Resource Pack folder” button.
- Move the downloaded zip file to an open folder.
- Click the “Done” button.
- Your pack should have appeared in the left “Available” list, just hover over it and click on the arrow pointing to the right.
- This will move the pack to the right “Selected” list that displays the used packs or shaders and other addons.
- Select the desired resolution, desired addons and click the “Done” button again.
- Now it’s loaded and ready to use in the game world!
Manual installation:
Quick installation:

 (6 votes, average: 4.33 out of 5)


//
best RESOURCE EVER!!!!!!!!!!!!!!!!!!!!!!!!!!!!!!!!!!!!!!!!!!!!!!!!!!!!!!!!
//
It’s kind of annoying how the tables aren’t changed (crafting table, furnace, smoker etc.) but it’s more annoying how you have added a chest skin but not a large chest skin ( just changes to the normal one when you add it to another)
I like the style and I am looking forward for when you add more stuff.
//
fixed