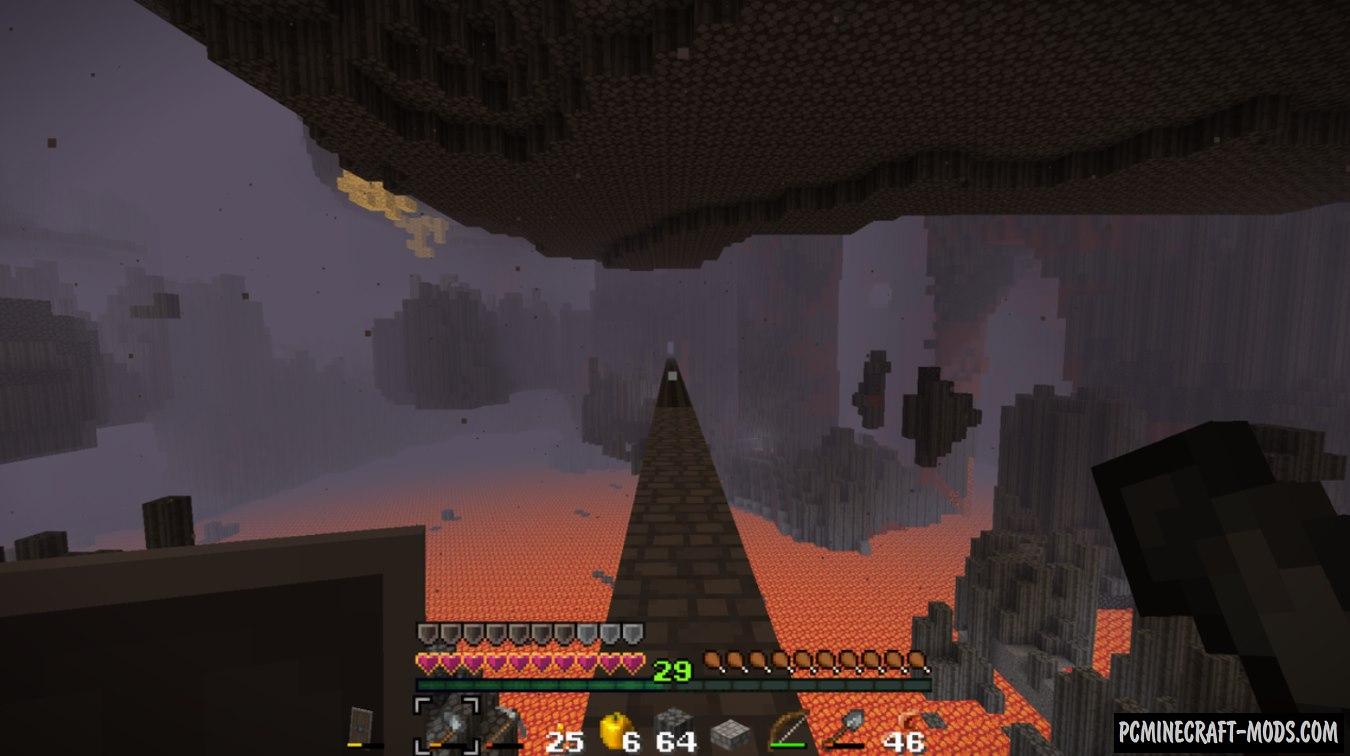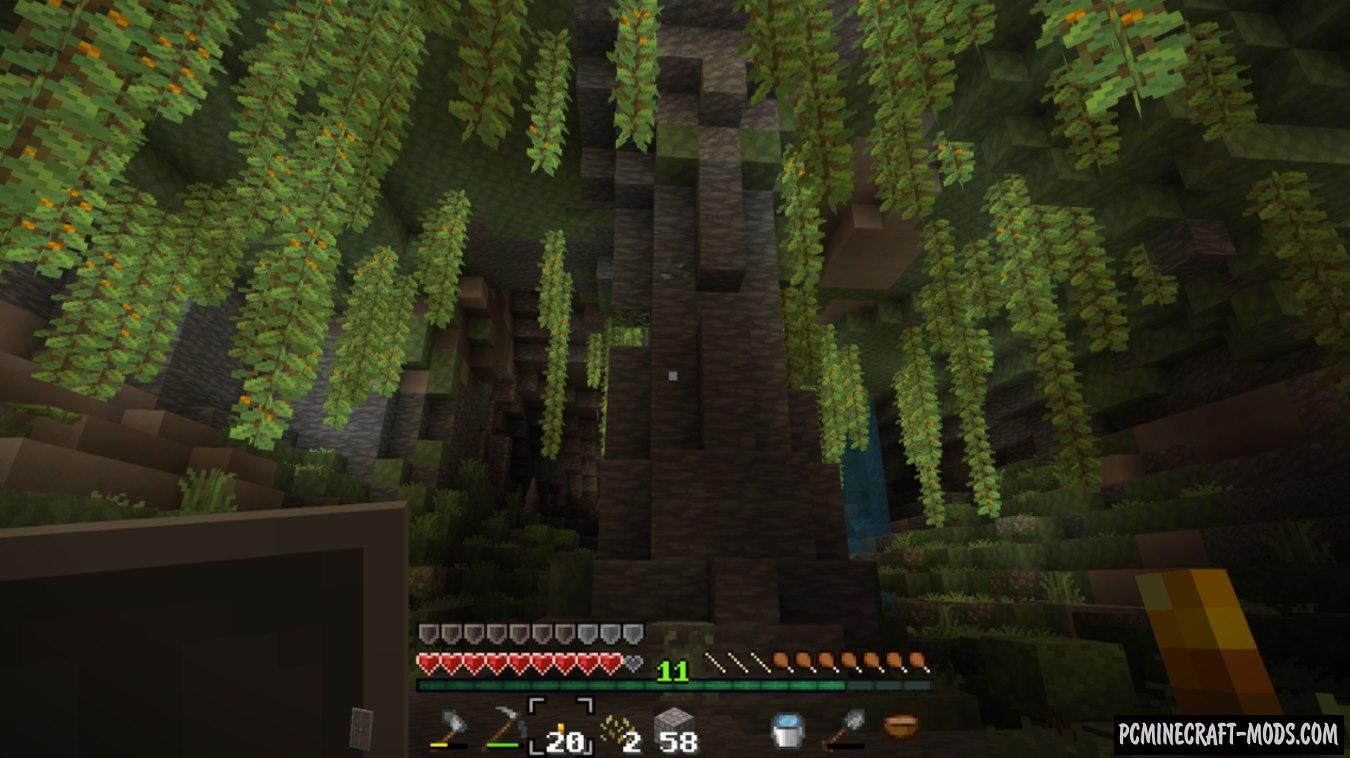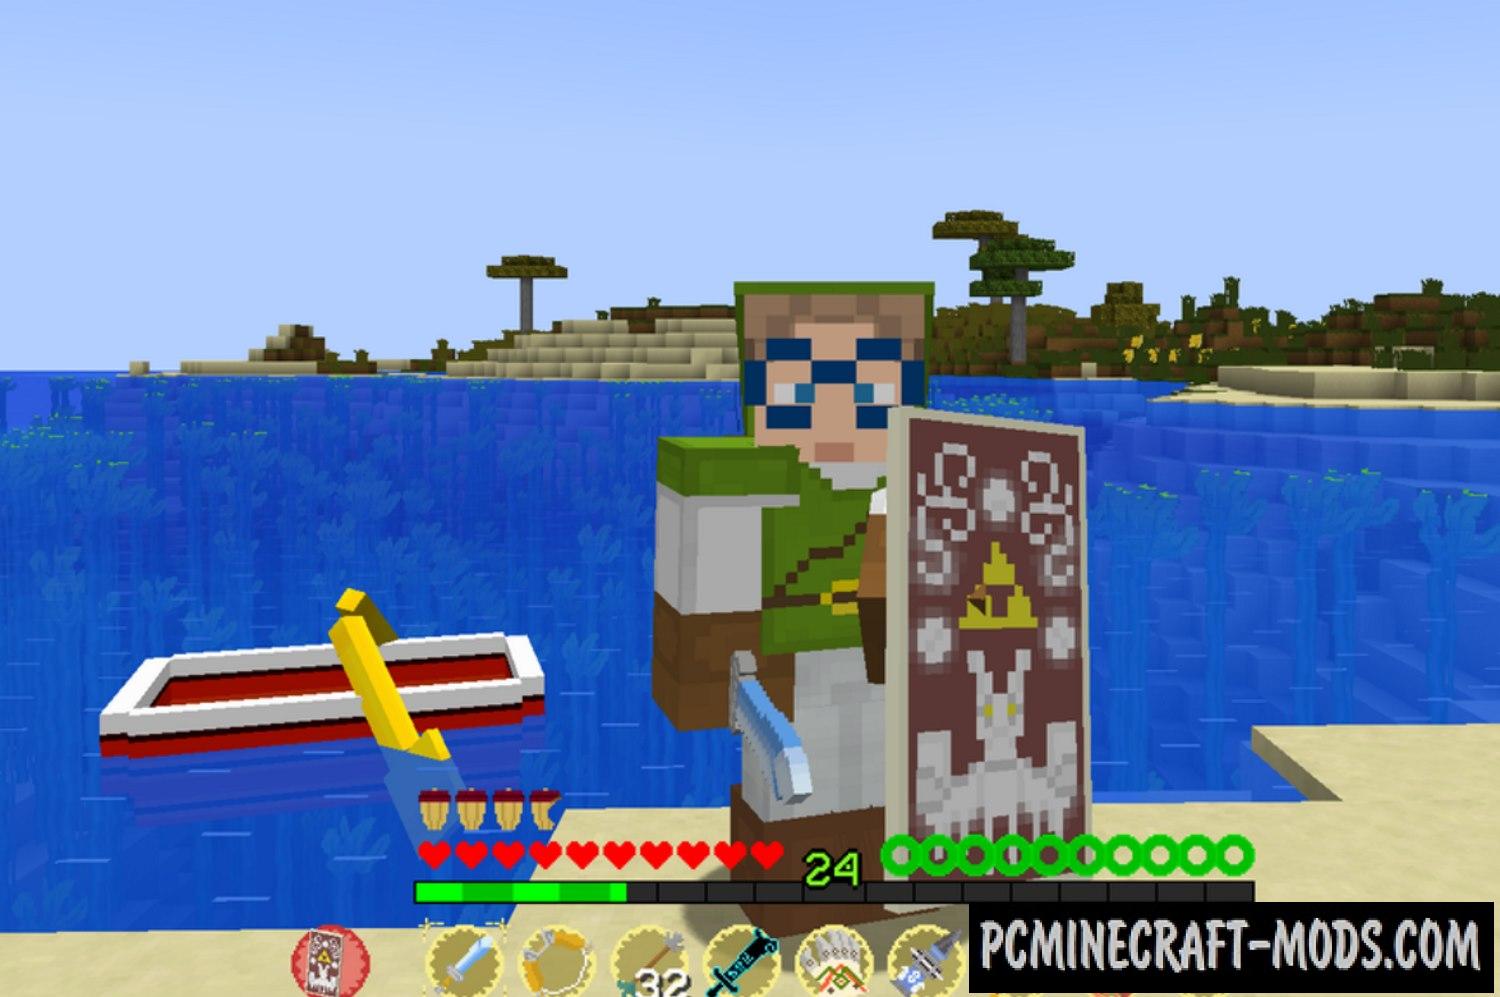
Here Legend Resource 1.20.1, 1.20, 1.19.4 is a wonderful texture pack that is completely focused on the game in survival and PvP gameplay! After all, Legend is able to completely preserve the original Minecraft atmosphere, while adding a new, more convenient and eye-pleasing color scheme with appearance for blocks and items!
Most blocks have a smoother style that lights up the environment a bit and also adds new notes to the gameplay. The author tried to turn medieval tools and furniture into more modern, something like the beginning of the 00s (at the time when the release of I am a Legend film). As in the original film, the main character travels a lot, exploring large cities to find food and materials for crafting weapons and fortifying their homes, so you can download an additional map with the city to feel in the same role.
Mobs here received more thoughtful skins that convey real emotions, for example more dangerous opponents have scary faces that make any player run away or for example more friendly mobs have funny faces with a grin.
Building materials and decorative elements have changed their texture style a little so you will mostly need it to play on special maps or for example you will be able to build a house with a fresher design both outside and inside .
Screenshots
How to install Legend
- Install Optifine HD (Not necessary but desirable)
- Download the texture pack from the section below.
- Sometimes the authors create different resolutions, Bedrock (Minecraft PE) or Java versions, so choose the option that you like or that you think your graphics card can handle.
- Please note that some releases may contain bugs, incompatibilities with shaders and other graphics addons, and in some cases may cause conflicts within Optifine HD. You can try installing a previous build to fix this.
- Move the “Zip” file to the “Resourcepacks” folder.
- This folder is located at the following path:
Mac OS X:
/Users/Your Profile Name/Library/Application Support/minecraft/
Quick way to get there: Click on the desktop and then press the combination of “Command+Shift+G” keys at the same time.
Type ~/Library and press the “Enter” key.
Open the Application Support folder and then MinecraftWindows 11, 10, 8, 7:
C:\Users\Your Profile Name\AppData\Roaming\.minecraft\
Quick way to get there: Press the “Windows” key and the “R” key at the same time.
Type %appdata% and press “Enter” key or click OK. - Next, use step 14 to complete the installation.
- Launch the game client via the launcher.
- In the main menu of the game, click “Options” button.
- In the “Options” menu, select the “Resource Packs” button.
- Click on the “Open Resource Pack folder” button.
- Move the downloaded zip file to an open folder.
- Click the “Done” button.
- Your pack should have appeared in the left “Available” list, just hover over it and click on the arrow pointing to the right.
- This will move the pack to the right “Selected” list that displays the used packs or shaders and other addons.
- Select the desired resolution, desired addons and click the “Done” button again.
- Now it’s loaded and ready to use in the game world!
Manual installation:
Quick installation:
Credits
Created by: OneLifePlay


 (5 votes, average: 3.80 out of 5)