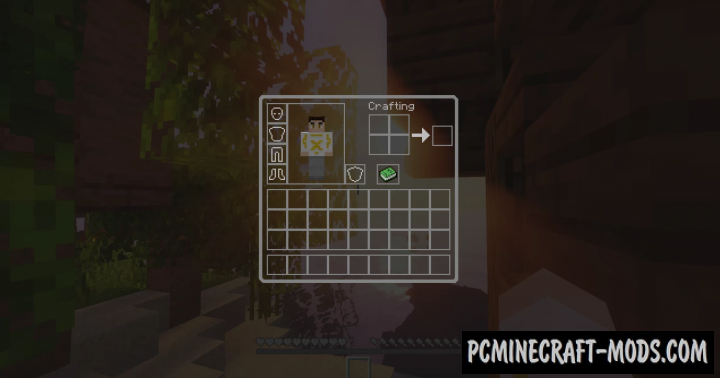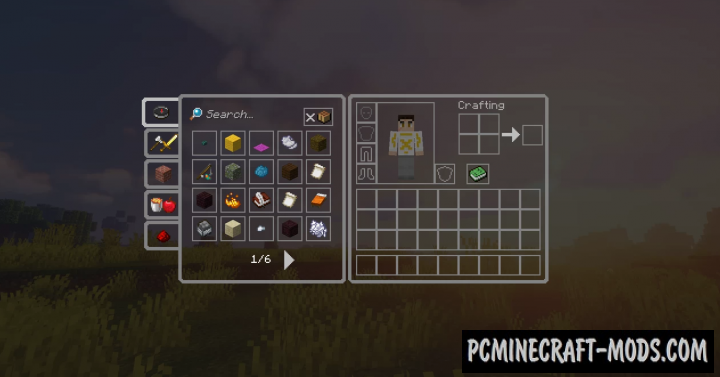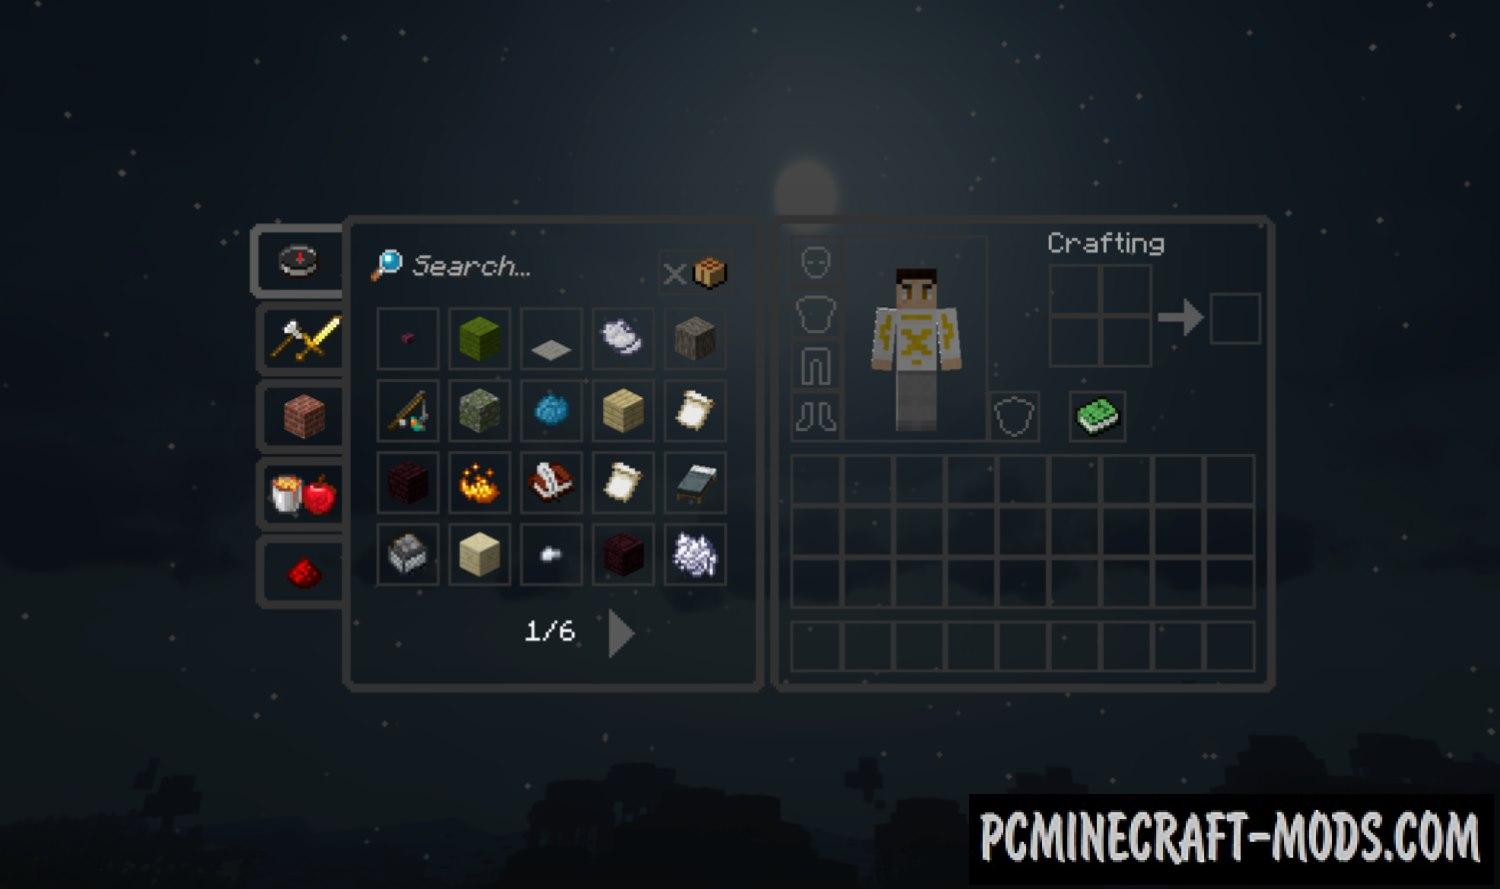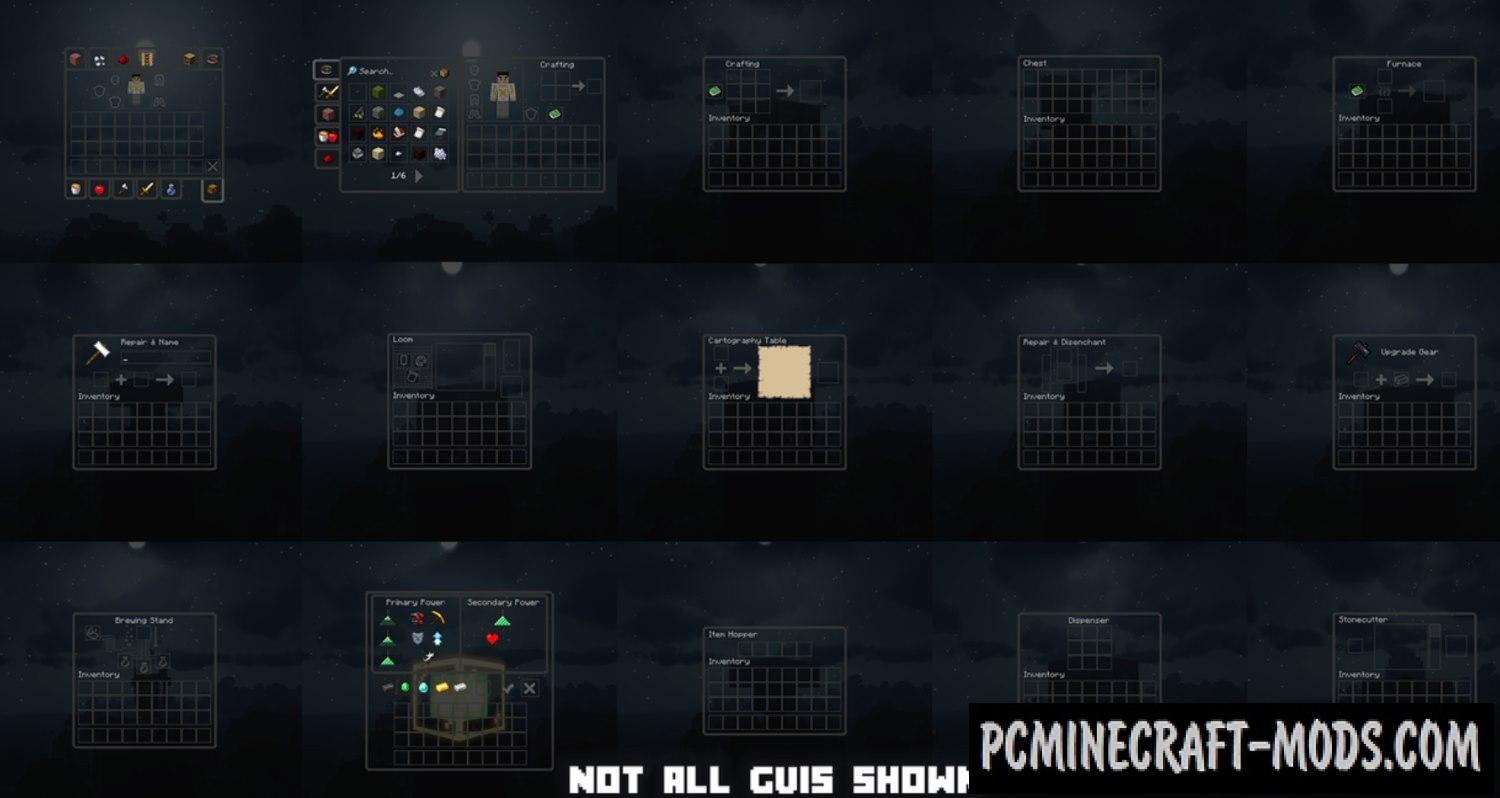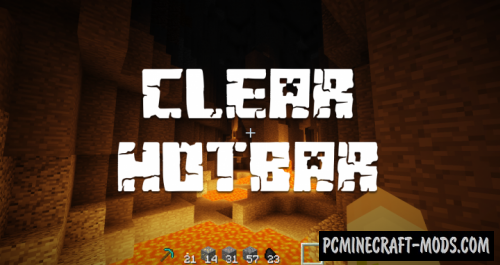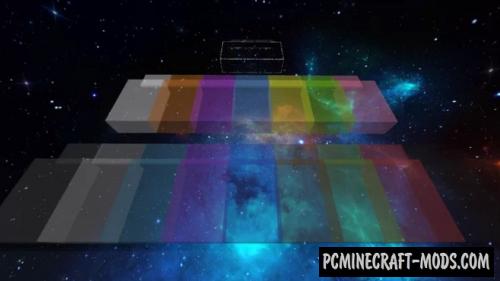
Clear GUI (Light and Dark) 1.20.1-1.19.4 resource pack will make the interface of your favorite game as transparent and neutral as possible, almost leaving only its frames! A clear graphical interface is useful not only for fans of minimalism, because being in the GUI you will continue to see absolutely everything that happens in your cubic world! And it can also be used while creating your own custom GUI!
You may also notice that all the other GUI elements will remain almost unchanged, but the author has slightly modified the font to get a smooth transition of colors from the cursor, items icons, and symbols. Most of the modern games have long used transparent parts of the HUD and GUI so that the player can get more information about what is happening in the game world around. Now you have a great opportunity to slightly improve the default gameplay and protect yourself from sudden deaths. This can also be useful during the creative process because it makes it easier to find the right building materials and you no longer need to click dozens or hundreds of times to open the inventory.
Features
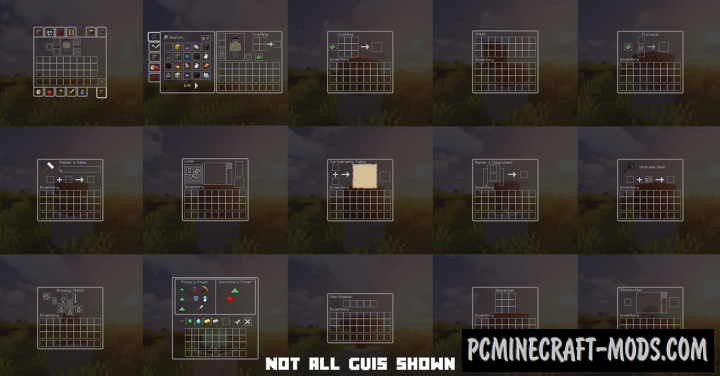
Changing textures occurs with the following GUI’s:
- Creative
- Survival
- Achievements page
- Switch game modes
- Recipe Book
- Horse/Mule/Donkey/Lama GUI’s
- Trading GUI
- All crafting and storage GUI’s
Screenshots
How to install Clear GUI
- Install Optifine HD (Not necessary but desirable)
- Download the texture pack from the section below.
- Sometimes the authors create different resolutions, Bedrock (Minecraft PE) or Java versions, so choose the option that you like or that you think your graphics card can handle.
- Please note that some releases may contain bugs, incompatibilities with shaders and other graphics addons, and in some cases may cause conflicts within Optifine HD. You can try installing a previous build to fix this.
- Move the “Zip” file to the “Resourcepacks” folder.
- This folder is located at the following path:
Mac OS X:
/Users/Your Profile Name/Library/Application Support/minecraft/
Quick way to get there: Click on the desktop and then press the combination of “Command+Shift+G” keys at the same time.
Type ~/Library and press the “Enter” key.
Open the Application Support folder and then MinecraftWindows 11, 10, 8, 7:
C:\Users\Your Profile Name\AppData\Roaming\.minecraft\
Quick way to get there: Press the “Windows” key and the “R” key at the same time.
Type %appdata% and press “Enter” key or click OK. - Next, use step 14 to complete the installation.
- Launch the game client via the launcher.
- In the main menu of the game, click “Options” button.
- In the “Options” menu, select the “Resource Packs” button.
- Click on the “Open Resource Pack folder” button.
- Move the downloaded zip file to an open folder.
- Click the “Done” button.
- Your pack should have appeared in the left “Available” list, just hover over it and click on the arrow pointing to the right.
- This will move the pack to the right “Selected” list that displays the used packs or shaders and other addons.
- Select the desired resolution, desired addons and click the “Done” button again.
- Now it’s loaded and ready to use in the game world!
Manual installation:
Quick installation:
Credits
Created by: JQBlockMaster

 (30 votes, average: 4.30 out of 5)