
Continuum 1.20.4-1.19.4 – these shaders will make your world a more colorful and vivid, it will be much realistic and pleasing to the eye. After installation, you will be able to choose the right for you version of with the optimal ratio of beauty/performance.
The Shader pack contains perfectly distributed effects for various graphic elements to add maximum realism to a large area. This effect is hardly noticeable in closed and small rooms. Basically, players use this on various castle or custom terrain maps, because there you can get the maximum effect.
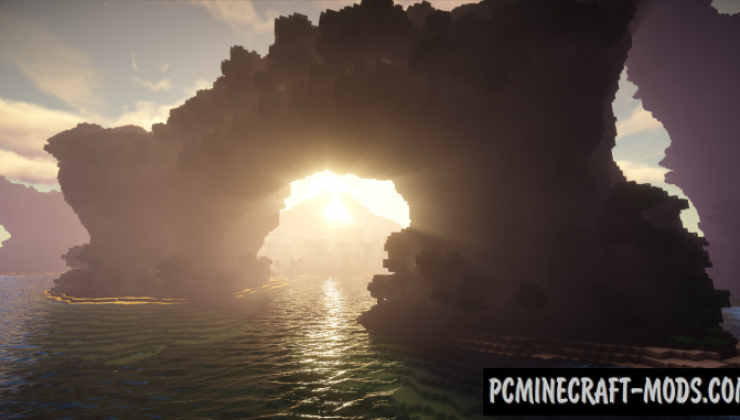
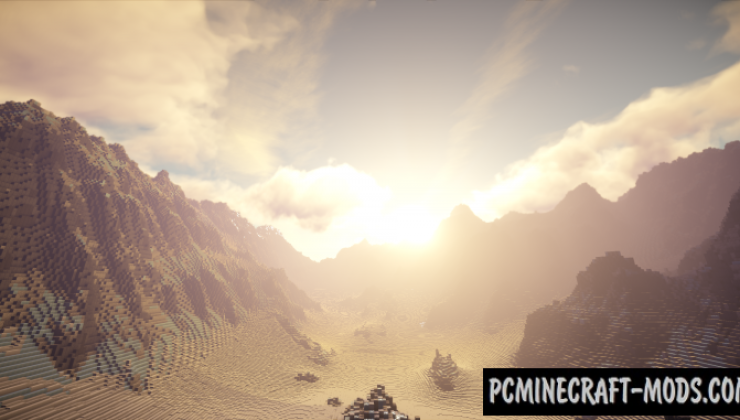
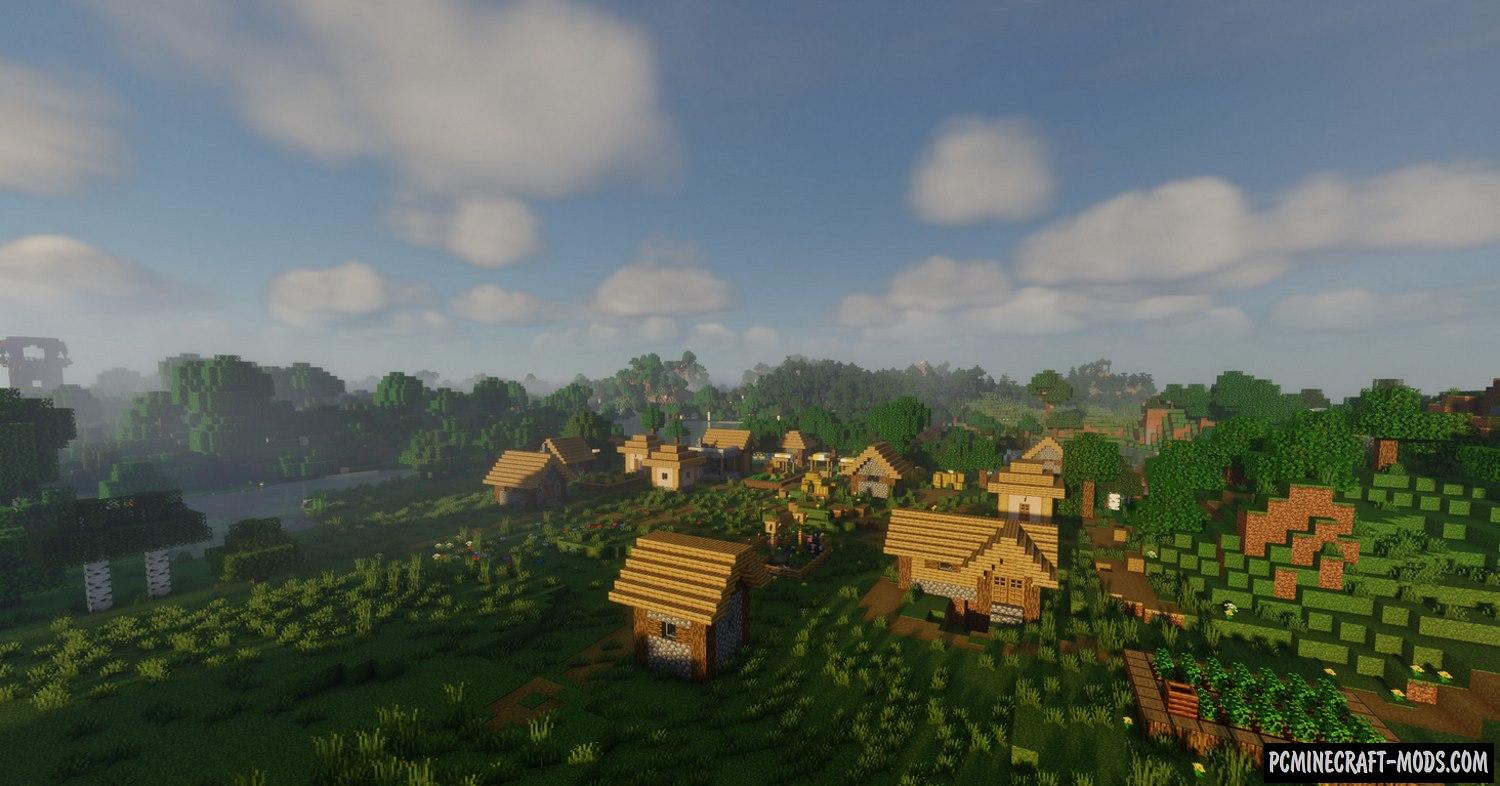
Screenshots
Review
How to install Continuum Shaders
- Download and install Sodium or Optifine HD
- Download the shader pack from the section below.
- Sometimes the authors create different simplified or advanced, Bedrock (Minecraft PE) or Java versions, so choose the option that you like or that you think your graphics card can handle.
- Please note that some releases may contain bugs, incompatibilities with resource packs and other graphics addons, and in some cases may cause conflicts within Optifine HD. You can try installing a previous build to fix this.
- Unpack the “Zip” file in the “Shaderpacks” folder.
- This folder is located at the following path:
Mac OS X:
/Users/Your Profile Name/Library/Application Support/minecraft/
Quick way to get there: Click on the desktop and then press the combination of “Command+Shift+G” keys at the same time.
Type ~/Library and press the “Enter” key.
Open the Application Support folder and then MinecraftWindows 11, 10, 8, 7:
C:\Users\Your Profile Name\AppData\Roaming\.minecraft\
Quick way to get there: Press the “Windows” key and the “R” key at the same time.
Type %appdata% and press “Enter” key or click OK. - For GLSL Shaders: Click on “Shaders”, choose the desired Shader and click “Done”
- For OptiFine: In settings, click on “graphics options” -> “Shaders”, choose the desired Shader and click “Done”
- Now it’s loaded and ready to use in the game world!
Manual installation:
Quick installation:

 (16 votes, average: 4.31 out of 5)




//
we need a Minecraft mod that’s works for java pleas