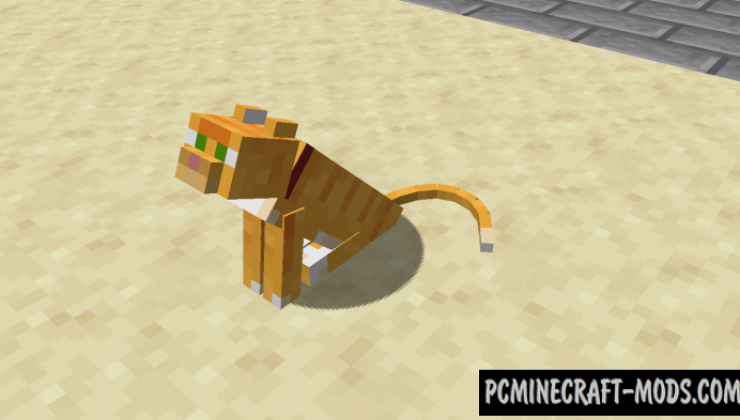
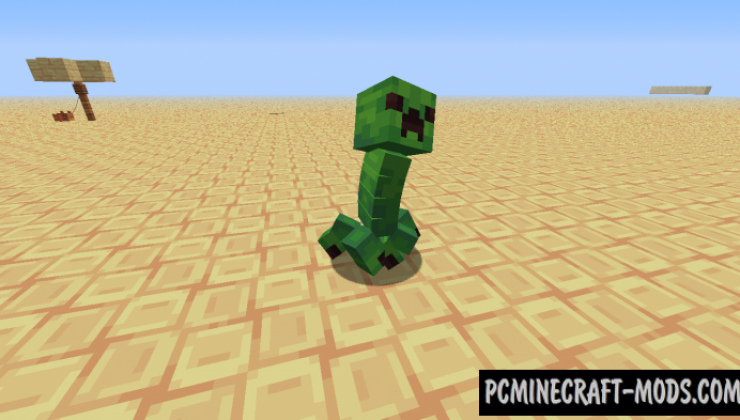
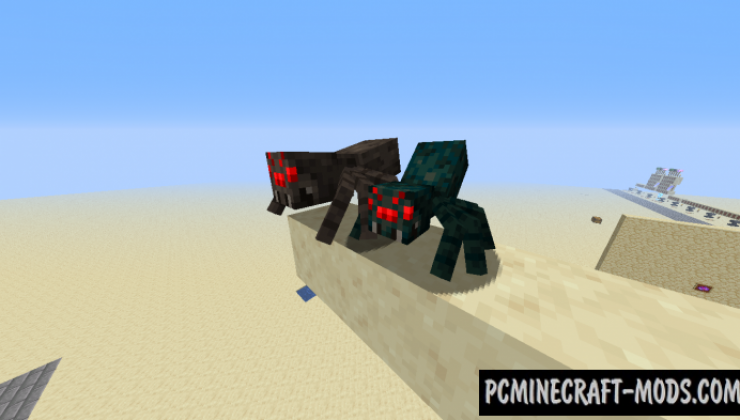
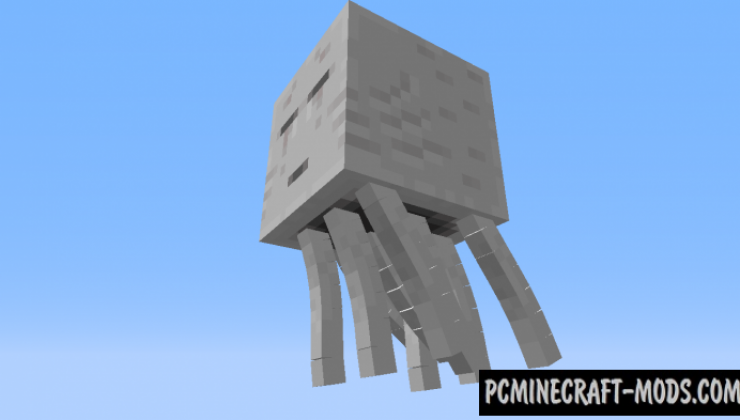
Animated Entities 1.16.5-1.16.4 resource pack was created in order to add several colorful animations for mobs, including: the movement of the cat’s tail, ghostly wings and tentacles of ghast, as well as a 3D body for the running creeper and attacking spider. This can diversify your game a little and bring more realism to it!
In total, this contains improvements for about 20 vanilla mobs, but the list expands with each update. The main advantage of pack is that it has super-optimized scripts that can be combined with any other texture pack. In addition to optimization, the author tests this so that each mob gets a fun animation that will appeal to both old and new players.
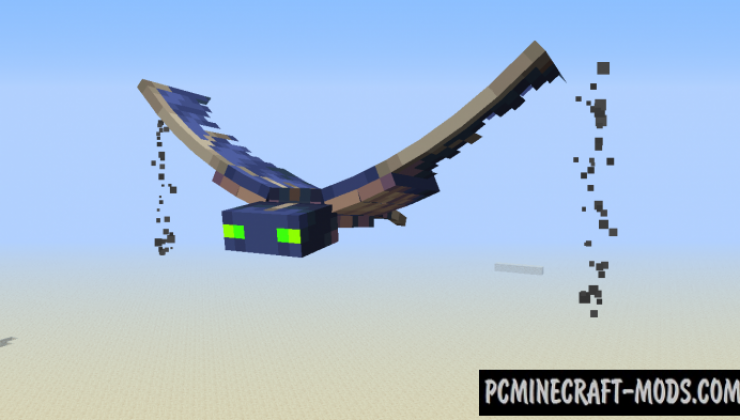
For example, zombie, husk and giant got 4 new animations that are played in case of death, running or chill; cat, dog and fox improved their tails on the 3D option with motion animation; the author also did not forget about the aquatic mobs, some of them gained caudal fin row; phantom now has very realistic wings/fins that move like underwater stingrays.
All these changes significantly complement the default gameplay and the player can even more immerse themselves in the game world because the old semi 3D models get everything you need to turn into more correct animated options that will diversify your adventure and add a lot of impressions.
Please note that Optifine HD must be installed for this to work correctly.
Screenshots
How to install Animated Entities
- Install Optifine HD
- Download the texture pack from the section below.
- Sometimes the authors create different resolutions, Bedrock (Minecraft PE) or Java versions, so choose the option that you like or that you think your graphics card can handle.
- Please note that some releases may contain bugs, incompatibilities with shaders and other graphics addons, and in some cases may cause conflicts within Optifine HD. You can try installing a previous build to fix this.
- Move the “Zip” file to the “Resourcepacks” folder.
- This folder is located at the following path:
Mac OS X:
/Users/Your Profile Name/Library/Application Support/minecraft/
Quick way to get there: Click on the desktop and then press the combination of “Command+Shift+G” keys at the same time.
Type ~/Library and press the “Enter” key.
Open the Application Support folder and then MinecraftWindows 11, 10, 8, 7:
C:\Users\Your Profile Name\AppData\Roaming\.minecraft\
Quick way to get there: Press the “Windows” key and the “R” key at the same time.
Type %appdata% and press “Enter” key or click OK. - Next, use step 14 to complete the installation.
- Launch the game client via the launcher.
- In the main menu of the game, click “Options” button.
- In the “Options” menu, select the “Resource Packs” button.
- Click on the “Open Resource Pack folder” button.
- Move the downloaded zip file to an open folder.
- Click the “Done” button.
- Your pack should have appeared in the left “Available” list, just hover over it and click on the arrow pointing to the right.
- This will move the pack to the right “Selected” list that displays the used packs or shaders and other addons.
- Select the desired resolution, desired addons and click the “Done” button again.
- Custom Entity Models: ON
- Now it’s loaded and ready to use in the game world!
Manual installation:
Quick installation:
Created by cisculog
Official link:
Direct link:

//
sorry, a little question. how do i set te MC custom entity models to ON? i cannot find that oftion in the game menu
//
This menu item is contained in the Optifine HD menu.
//
Sungguh Realistis!, Harus coba sekarang bro!