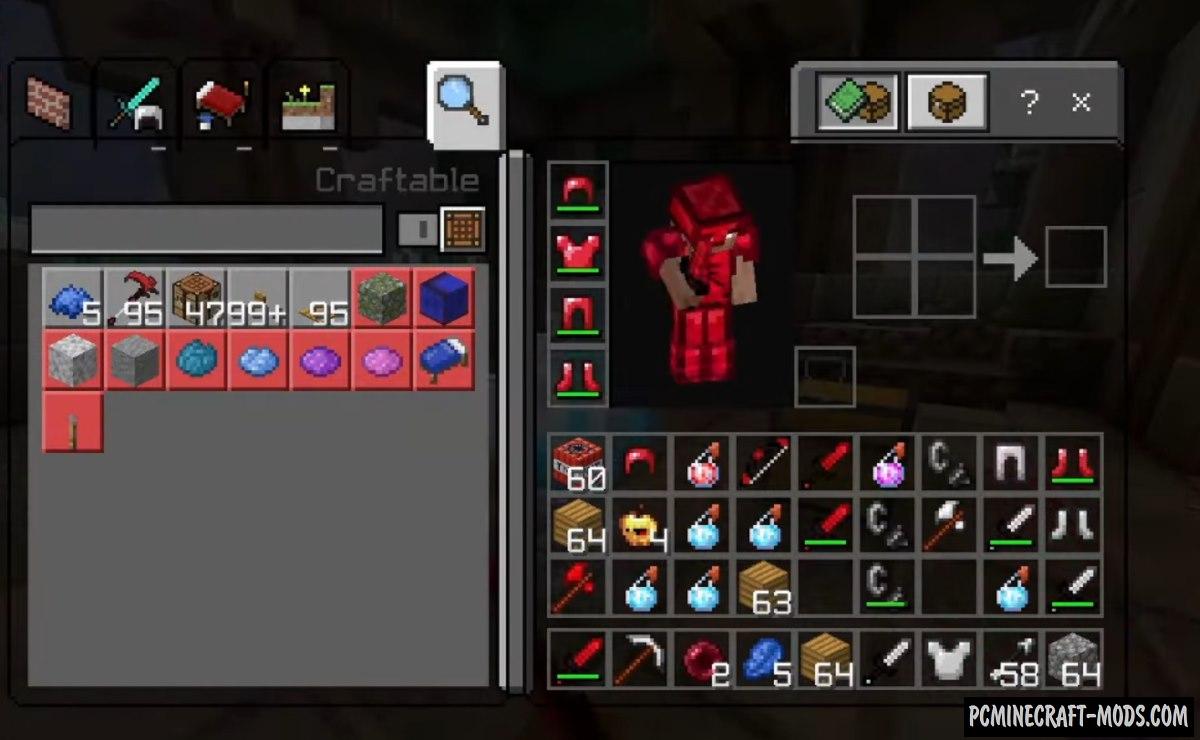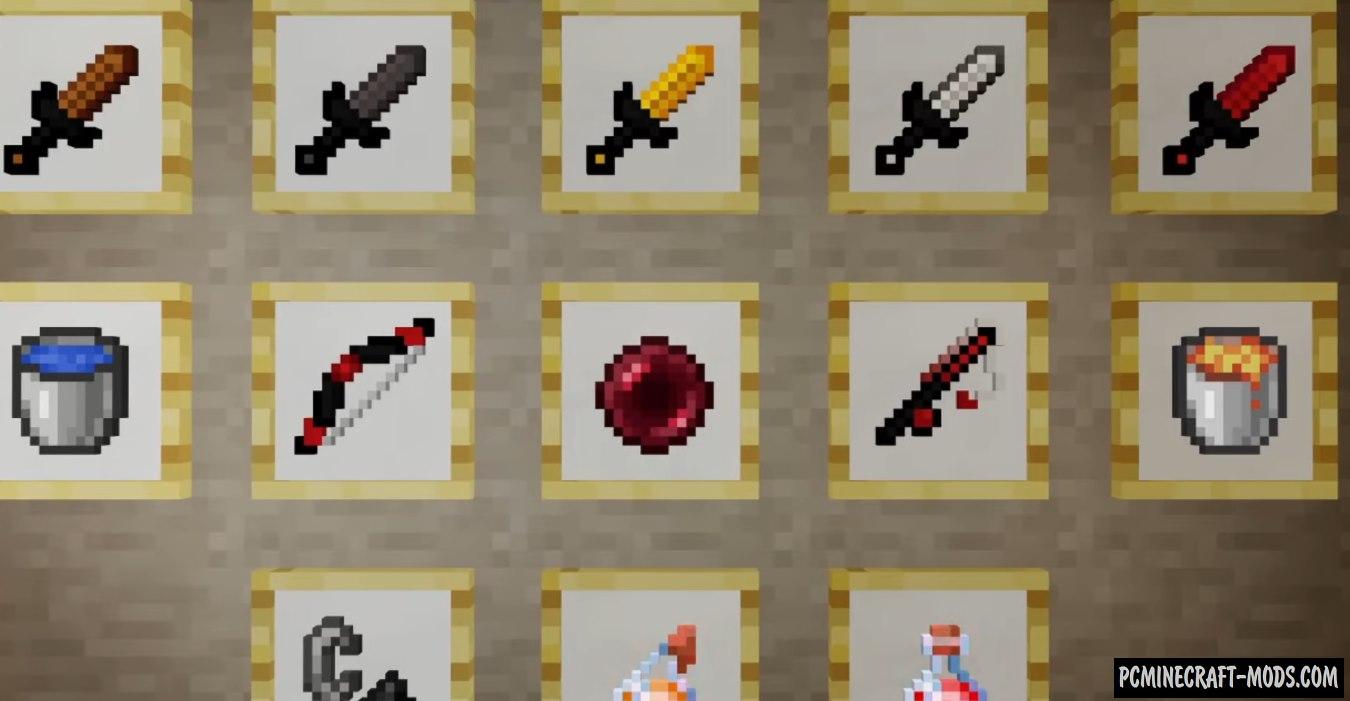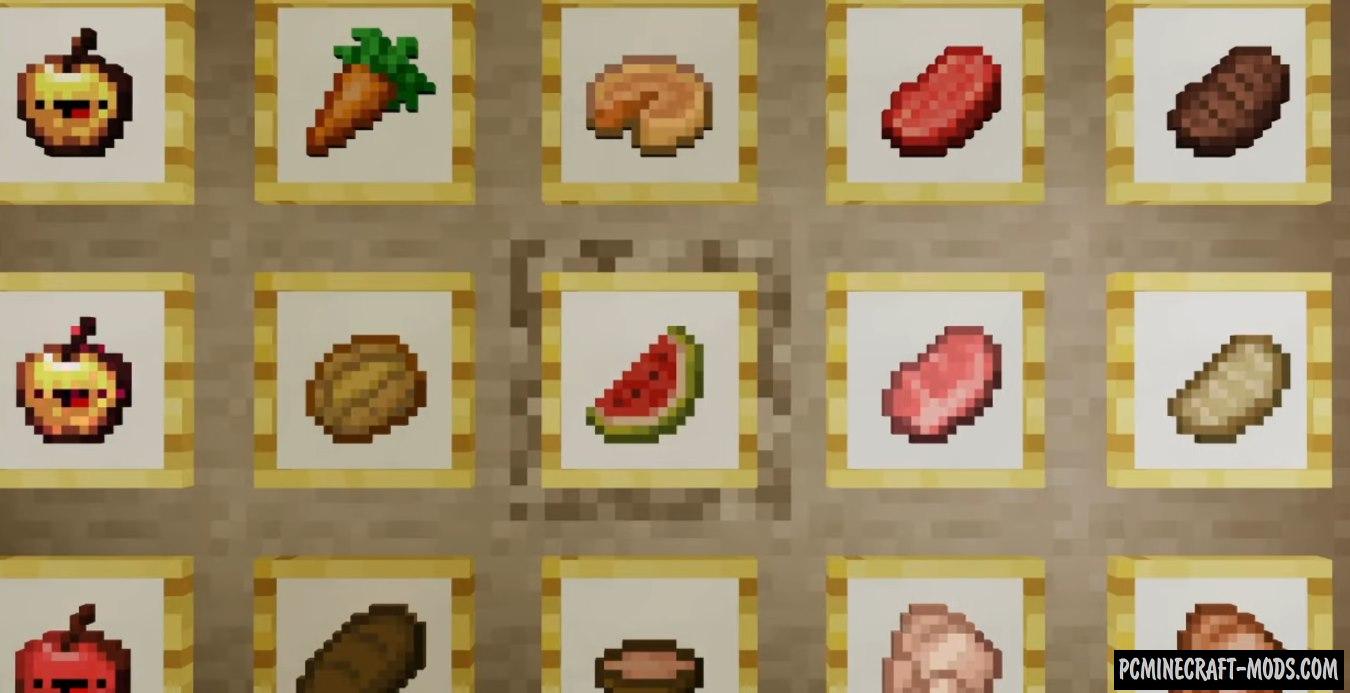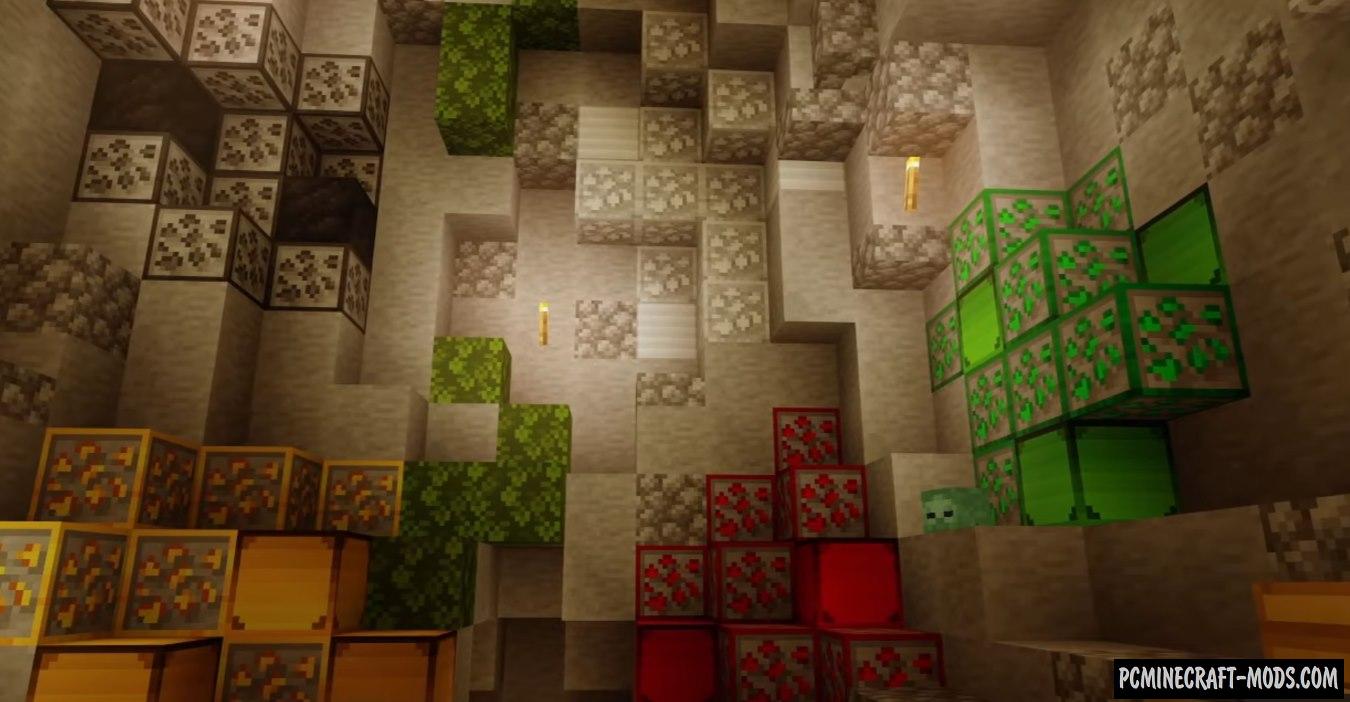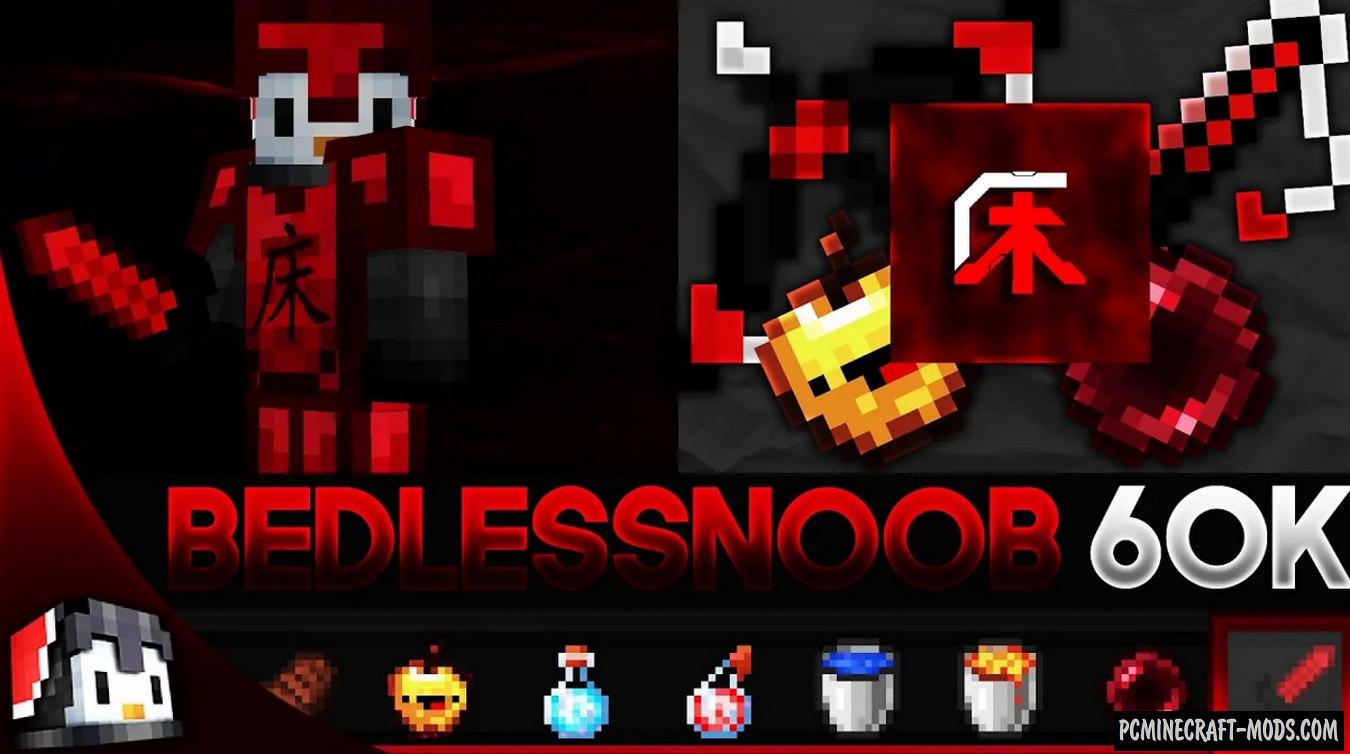
Bedless Noob 1.20.4-1.8.9 is one of the most elaborate (16x, 64x, 128x) texture packs that are designed for PvP. It has the names 60k, 200k, 350k, 450k and 550k build releases that are based on the number of subscribers. Here you will see a lot of red shades in each of the items, blocks and decorative objects. It is worth noting that all blue diamond armor, weapons and tools are completely redrawn in bloody red colors.
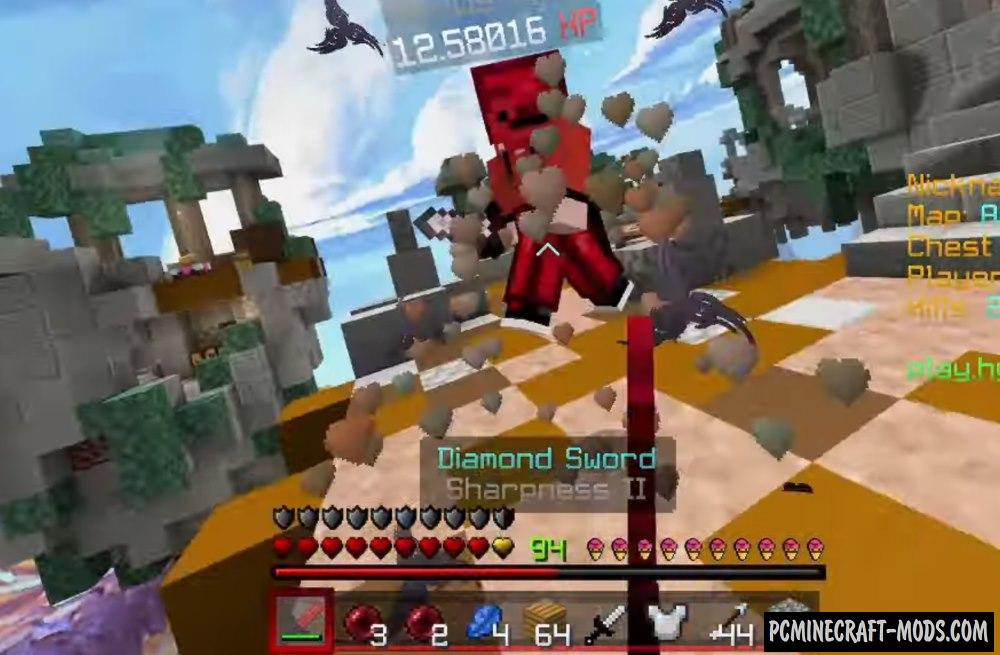
In addition to all this, the author went further and redesigned the standard boring GUI and HUD into a beautiful transparent option with lots of black lines that allows you to see the PvP arena while using inventory. Additionally, all the effects icons, HP and Armor bars received a stylish font and better and clearer images. This makes it possible to more easily understand what positive and negative effects your character has, as well as more quickly calculate the number of heals points from the enemy.
Weapons and sprites from hits have become better, for example, weapons have a shortened model and sprites have more transparent images, which also improves visibility during PvP.
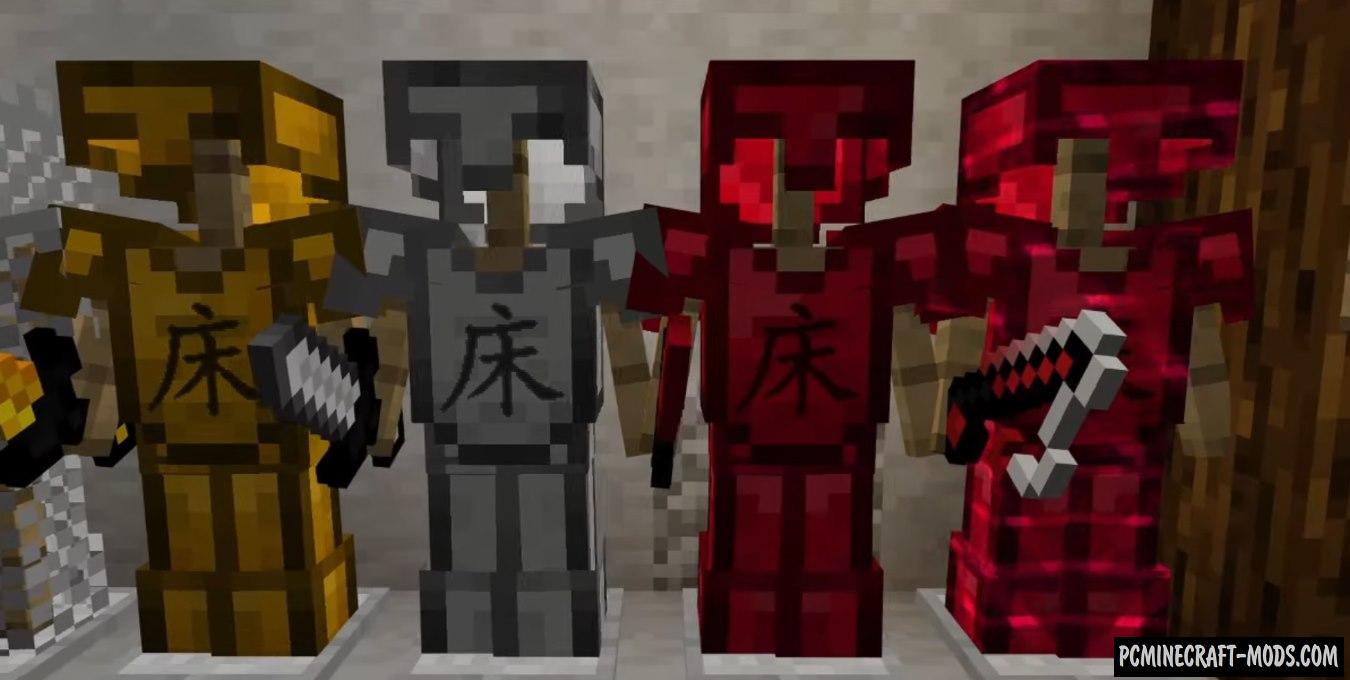
On the armor sets, you can notice a branded author’s label as well as a very high-quality drawing. In addition, the animation of the effects was changed to the red option.
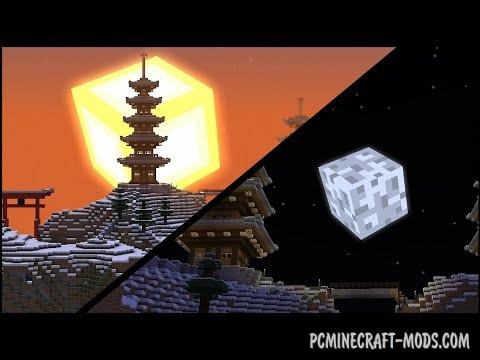
As for decorative objects, here the author has changed the popular background image that is used most often for PvP on servers to an atmospheric image in the style of ancient Chinese martial arts. You will also notice that the fire has a red color and the animation of taking fire damage has also turned from yellow to red. Red color can be seen on the beds, various blocks, golden apple and other elements that are used in PvP mini-games.
Screenshots
Review
How to install Bedless Noob
- Install Optifine HD (Not necessary but desirable)
- Download the texture pack from the section below.
- Sometimes the authors create different resolutions, Bedrock (Minecraft PE) or Java versions, so choose the option that you like or that you think your graphics card can handle.
- Please note that some releases may contain bugs, incompatibilities with shaders and other graphics addons, and in some cases may cause conflicts within Optifine HD. You can try installing a previous build to fix this.
- Move the “Zip” file to the “Resourcepacks” folder.
- This folder is located at the following path:
Mac OS X:
/Users/Your Profile Name/Library/Application Support/minecraft/
Quick way to get there: Click on the desktop and then press the combination of “Command+Shift+G” keys at the same time.
Type ~/Library and press the “Enter” key.
Open the Application Support folder and then MinecraftWindows 11, 10, 8, 7:
C:\Users\Your Profile Name\AppData\Roaming\.minecraft\
Quick way to get there: Press the “Windows” key and the “R” key at the same time.
Type %appdata% and press “Enter” key or click OK. - Next, use step 14 to complete the installation.
- Launch the game client via the launcher.
- In the main menu of the game, click “Options” button.
- In the “Options” menu, select the “Resource Packs” button.
- Click on the “Open Resource Pack folder” button.
- Move the downloaded zip file to an open folder.
- Click the “Done” button.
- Your pack should have appeared in the left “Available” list, just hover over it and click on the arrow pointing to the right.
- This will move the pack to the right “Selected” list that displays the used packs or shaders and other addons.
- Select the desired resolution, desired addons and click the “Done” button again.
- Now it’s loaded and ready to use in the game world!
Manual installation:
Quick installation:

 (12 votes, average: 4.50 out of 5)