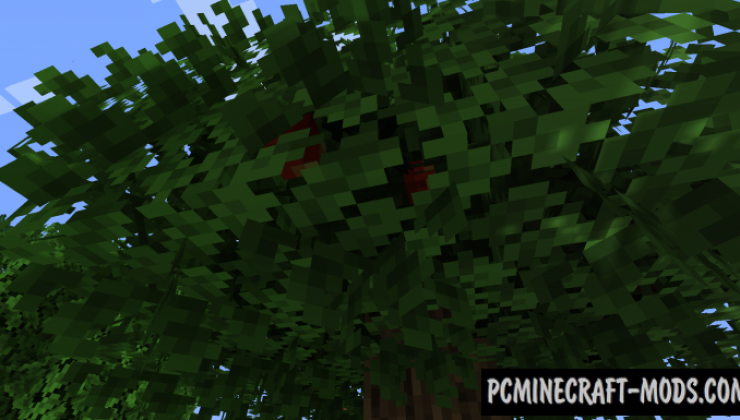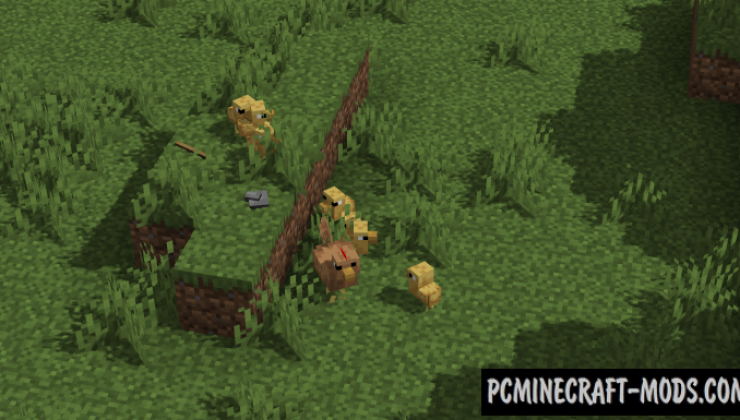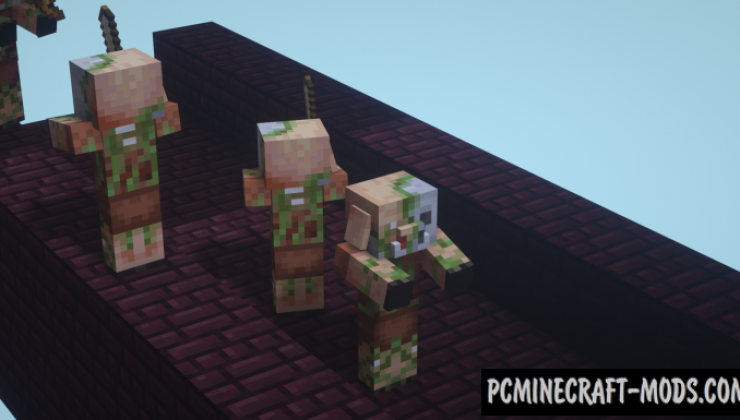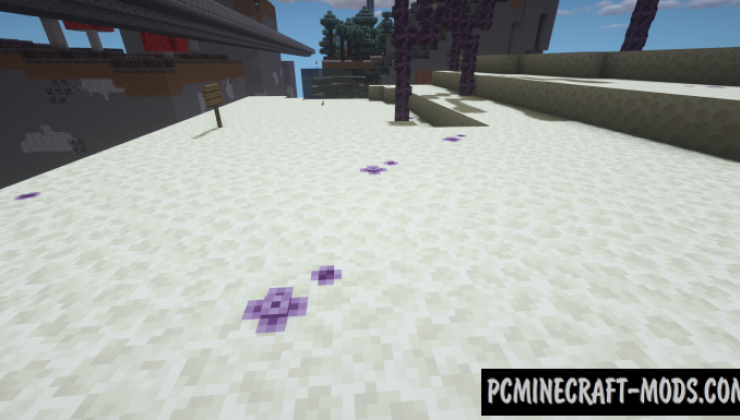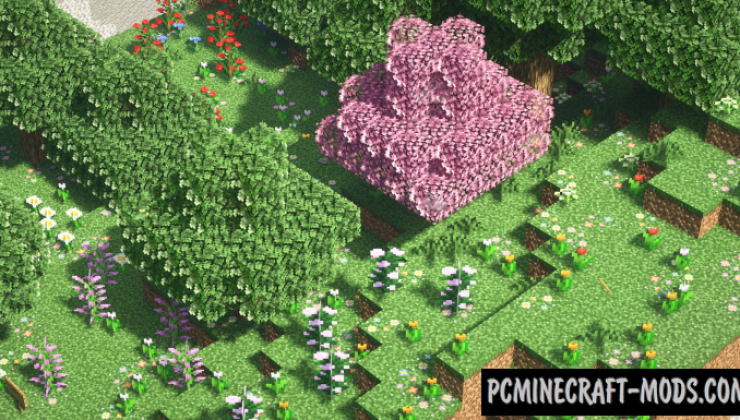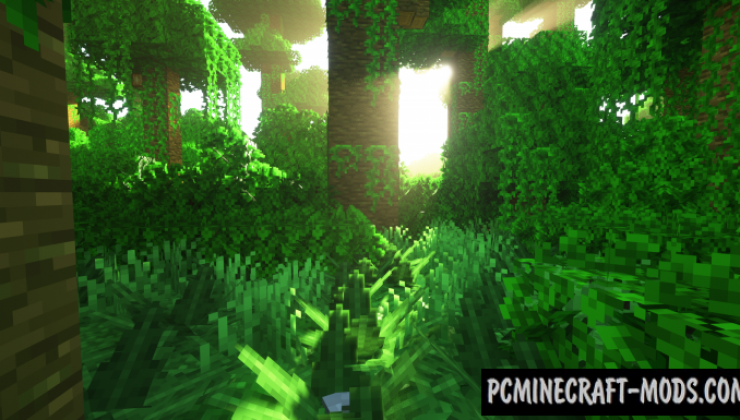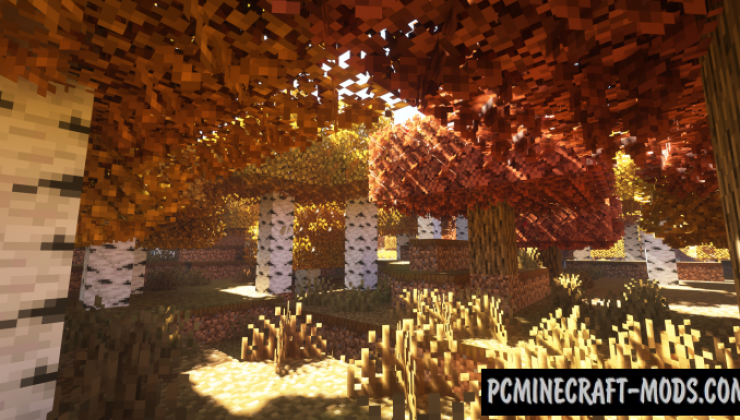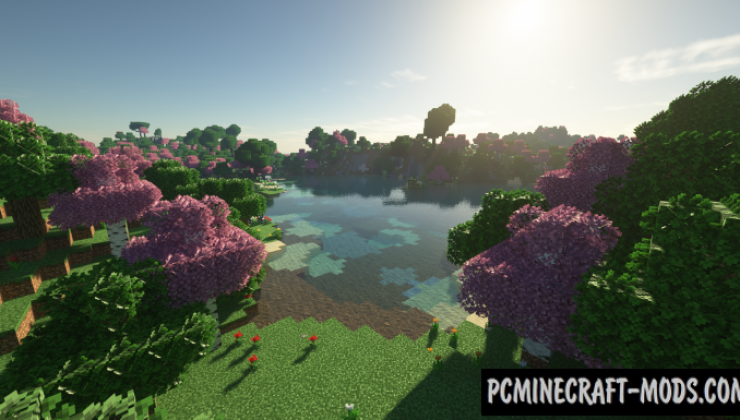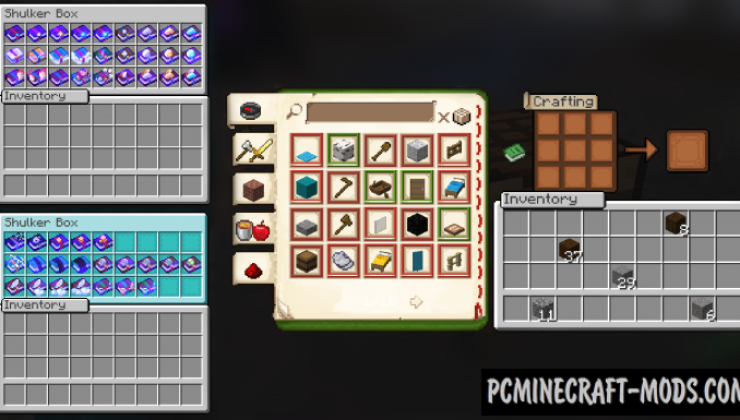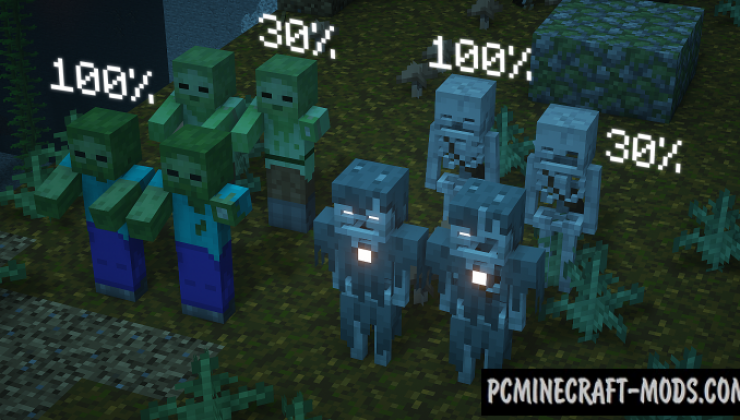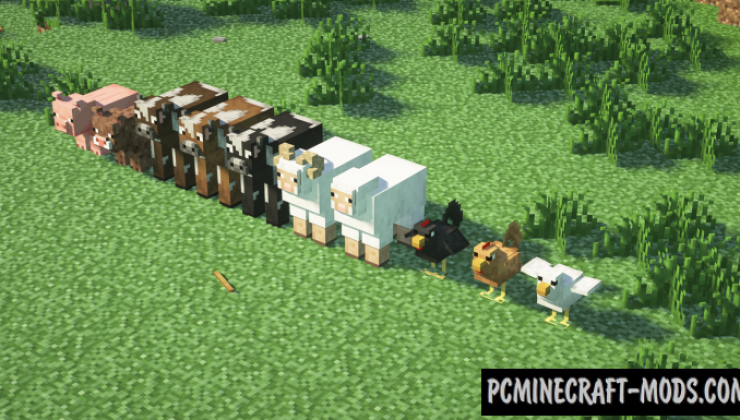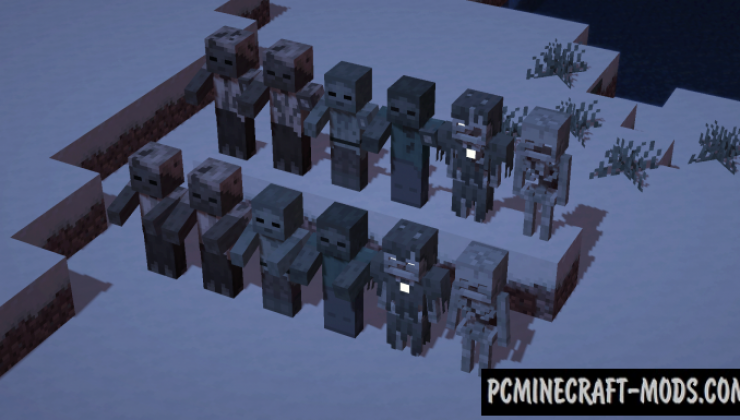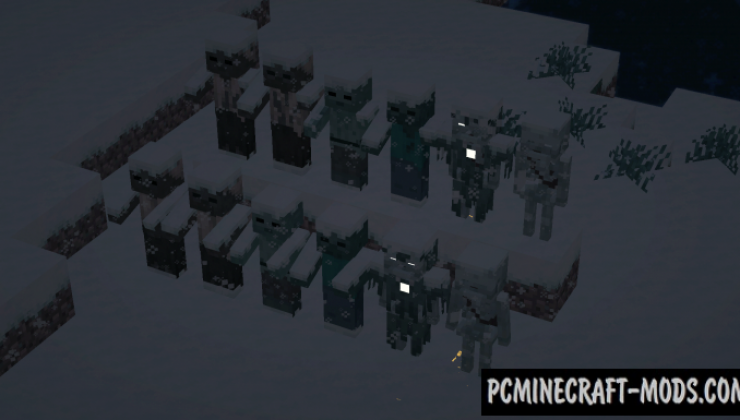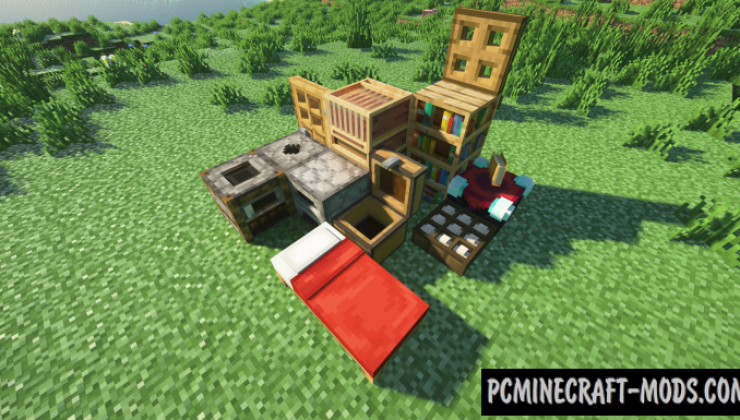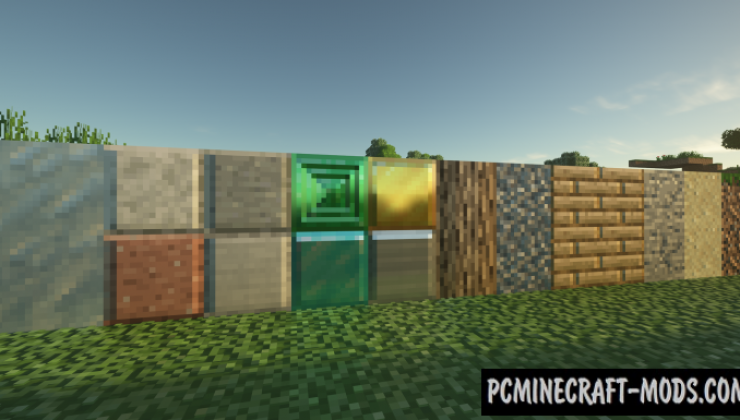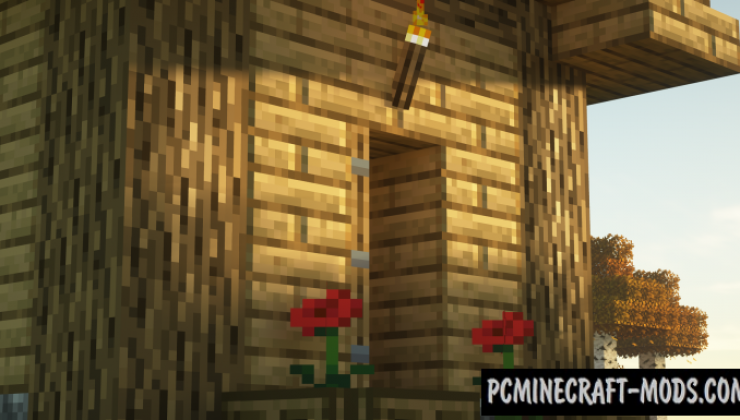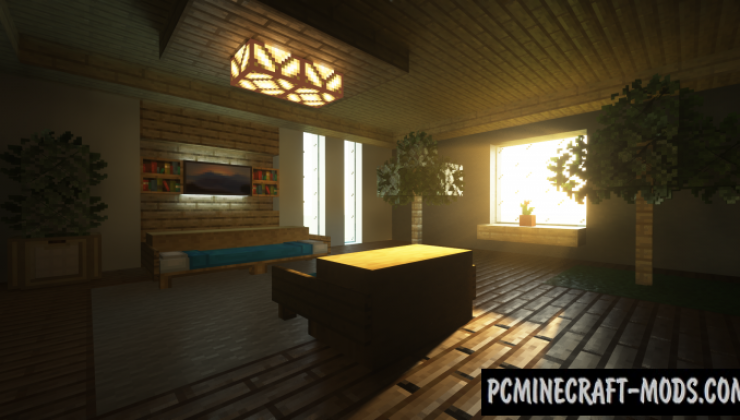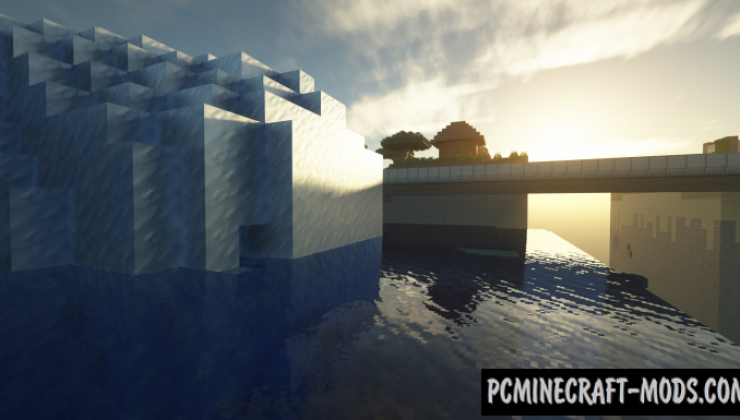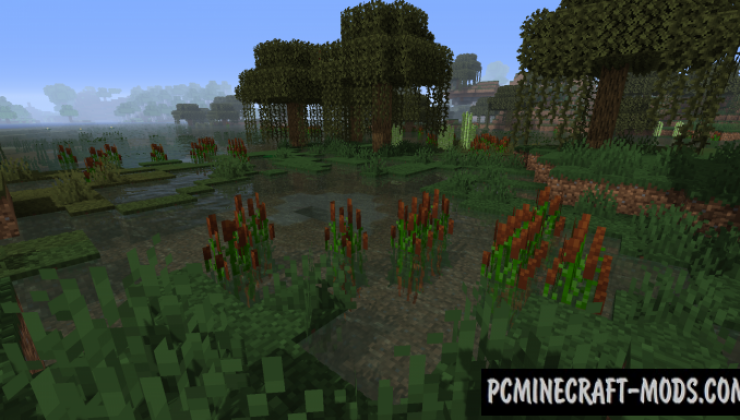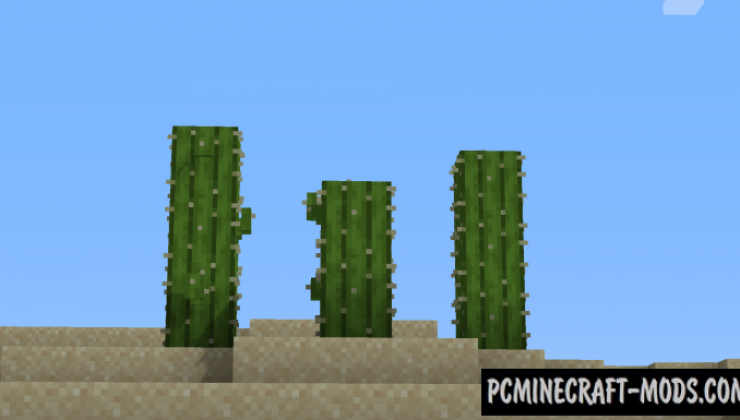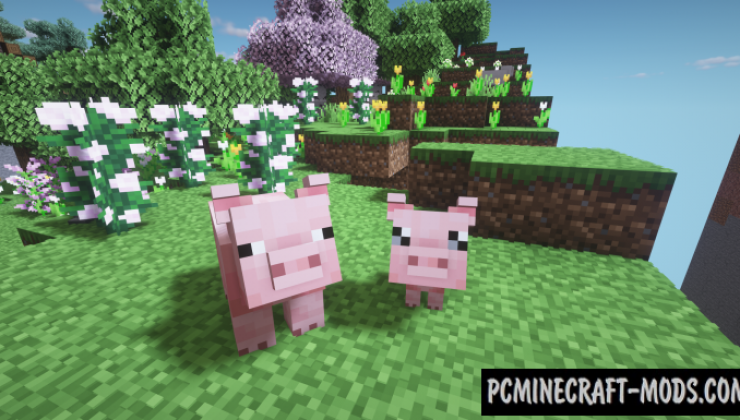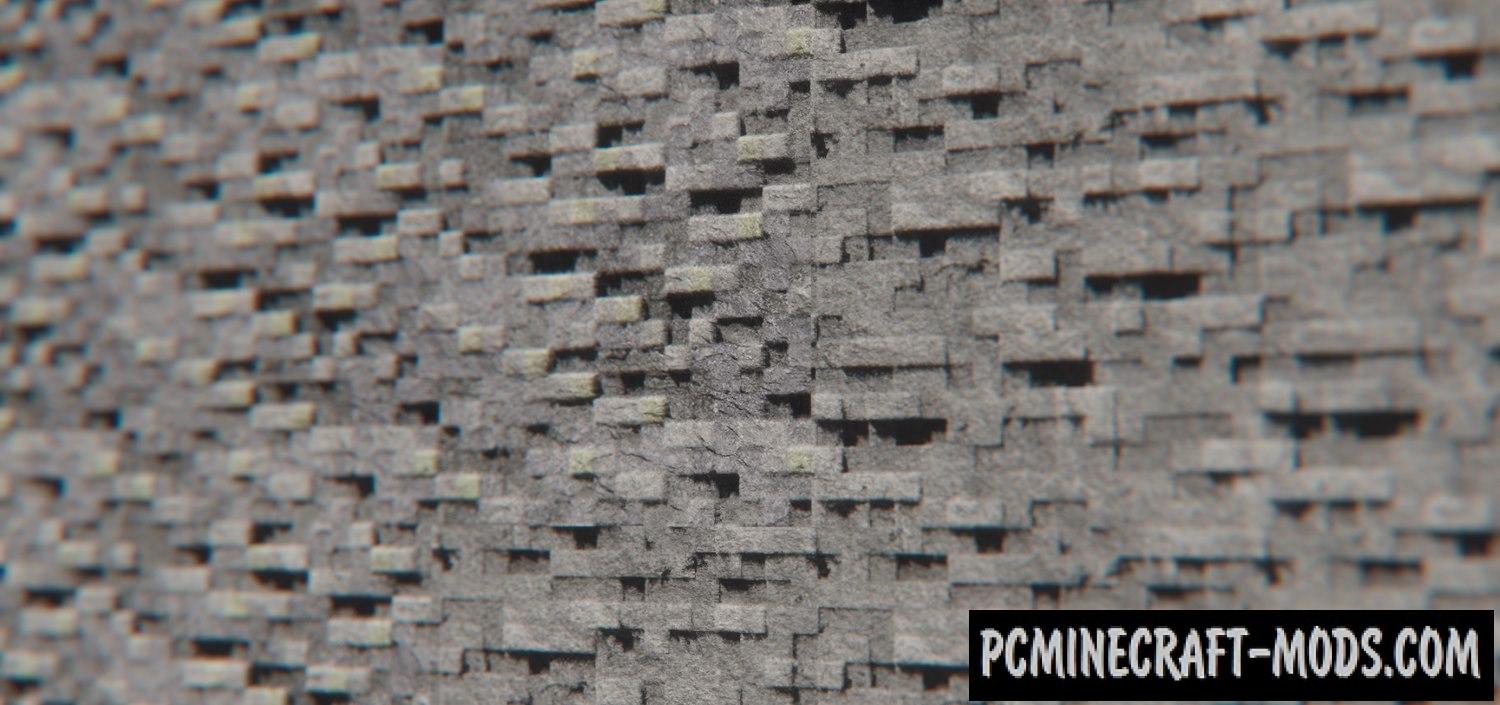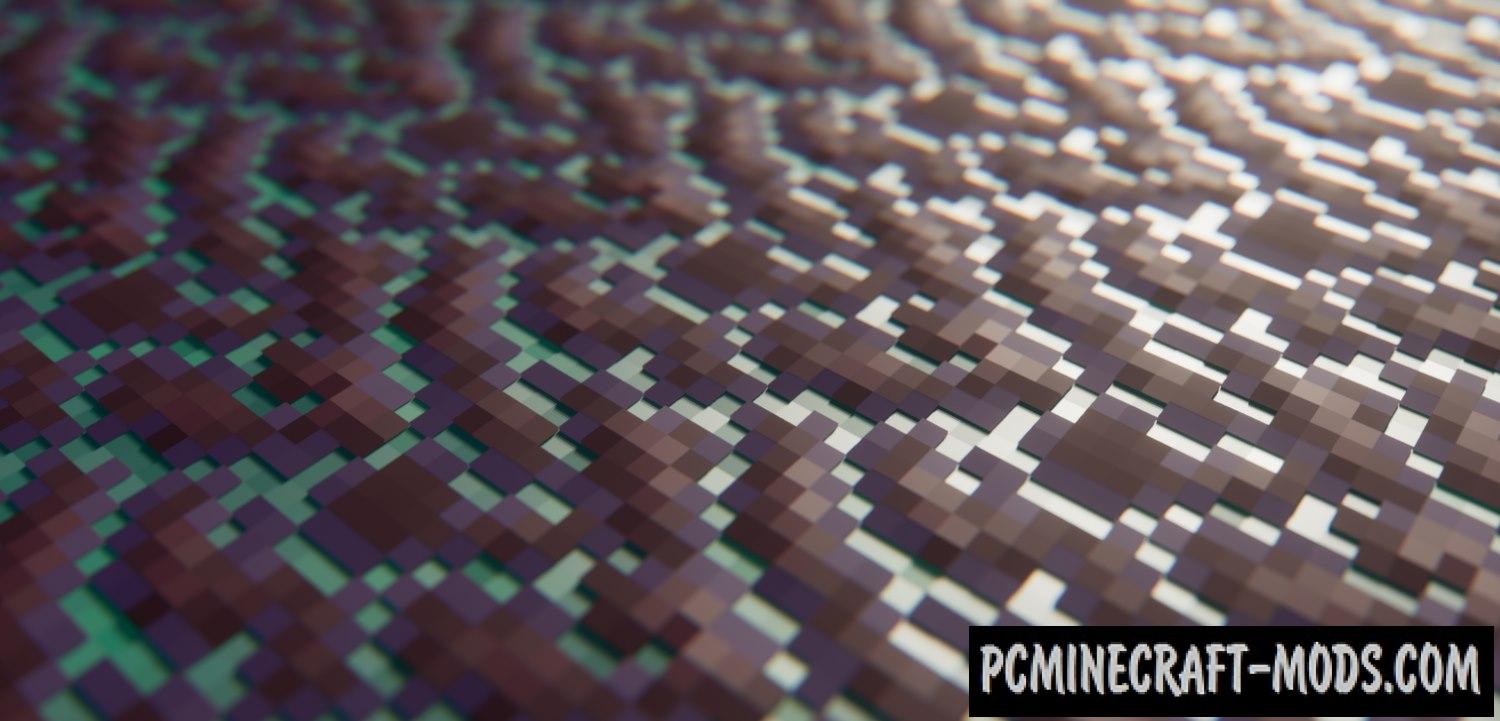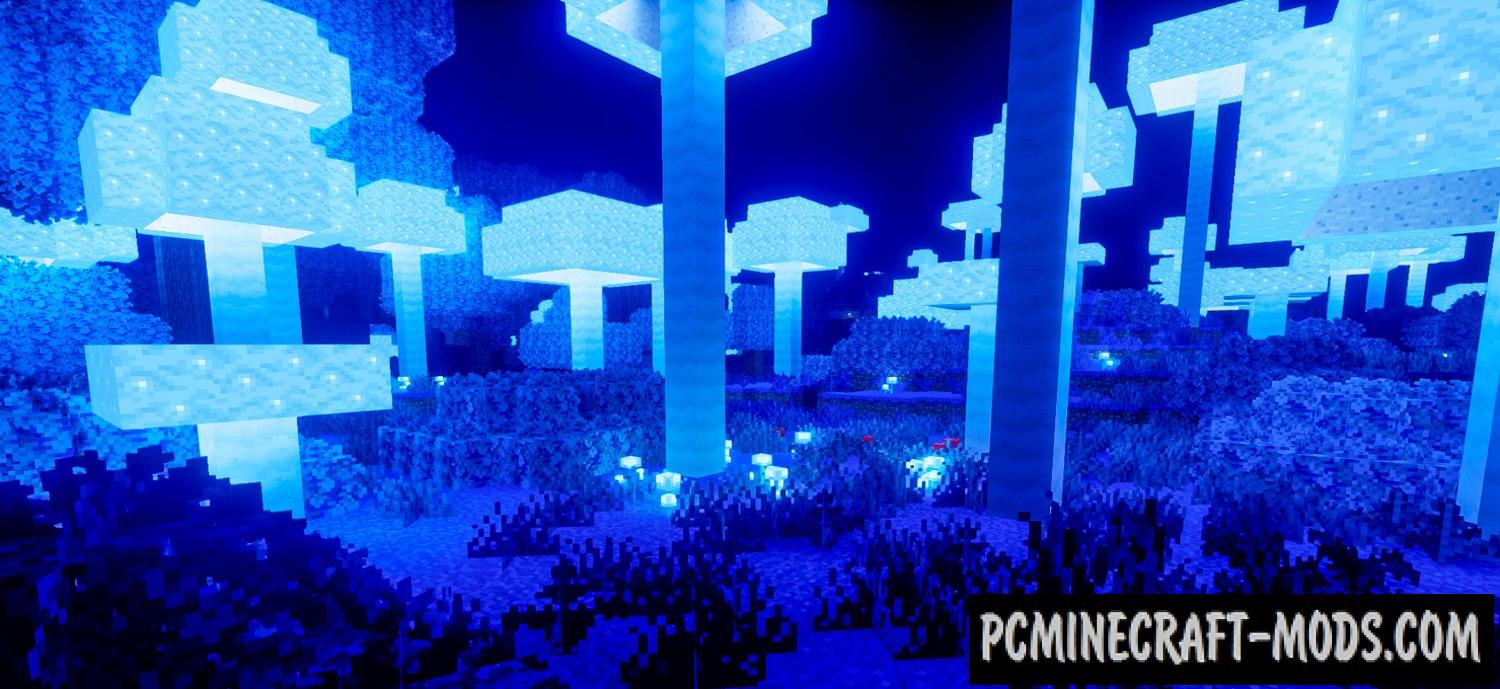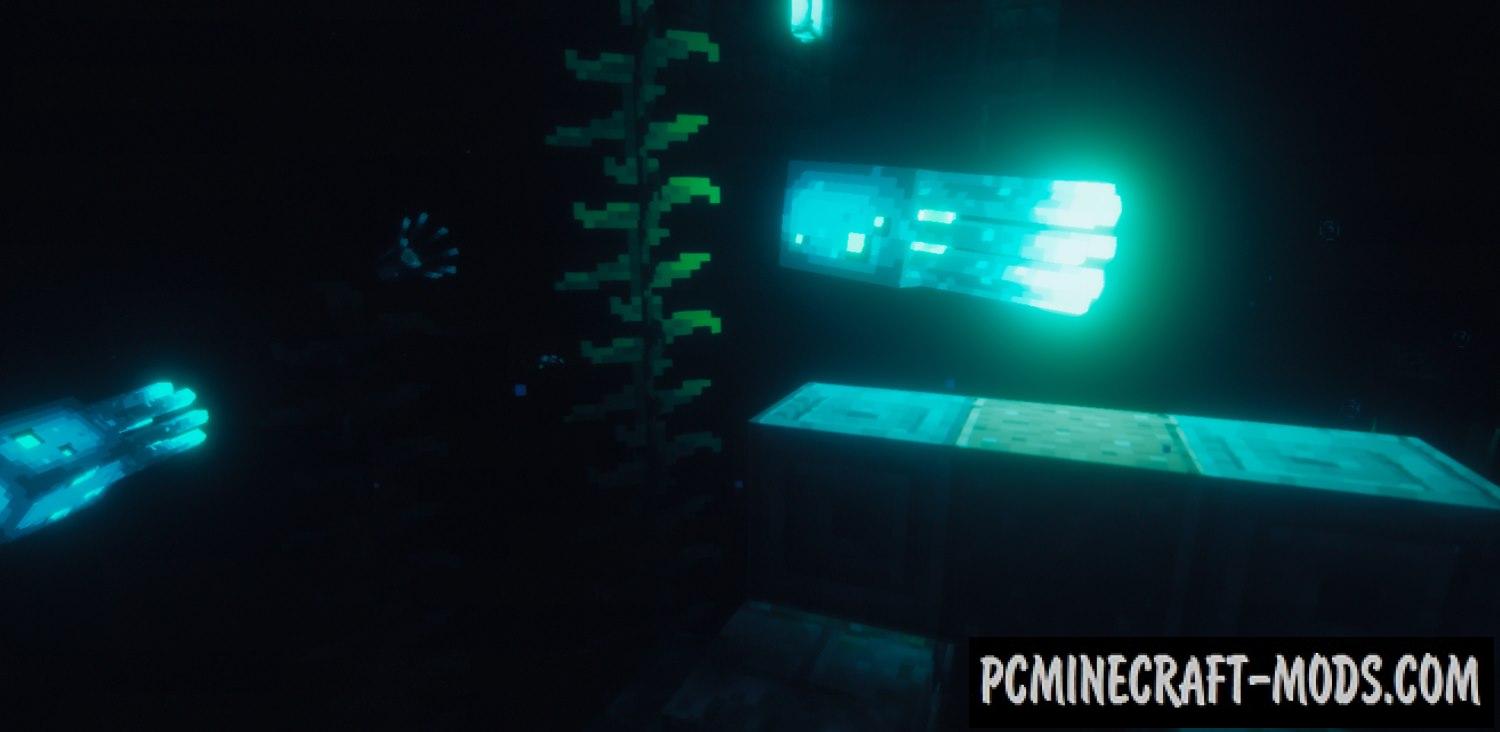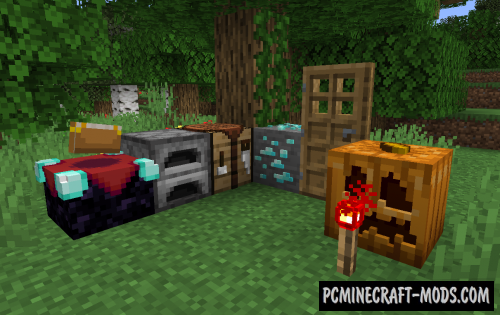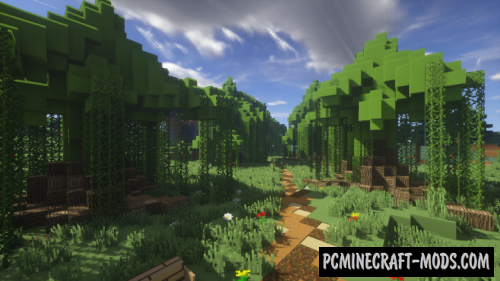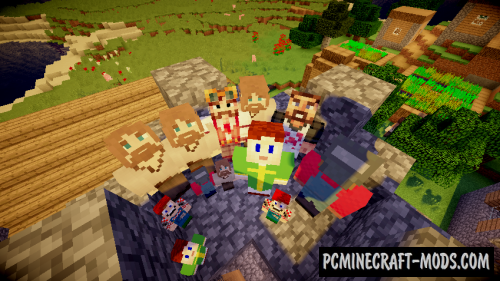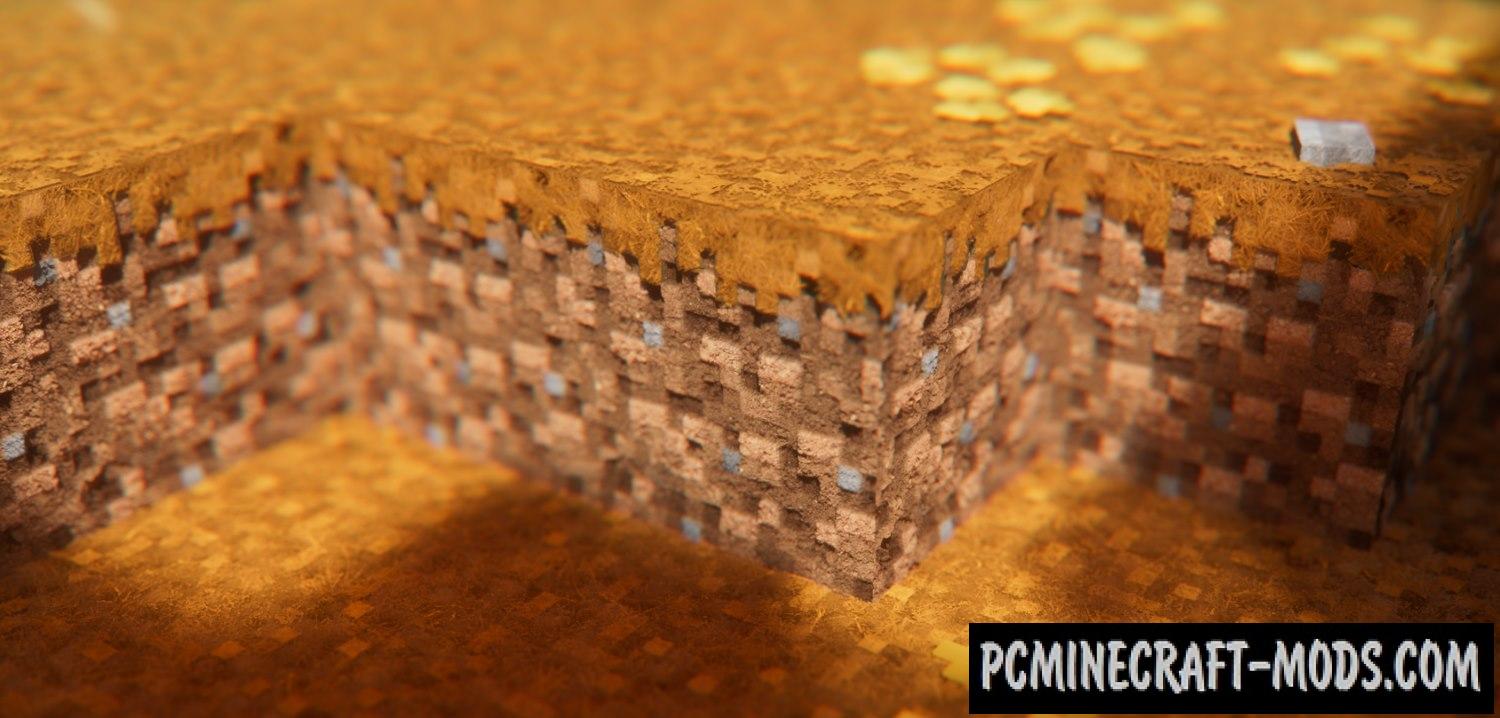
Ultimacraft 1.20.2-1.19.4 is a wonderful resource pack in which the author has done global work on almost all aspects of your favorite game! This texture is designed to add a fairly high-quality 3D models to minecraft, as well as improved blocks, new GUI interface, HUD, updated foliage, random models, new textures for mobs, and various other innovations.
The main feature is that it is adapted for different shaders, for example, you can use blurring, improving to HD quality, realistic, cubical, and other shader styles. This pack is designed to diversify your game as much as possible!
Features
- Custom models of doors, trapdoors, iron bars, campfires, rails etc.
- Fixes of vanilla textures & models.
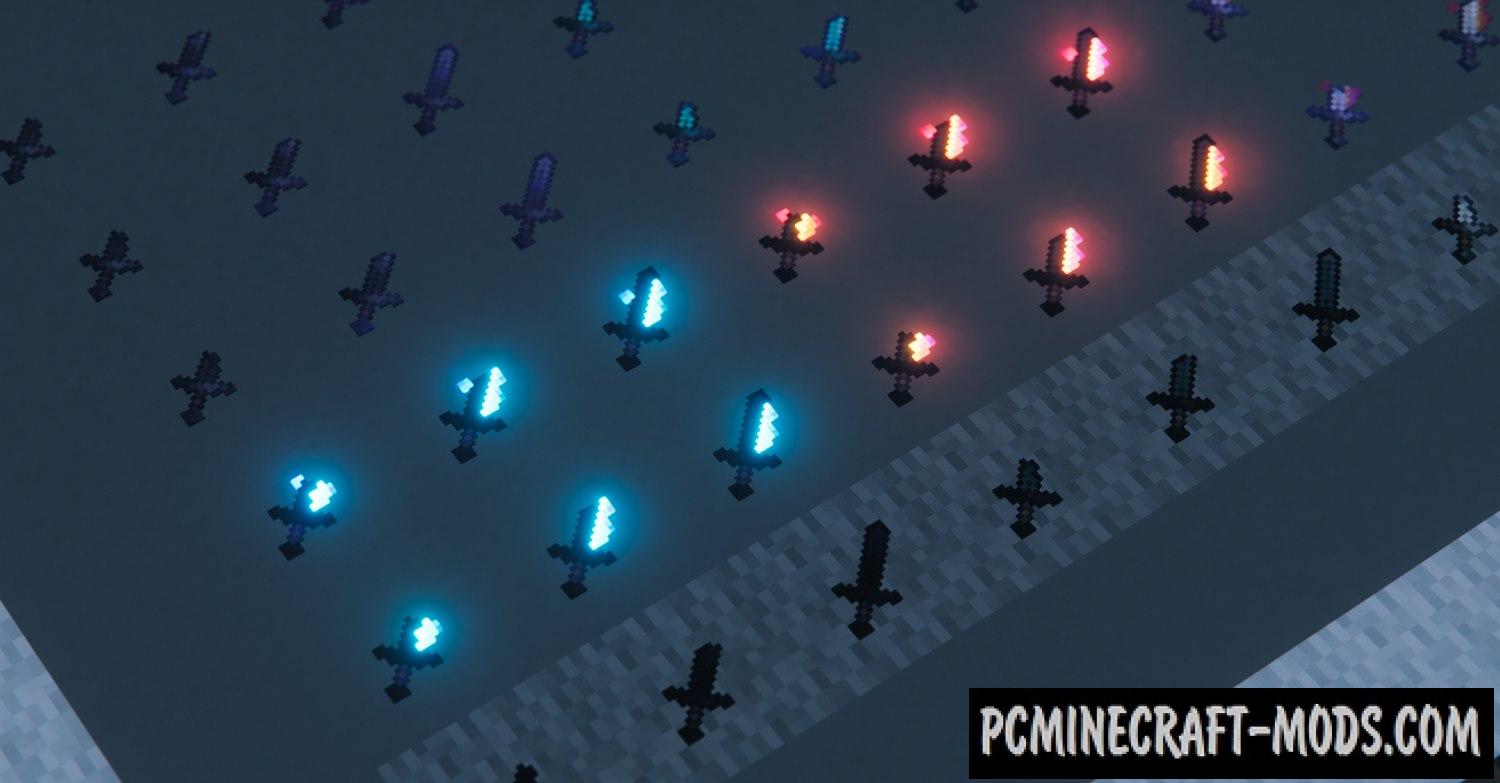
- Banch of animated textures (mostly item textures).
- Varianted blocks and plants.
Optifine Features
- Better grass support.
- Connected textures models (ctm).
- Block overlays (when block connecting to other block).
- Enhanced environment in biomes, custom plants (cattails, flowers on grass) and colors (autumn birch forest & pink birches in flower forest).
- Visual fish buckets and crossbow charges.
- Custom entity models: chests, shulkers & beds.
- Emissive textures.
- Supports the Biomes O’ Plenty Mod.
Screenshots
UltimaCraft HR
UltimaCraft PBR
How to install Ultimacraft
- Install Optifine HD
- Download the texture pack from the section below.
- Sometimes the authors create different resolutions, Bedrock (Minecraft PE) or Java versions, so choose the option that you like or that you think your graphics card can handle.
- Please note that some releases may contain bugs, incompatibilities with shaders and other graphics addons, and in some cases may cause conflicts within Optifine HD. You can try installing a previous build to fix this.
- Move the “Zip” file to the “Resourcepacks” folder.
- This folder is located at the following path:
Mac OS X:
/Users/Your Profile Name/Library/Application Support/minecraft/
Quick way to get there: Click on the desktop and then press the combination of “Command+Shift+G” keys at the same time.
Type ~/Library and press the “Enter” key.
Open the Application Support folder and then MinecraftWindows 11, 10, 8, 7:
C:\Users\Your Profile Name\AppData\Roaming\.minecraft\
Quick way to get there: Press the “Windows” key and the “R” key at the same time.
Type %appdata% and press “Enter” key or click OK. - Next, use step 14 to complete the installation.
- Launch the game client via the launcher.
- In the main menu of the game, click “Options” button.
- In the “Options” menu, select the “Resource Packs” button.
- Click on the “Open Resource Pack folder” button.
- Move the downloaded zip file to an open folder.
- Click the “Done” button.
- Your pack should have appeared in the left “Available” list, just hover over it and click on the arrow pointing to the right.
- This will move the pack to the right “Selected” list that displays the used packs or shaders and other addons.
- Select the desired resolution, desired addons and click the “Done” button again.
- Now it’s loaded and ready to use in the game world!
Manual installation:
Quick installation:
Credits
Created by: GrandMagusOfficial

 (9 votes, average: 4.78 out of 5)