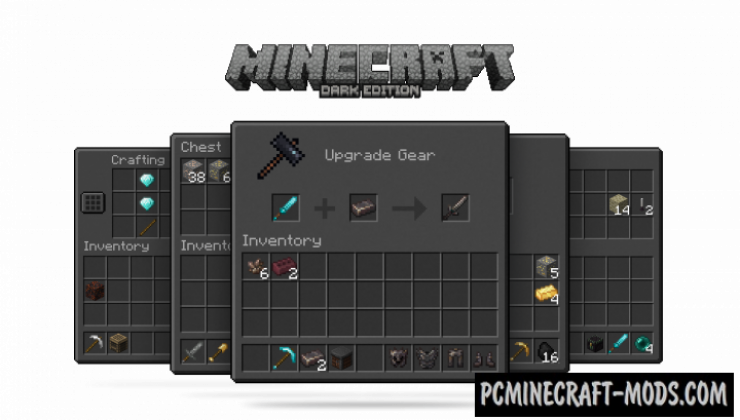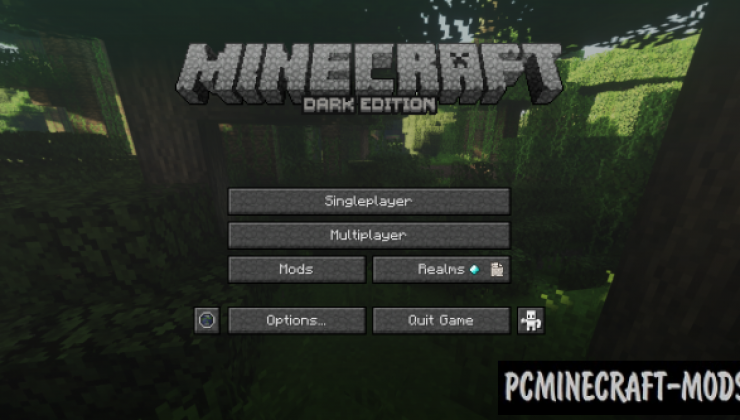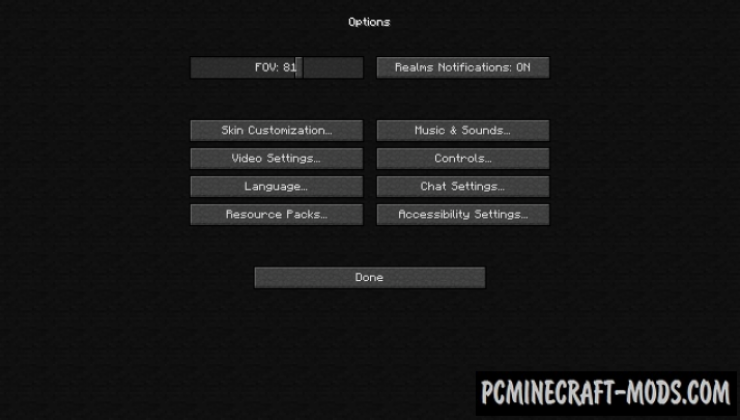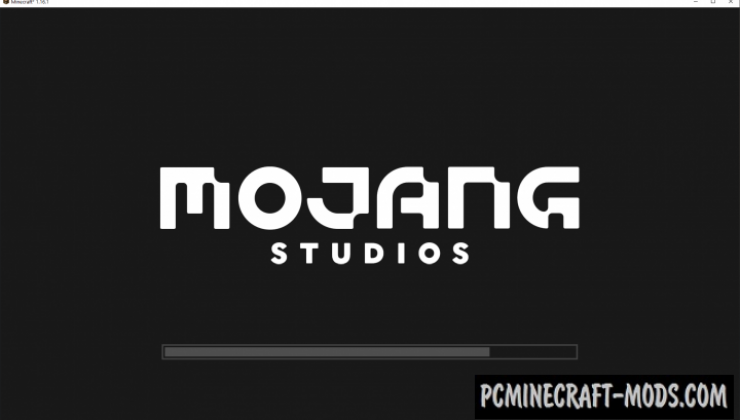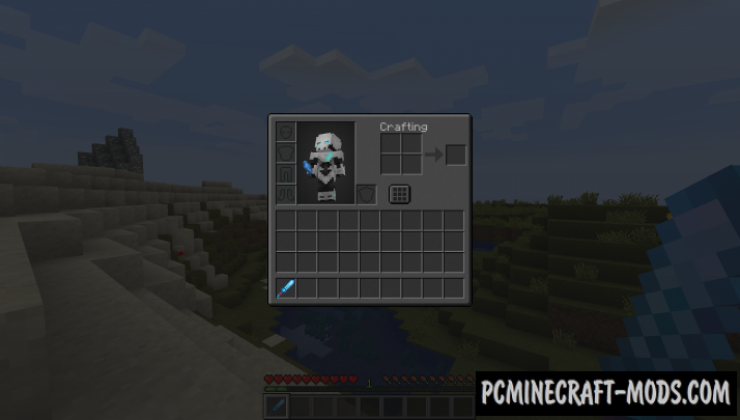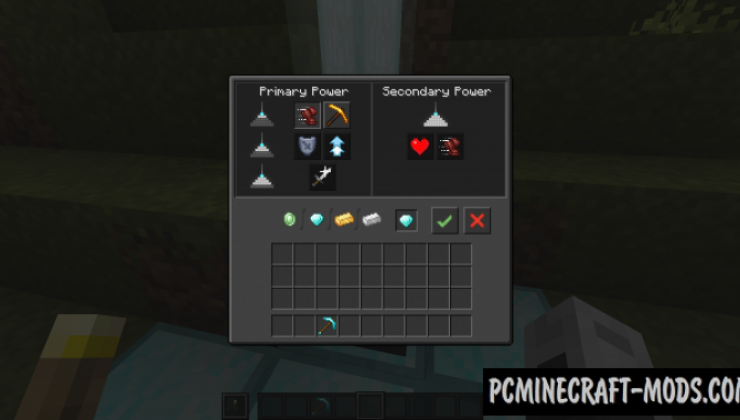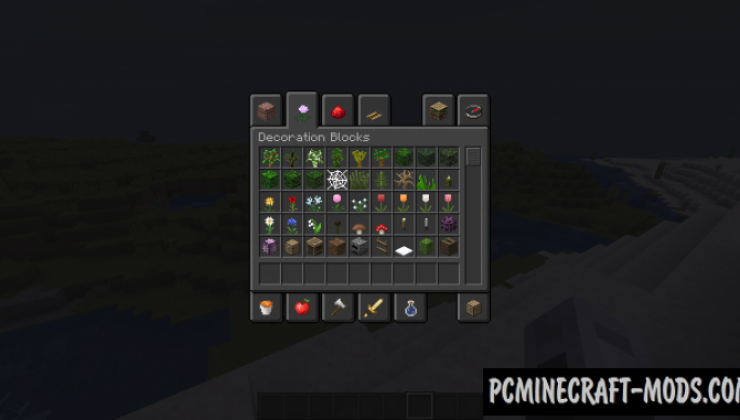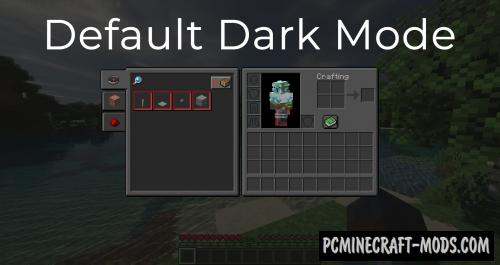
Unity: Dark Edition 1.20.2-1.12.2 resource pack was created for a more comfortable game at night. It has all the necessary features to turn the entire GUI as well as the boot screen into a dark option (Dark Mode). You can easily use this as a new feature that is available on most popular services, websites, social networks and mobile apps.
As you know, theCyanideX modder worked on the creation of this pack, which became famous due to participation in the development of super-popular Refined Storage, Industrial Forecasting, Blood Magic, Mekanism and other modifications. By the way, this texture pack is fully compatible with their GUI, so you can not worry that you will get a vanilla light gray GUI.
This contains alternative dark options for Settings Background, Recipe Book, Server Selection, Widgets, World Selection, Bars, Checkbox, Creative Inventory, Crafting Table, Dispenser, Enchanting Table, Furnace, Grindstone, Hopper, Horse Inventory, Shulker Box, Smoker, Stonecutter, Anvil, Beacon, Brewing Stand, Advancements, and of course new options for branded Mojang Loading and Title Screens. In addition, you can see that some vanilla icons of objects were drawn in a special way and optimized for a light theme, so the author worked on this to remove incompatible pixels and give the items an updated look.
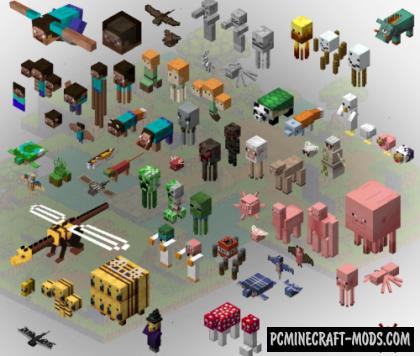
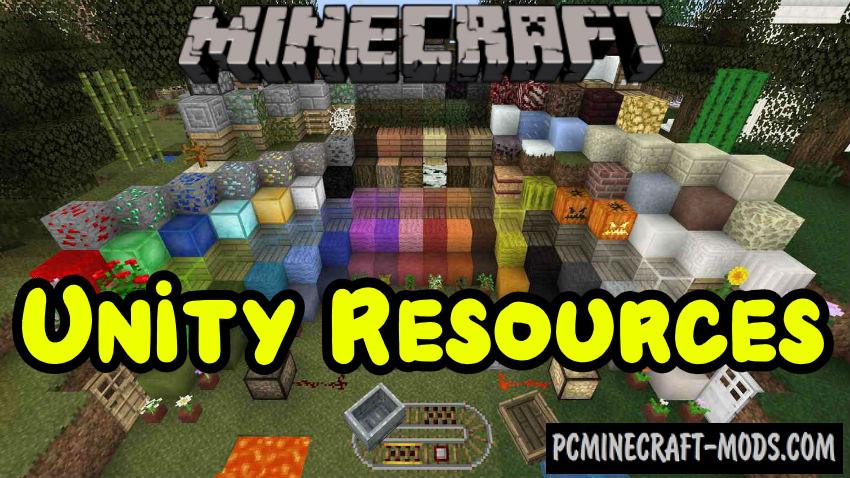
The author also recommends using the basic Unity package which will add more improvements to the blocks.
Screenshots
How to install Unity: Dark Edition
- Install Optifine HD
- Download the texture pack from the section below.
- Sometimes the authors create different resolutions, Bedrock (Minecraft PE) or Java versions, so choose the option that you like or that you think your graphics card can handle.
- Please note that some releases may contain bugs, incompatibilities with shaders and other graphics addons, and in some cases may cause conflicts within Optifine HD. You can try installing a previous build to fix this.
- Move the “Zip” file to the “Resourcepacks” folder.
- This folder is located at the following path:
Mac OS X:
/Users/Your Profile Name/Library/Application Support/minecraft/
Quick way to get there: Click on the desktop and then press the combination of “Command+Shift+G” keys at the same time.
Type ~/Library and press the “Enter” key.
Open the Application Support folder and then MinecraftWindows 11, 10, 8, 7:
C:\Users\Your Profile Name\AppData\Roaming\.minecraft\
Quick way to get there: Press the “Windows” key and the “R” key at the same time.
Type %appdata% and press “Enter” key or click OK. - Next, use step 14 to complete the installation.
- Launch the game client via the launcher.
- In the main menu of the game, click “Options” button.
- In the “Options” menu, select the “Resource Packs” button.
- Click on the “Open Resource Pack folder” button.
- Move the downloaded zip file to an open folder.
- Click the “Done” button.
- Your pack should have appeared in the left “Available” list, just hover over it and click on the arrow pointing to the right.
- This will move the pack to the right “Selected” list that displays the used packs or shaders and other addons.
- Select the desired resolution, desired addons and click the “Done” button again.
- Now it’s loaded and ready to use in the game world!
Manual installation:
Quick installation:
Credits
Created by: theCyanideX (Official Twitter Account)
Downloads
Direct Links:


 (9 votes, average: 3.78 out of 5)