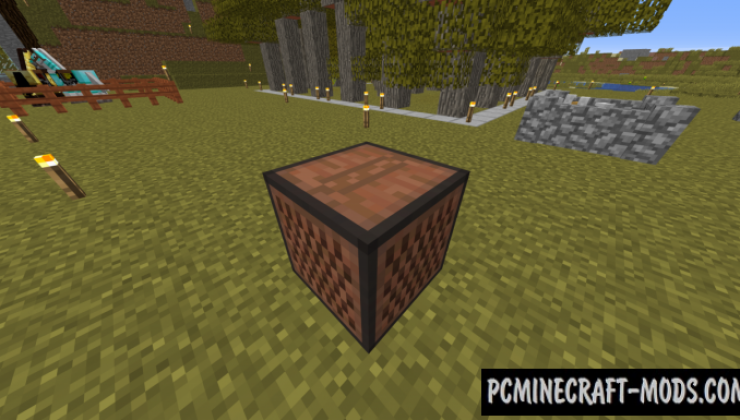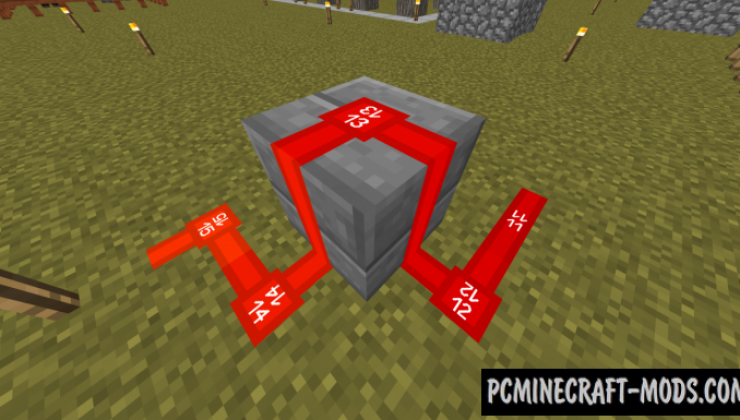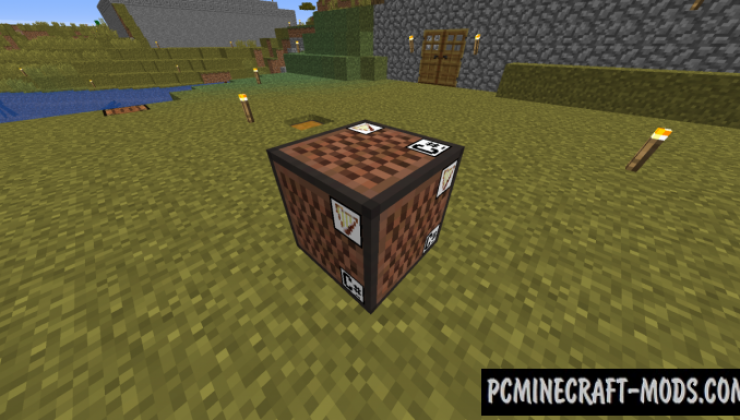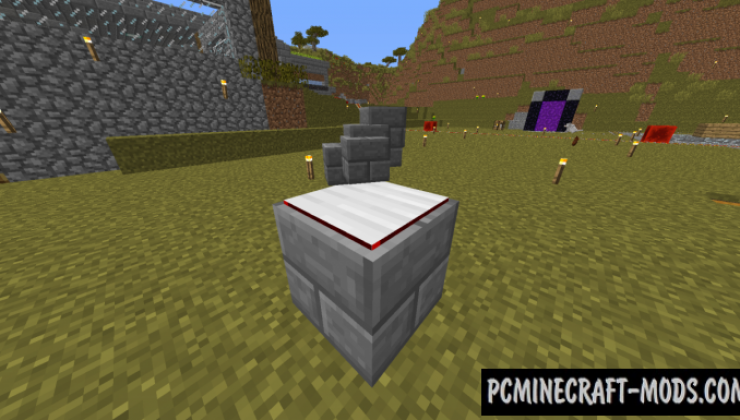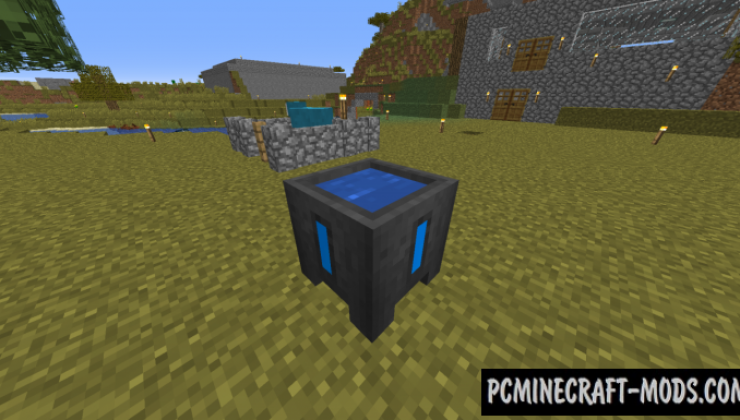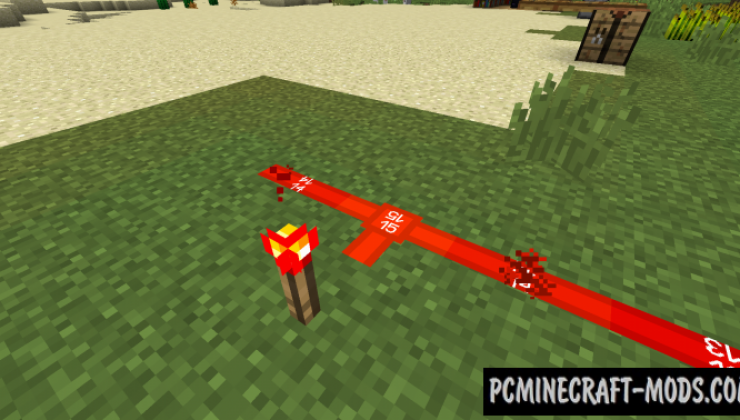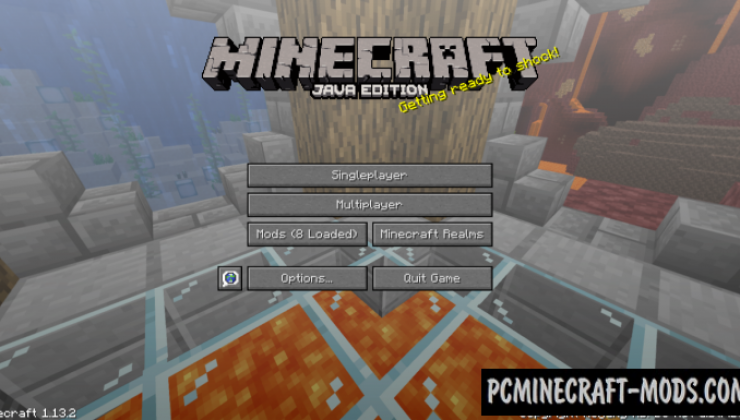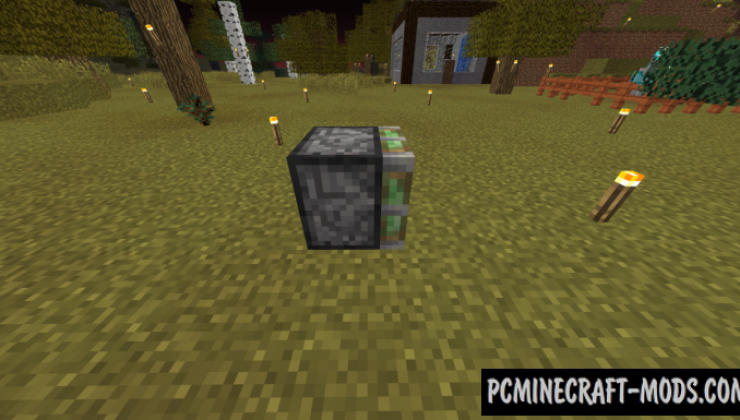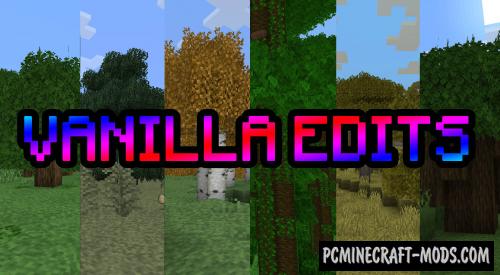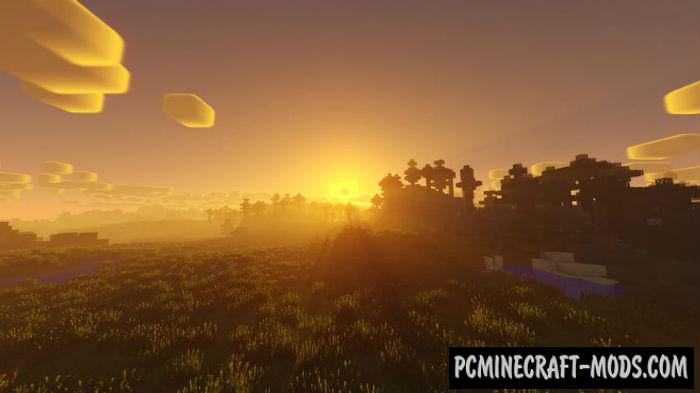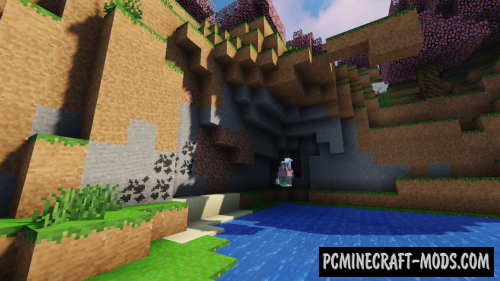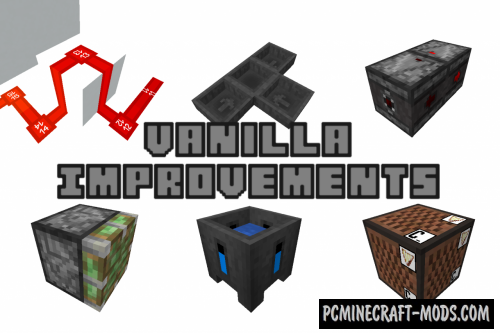
Vanilla Improvements 1.16.5-1.16.4 is a complete set of small but extremely useful improvements to your standard textures and even parts of the interface that will make your favorite game even more convenient and simple!
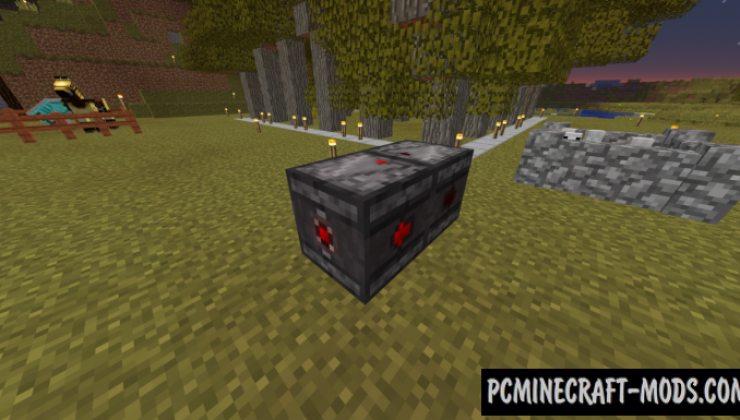
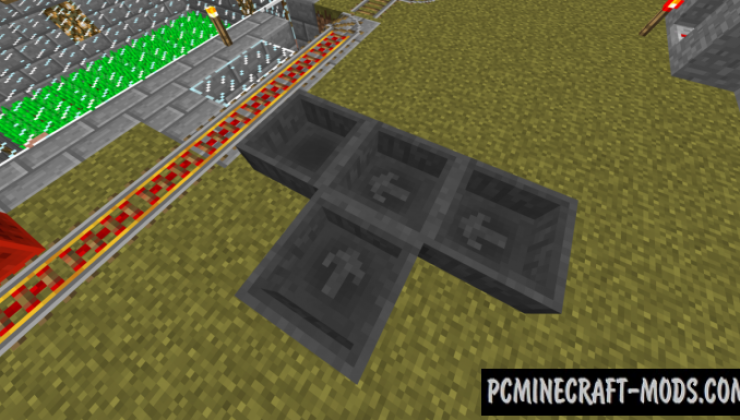
For example, Redstone will have a signal strength indicator, and corresponding indicators will also be added to all other mechanisms and tools. More modern textures for the player and music block. Now the player will be able to build mechanisms more comfortably because there will be a lot of hints that are more noticeable than vanilla options, this is useful for both beginners and professional players. Additional hints on blocks also have decorative features and can be used as landmarks in caves or as an interior in rooms.
The author also tried to change the standard UI which in his opinion is considered less relevant, for example, he changed the brewing stand GUI, removed health flash with health loss indicator, some changes to the background image and many more small changes that will make your survival less annoying.
Screenshots
How to install Vanilla Improvements
- Install Optifine HD (Not necessary but desirable)
- Download the texture pack from the section below.
- Sometimes the authors create different resolutions, Bedrock (Minecraft PE) or Java versions, so choose the option that you like or that you think your graphics card can handle.
- Please note that some releases may contain bugs, incompatibilities with shaders and other graphics addons, and in some cases may cause conflicts within Optifine HD. You can try installing a previous build to fix this.
- Move the “Zip” file to the “Resourcepacks” folder.
- This folder is located at the following path:
Mac OS X:
/Users/Your Profile Name/Library/Application Support/minecraft/
Quick way to get there: Click on the desktop and then press the combination of “Command+Shift+G” keys at the same time.
Type ~/Library and press the “Enter” key.
Open the Application Support folder and then MinecraftWindows 11, 10, 8, 7:
C:\Users\Your Profile Name\AppData\Roaming\.minecraft\
Quick way to get there: Press the “Windows” key and the “R” key at the same time.
Type %appdata% and press “Enter” key or click OK. - Next, use step 14 to complete the installation.
- Launch the game client via the launcher.
- In the main menu of the game, click “Options” button.
- In the “Options” menu, select the “Resource Packs” button.
- Click on the “Open Resource Pack folder” button.
- Move the downloaded zip file to an open folder.
- Click the “Done” button.
- Your pack should have appeared in the left “Available” list, just hover over it and click on the arrow pointing to the right.
- This will move the pack to the right “Selected” list that displays the used packs or shaders and other addons.
- Select the desired resolution, desired addons and click the “Done” button again.
- Now it’s loaded and ready to use in the game world!
Manual installation:
Quick installation:

