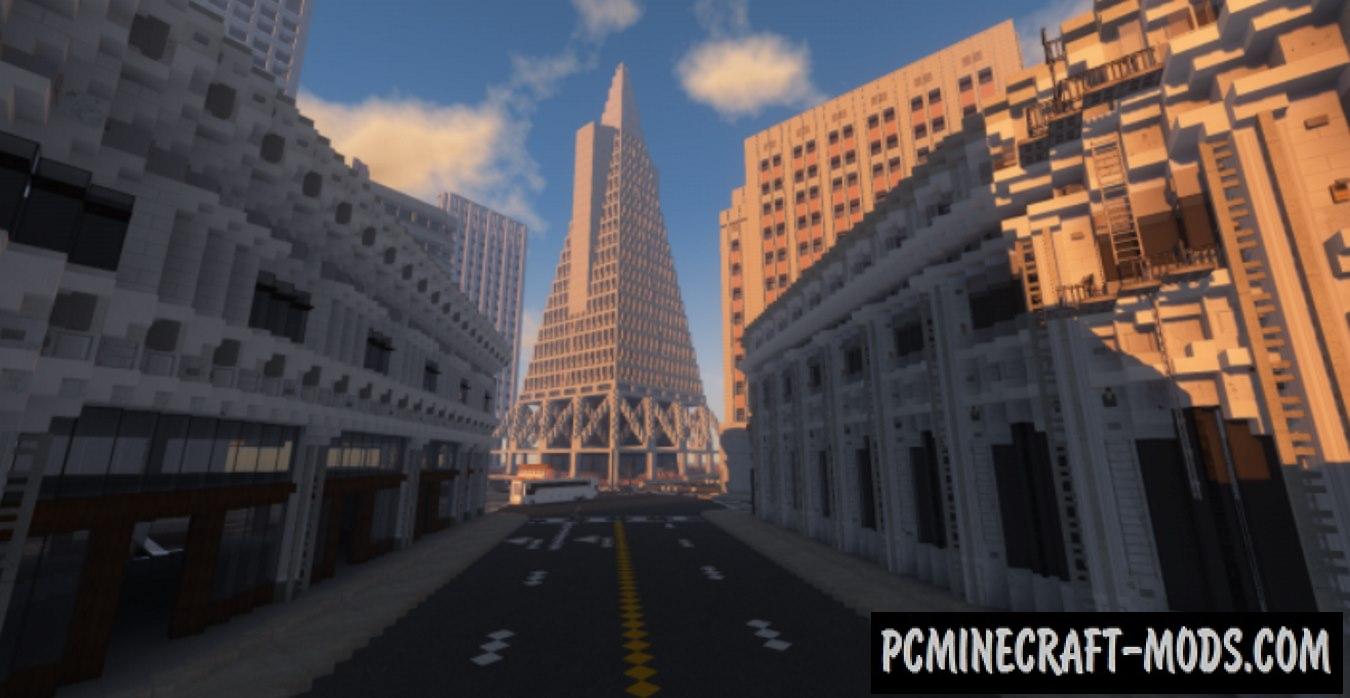
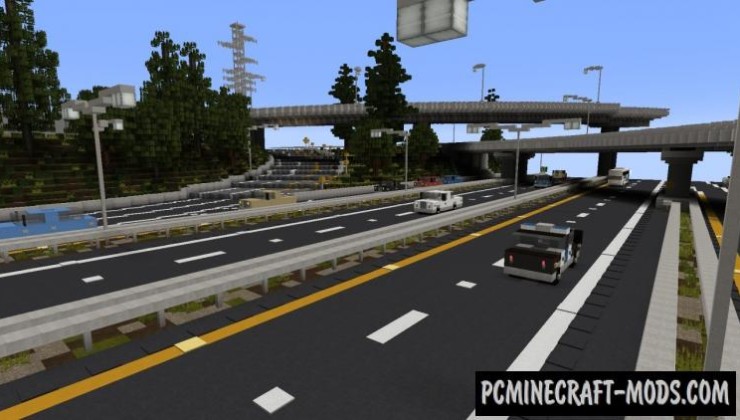
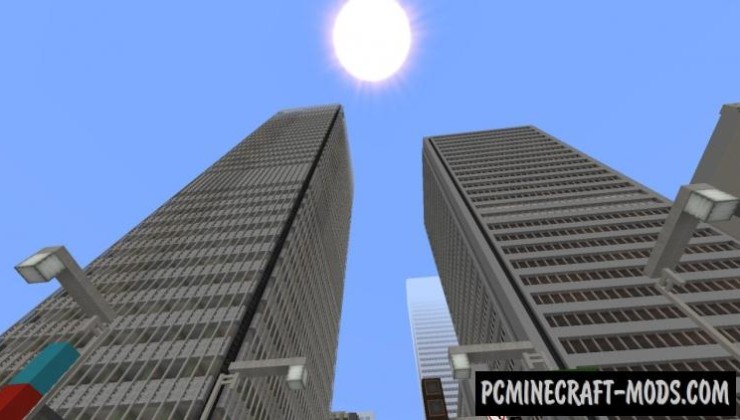
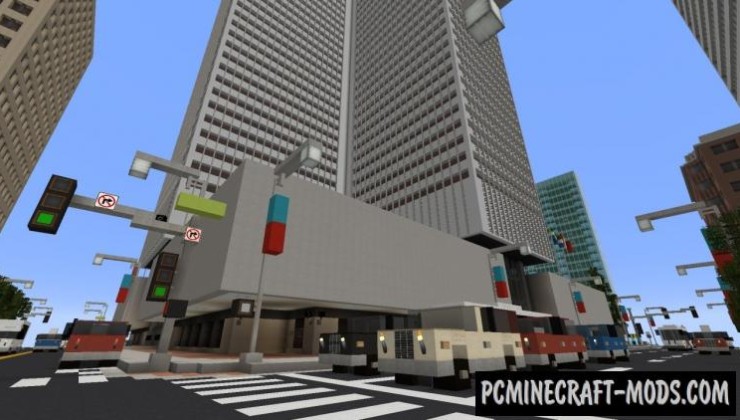
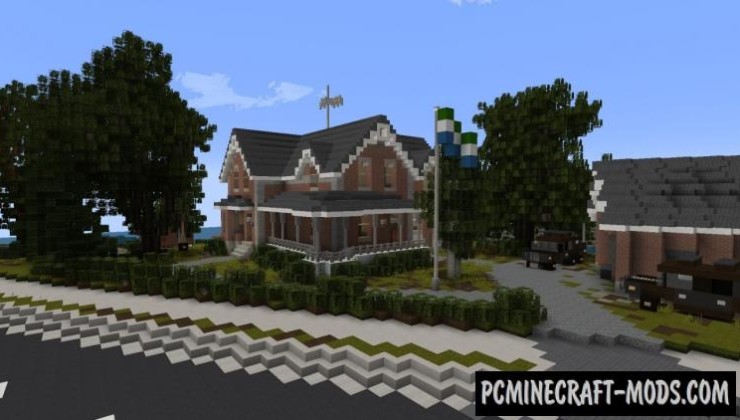
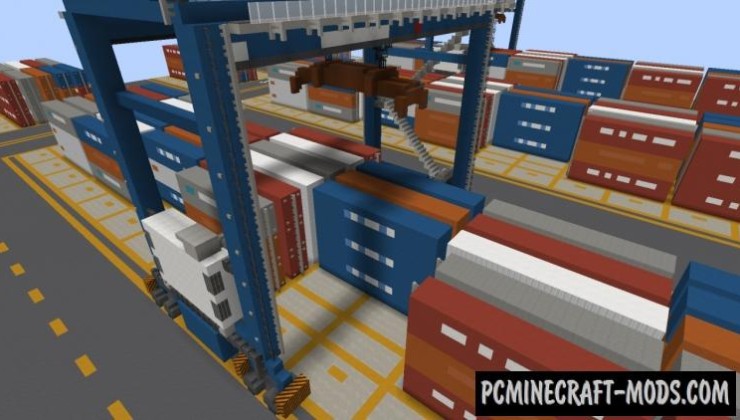
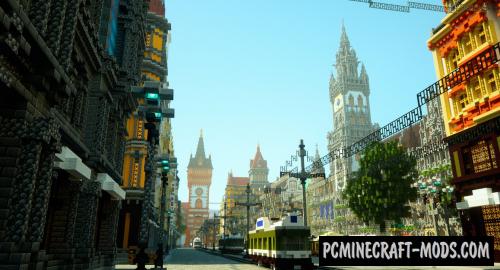
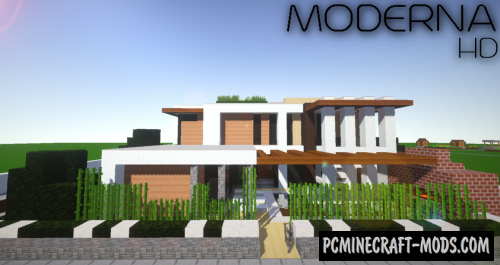
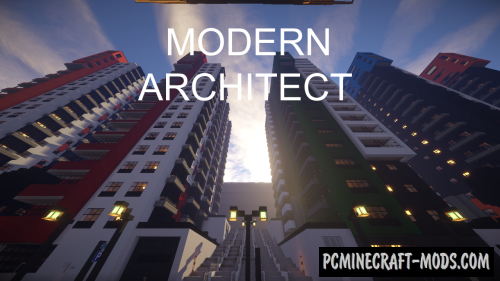
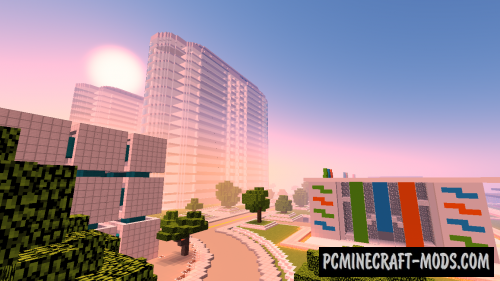
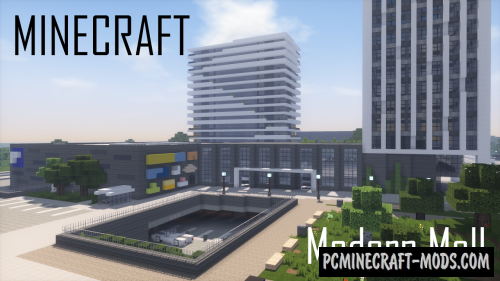
Harkenburg City 1.17.1-1.16.5 resource pack (Similar project – The Blueprint) is designed specifically for the construction of a city, both a small and a whole metropolis! There is everything not only for the construction of modern apartment buildings, but also materials for marking highways and roads.
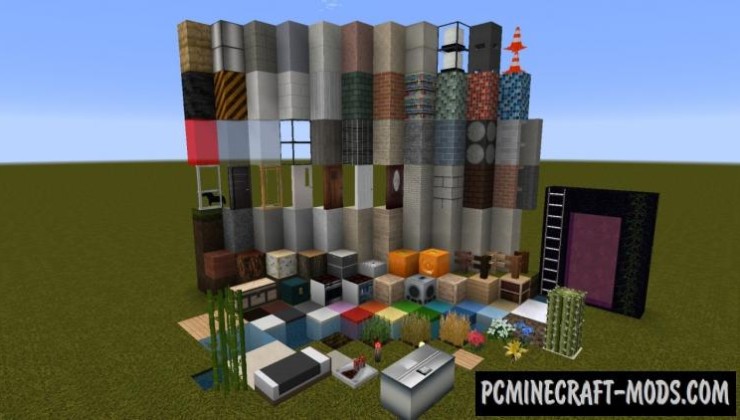
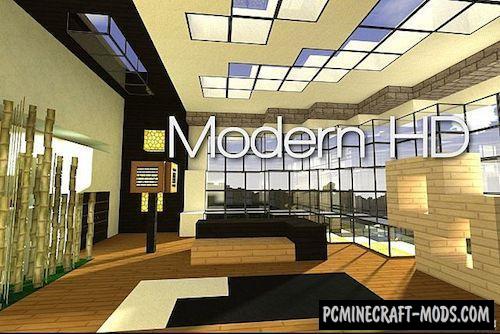
The author provided materials for the construction of European and U.S. houses. At your disposal will be treated and painted boards, glossy and matte quartz blocks for the facade, plastic panels, improved glass, asphalt pavement and much more. It has been in development for more than 3 years and the developer travels a lot to find the most popular textures to add to their pack.
Now every player has the opportunity to recreate any building or monument from their city, because the pack has everything you need for this. This is mostly used to automatically replace vanilla textures in downloaded city maps, but you can try to create something yourself. There are few such resource packs and your projects will always be compatible with similar packs. As you know, the author has a Harkenburg City project that is constantly being developed and completed, so you can see the author’s style of construction of modern buildings or even distant U.S. towns.
Screenshots
How to install Harkenburg City
- Install Optifine HD (Not necessary but desirable)
- Download the texture pack from the section below.
- Sometimes the authors create different resolutions, Bedrock (Minecraft PE) or Java versions, so choose the option that you like or that you think your graphics card can handle.
- Please note that some releases may contain bugs, incompatibilities with shaders and other graphics addons, and in some cases may cause conflicts within Optifine HD. You can try installing a previous build to fix this.
- Move the “Zip” file to the “Resourcepacks” folder.
- This folder is located at the following path:
Mac OS X:
/Users/Your Profile Name/Library/Application Support/minecraft/
Quick way to get there: Click on the desktop and then press the combination of “Command+Shift+G” keys at the same time.
Type ~/Library and press the “Enter” key.
Open the Application Support folder and then MinecraftWindows 11, 10, 8, 7:
C:\Users\Your Profile Name\AppData\Roaming\.minecraft\
Quick way to get there: Press the “Windows” key and the “R” key at the same time.
Type %appdata% and press “Enter” key or click OK. - Next, use step 14 to complete the installation.
- Launch the game client via the launcher.
- In the main menu of the game, click “Options” button.
- In the “Options” menu, select the “Resource Packs” button.
- Click on the “Open Resource Pack folder” button.
- Move the downloaded zip file to an open folder.
- Click the “Done” button.
- Your pack should have appeared in the left “Available” list, just hover over it and click on the arrow pointing to the right.
- This will move the pack to the right “Selected” list that displays the used packs or shaders and other addons.
- Select the desired resolution, desired addons and click the “Done” button again.
- Now it’s loaded and ready to use in the game world!
Manual installation:
Quick installation:
Credits:
Direct Links:

//
This link is not Huntington, it is Harkenburg
//
Fixed
//
The Huntington link still does not take you to the Huntington pack download. It takes you to a different pack.
//
The Huntington link still does not take you to the Huntington pack download.
//
Project renamed to The Realism Society