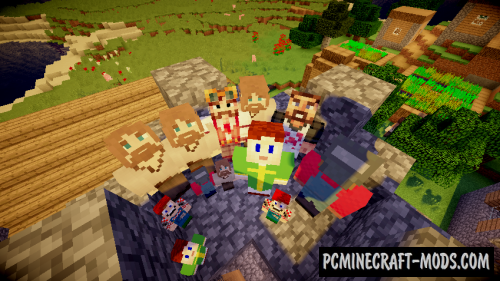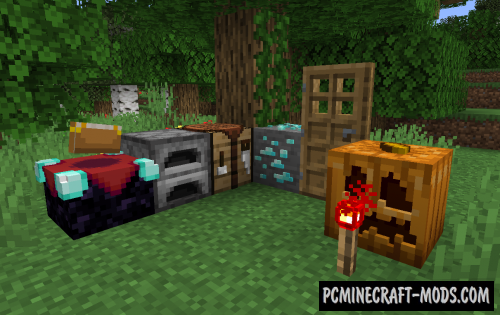
Jolicraft 1.20.2-1.19.2 is an interesting resource pack with a great design and a unique RPG-Adventure atmosphere. It contains features to change all textures of blocks, items, GUI, mobs and other game elements. A great choice to turn boring survival into a colorful adventure between biomes.
The author managed to create a very successful project because now it is sold in the official marketplace for Bedrock Edition version, but for Java Ediiton it remains a free pack that can be used by every player.
There are so many changes that each player can spend hours looking at a lot of micro details on armor, blocks, mobs, and other game elements. Using this you can safely go to explore new territories because at every step the player will meet new unforgettable sensations and just a beautiful environment.
Despite the default 16×16 resolution, the author tried to add as much detail as possible to each side of the block or item. But if you look at the vanilla textures, you will notice that the developers make a lot of repeating pixels and slightly darken the default pack, so this is a great alternative to diversify the game world and not much light up the scary places.
Monsters here have a more realistic look, this style of drawing is used in most popular horror games and it is much scarier than the default options. Some animals have become a little nicer but others have lost their harmless facial contours and replaced it with a more realistic appearance.
Jolicraft is a great texture pack for both beginners and advanced players. This can mainly be used to extend the in-game time without changing the load on the GPU and CPU. Add more fun and bright moments to your monotonous survival.
Screenshots

Review
How to install the Jolicraft
- Install Optifine HD (Not necessary but desirable)
- Download the texture pack from the section below.
- Sometimes the authors create different resolutions, Bedrock (Minecraft PE) or Java versions, so choose the option that you like or that you think your graphics card can handle.
- Please note that some releases may contain bugs, incompatibilities with shaders and other graphics addons, and in some cases may cause conflicts within Optifine HD. You can try installing a previous build to fix this.
- Move the “Zip” file to the “Resourcepacks” folder.
- This folder is located at the following path:
Mac OS X:
/Users/Your Profile Name/Library/Application Support/minecraft/
Quick way to get there: Click on the desktop and then press the combination of “Command+Shift+G” keys at the same time.
Type ~/Library and press the “Enter” key.
Open the Application Support folder and then MinecraftWindows 11, 10, 8, 7:
C:\Users\Your Profile Name\AppData\Roaming\.minecraft\
Quick way to get there: Press the “Windows” key and the “R” key at the same time.
Type %appdata% and press “Enter” key or click OK. - Next, use step 14 to complete the installation.
- Launch the game client via the launcher.
- In the main menu of the game, click “Options” button.
- In the “Options” menu, select the “Resource Packs” button.
- Click on the “Open Resource Pack folder” button.
- Move the downloaded zip file to an open folder.
- Click the “Done” button.
- Your pack should have appeared in the left “Available” list, just hover over it and click on the arrow pointing to the right.
- This will move the pack to the right “Selected” list that displays the used packs or shaders and other addons.
- Select the desired resolution, desired addons and click the “Done” button again.
- Now it’s loaded and ready to use in the game world!
Manual installation:
Quick installation:
Credits
Created by: andrejolicoeur
Official link:


 (3 votes, average: 3.67 out of 5)

