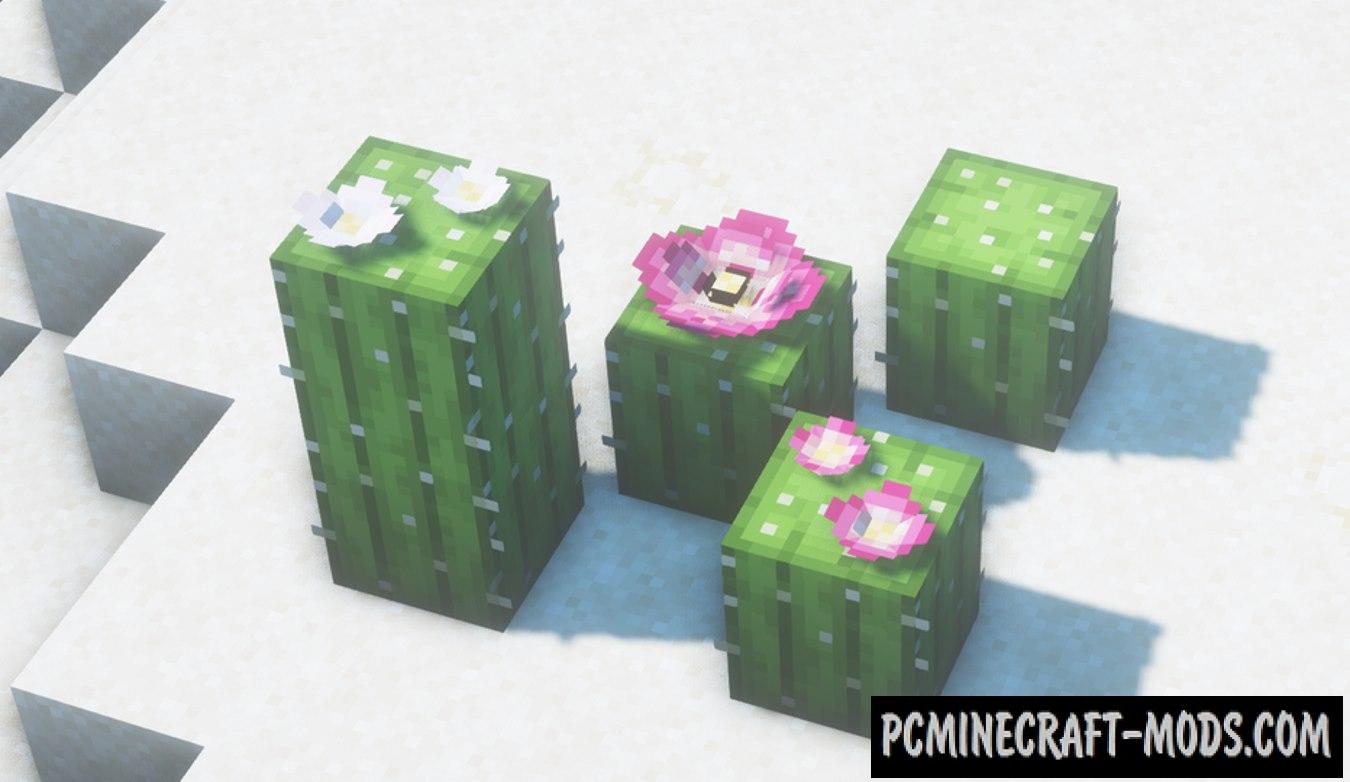
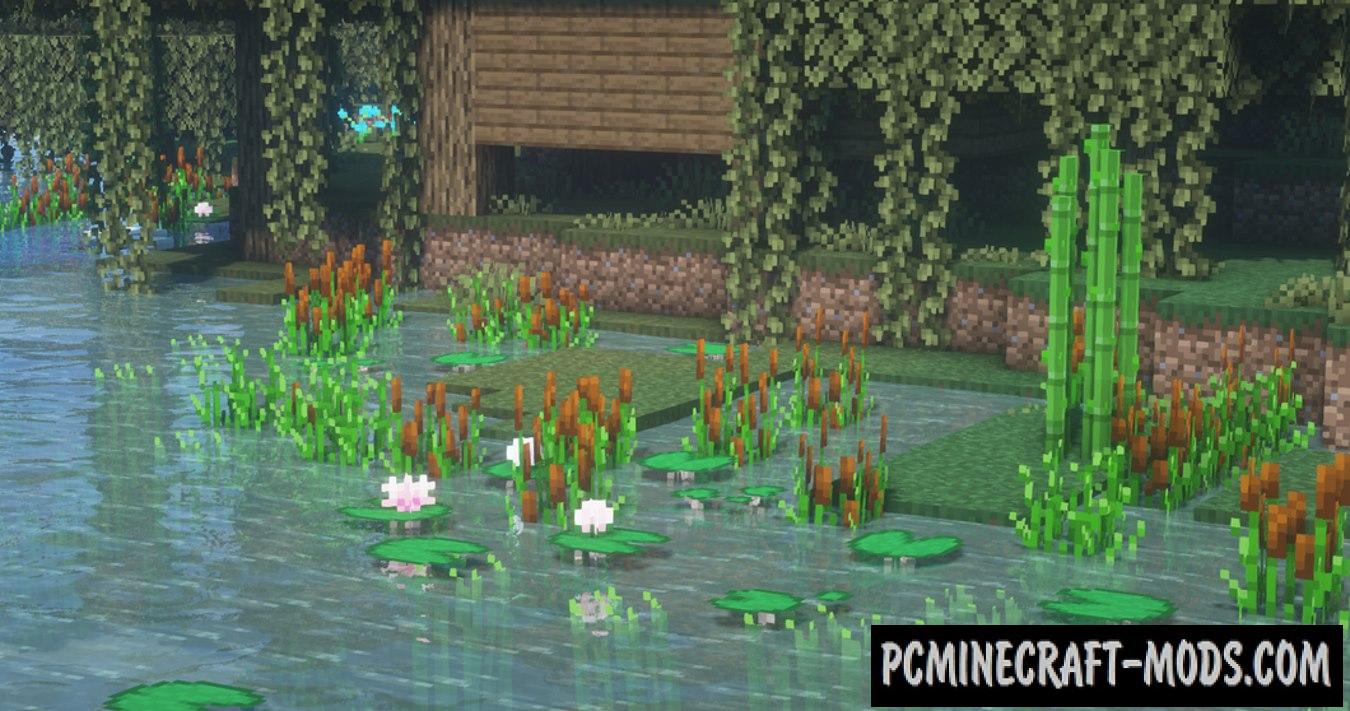
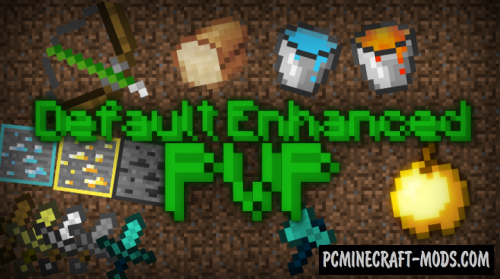
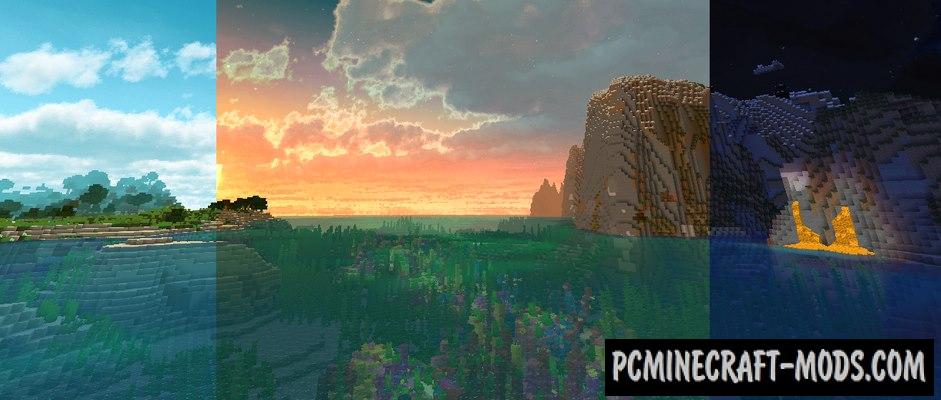
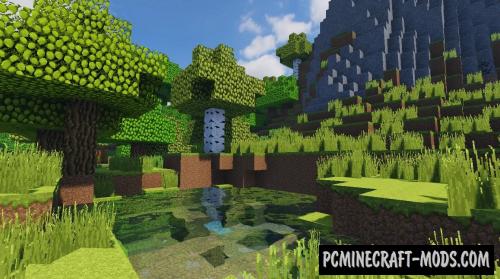
This resource pack will give your minecraft a rather unique and high-quality style. With the Enhanced Default 1.20.1-1.19.4, you will get the option to change 3D models, interface textures, tools, as well as armor and some blocks! This is another default resource pack that will appeal to most players who do not like to install modifications.
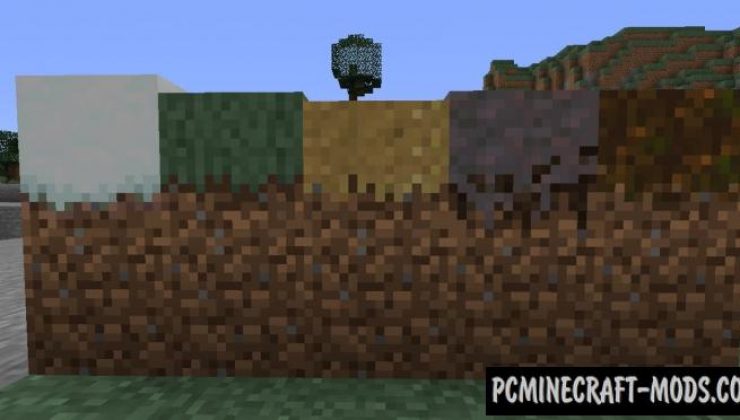
The author has chosen his own list of vanilla elements to improve them and turn the boring game world into a more advanced and logical one. Some textures have become more detailed, and some have been completely redrawn from scratch.
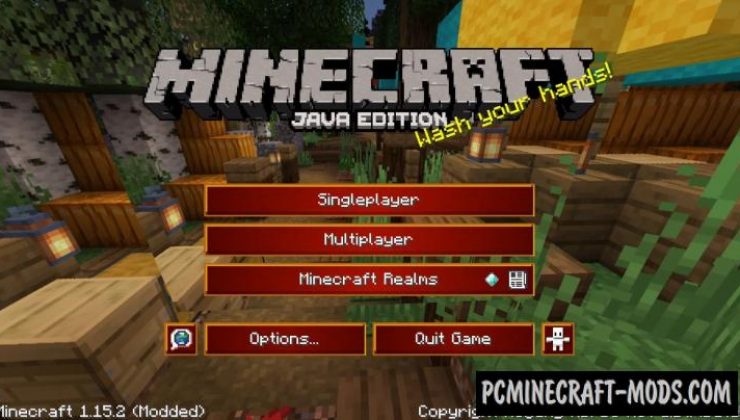
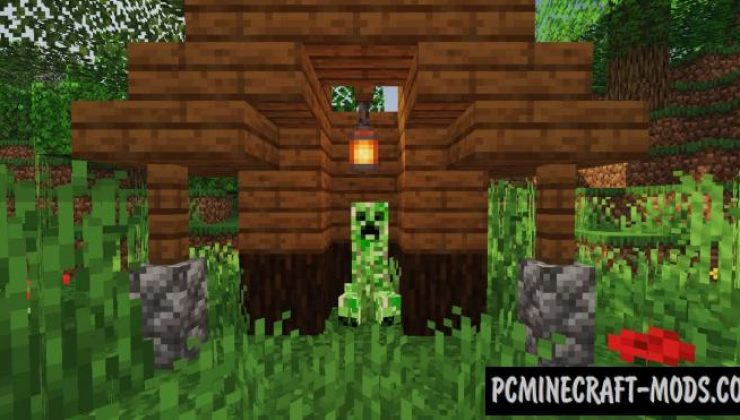
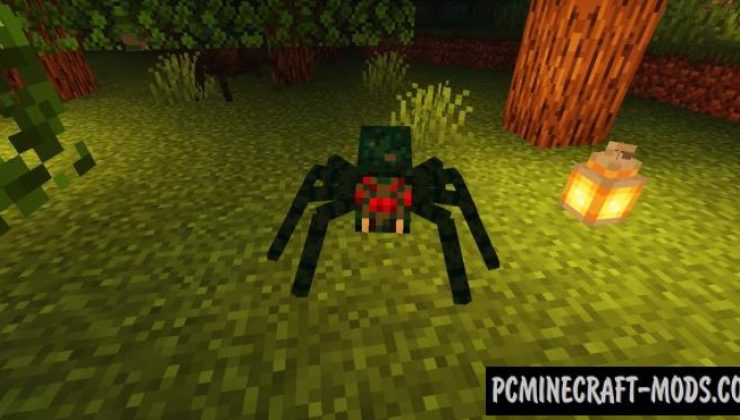
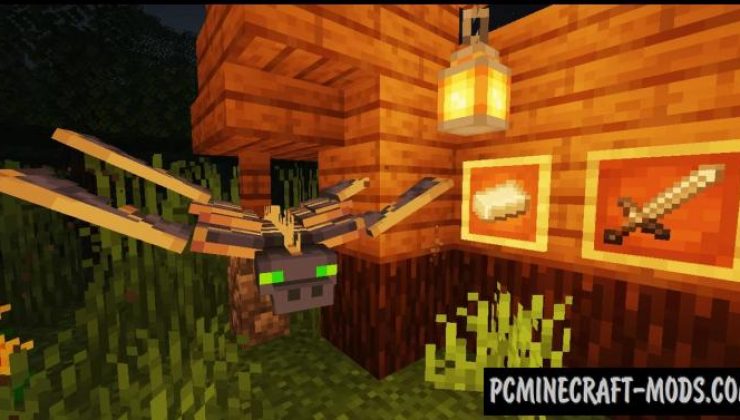
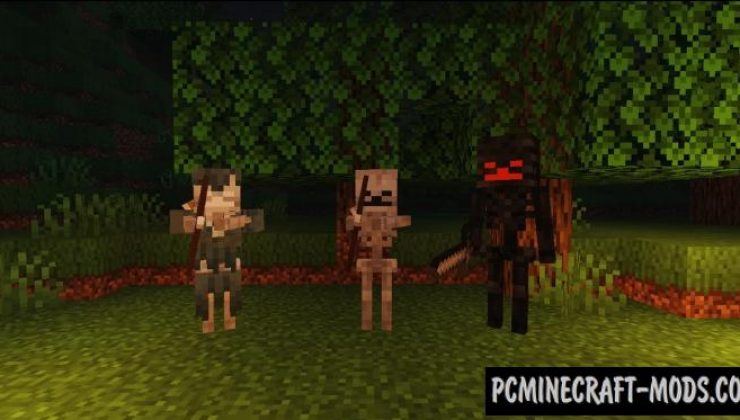
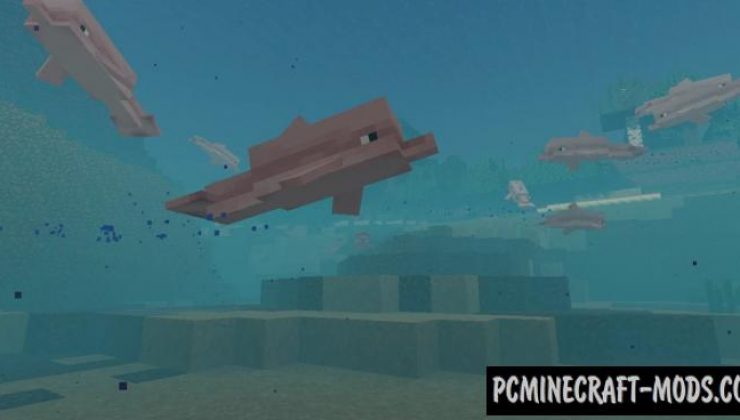
Golems get more details on the body, for example, iron golems get green creepers and red eyes, dogs and cows will start showing some emotions (Random skins), weapons and tools will turn into more detailed and realistic, new panoramic screenshots for the main menu (this shows the blocks with the best changes), a stylish loading screen, new colored trees, plants and furniture from this, added a wild boar instead of a pig (Random), and many other small changes.
Additionally, the author created two resource packs at once that differ in the number and style of the changed elements. The classic option contains less noticeable changes that do not destroy the vanilla style. GoldBirch option contains higher quality and sharp changes, it changes the skins of mobs completely, you can also notice updated biomes and many new elements on items.
New Features
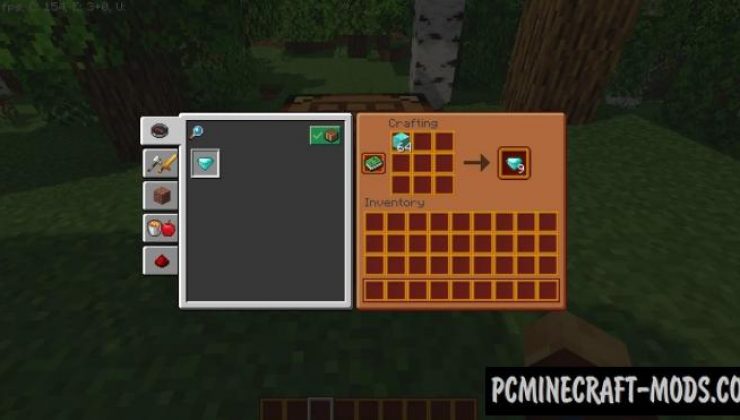
By renaming the barrel inside the anvil with the appropriate name, you can spawn and overlay several different textures on top of each other in several layers. Everything is not case sensitive. Currently there are 2 formats that are used as follows:
- For Bookshelf:
- Empty Acacia Bookshelf
- SPRUCE Bookshelf
- empty birch bookshelf
- CrImSoN BoOKsHeLf
“empty” “wood type” bookshelf
Examples:
- For Barrels:
- Warped Barrel
- crimson barrel white
- COPPER BARREL APPLE
- irON jUNgle BARRel salMON
“hoops type” “wood type” barrel “content”
-
Commands:
- Wood type: acacia, jungle, oak, spruce, birch, dark oak, crimson, warped, moonshine.
- Hoops type: iron, gold, copper.
- Content: apple, black, blue, brown, carrot, coal, cod, cyan, gray, green, light blue, light gray, lime, magenta, orange, pink, potato, purple, red, salmon, white, yellow.
Screenshots
How to install Natizval’s Enhanced Default
- Install Optifine HD
- Download the texture pack from the section below.
- Sometimes the authors create different resolutions, Bedrock (Minecraft PE) or Java versions, so choose the option that you like or that you think your graphics card can handle.
- Please note that some releases may contain bugs, incompatibilities with shaders and other graphics addons, and in some cases may cause conflicts within Optifine HD. You can try installing a previous build to fix this.
- Move the “Zip” file to the “Resourcepacks” folder.
- This folder is located at the following path:
Mac OS X:
/Users/Your Profile Name/Library/Application Support/minecraft/
Quick way to get there: Click on the desktop and then press the combination of “Command+Shift+G” keys at the same time.
Type ~/Library and press the “Enter” key.
Open the Application Support folder and then MinecraftWindows 11, 10, 8, 7:
C:\Users\Your Profile Name\AppData\Roaming\.minecraft\
Quick way to get there: Press the “Windows” key and the “R” key at the same time.
Type %appdata% and press “Enter” key or click OK. - Next, use step 14 to complete the installation.
- Launch the game client via the launcher.
- In the main menu of the game, click “Options” button.
- In the “Options” menu, select the “Resource Packs” button.
- Click on the “Open Resource Pack folder” button.
- Move the downloaded zip file to an open folder.
- Click the “Done” button.
- Your pack should have appeared in the left “Available” list, just hover over it and click on the arrow pointing to the right.
- This will move the pack to the right “Selected” list that displays the used packs or shaders and other addons.
- Select the desired resolution, desired addons and click the “Done” button again.
- ESC/Option/Video Setting/Quality/Connected Textures: Fancy
- ESC/Option/Video Setting/Quality/Custom Item: ON
- Alternatively you can use “Continuity” and “CIT Resewn”
- Now it’s loaded and ready to use in the game world!
Manual installation:
Quick installation:
Credits
Created by natzival, xalixilax

 (6 votes, average: 4.33 out of 5)
//
the 1.18.1 is not found. Only the 1.17.1
//
Fixed