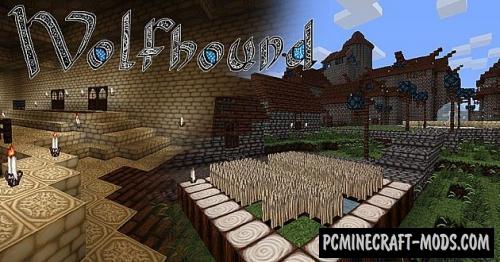
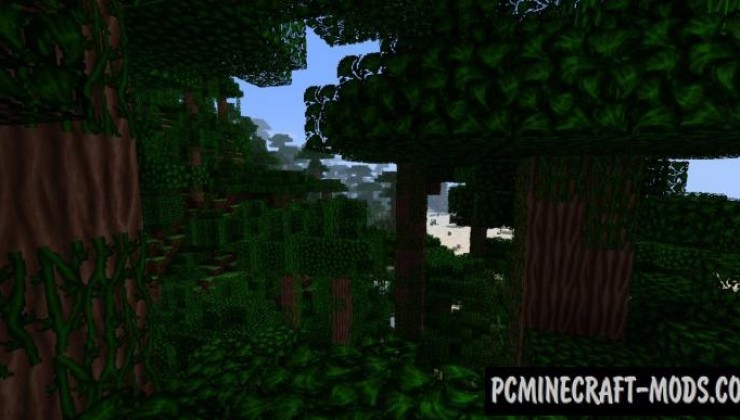
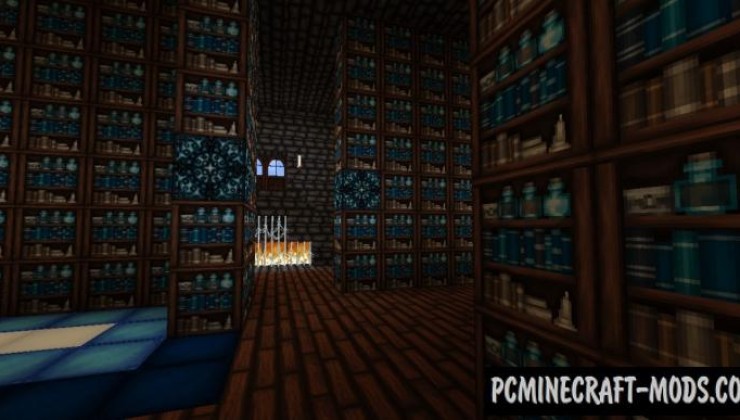
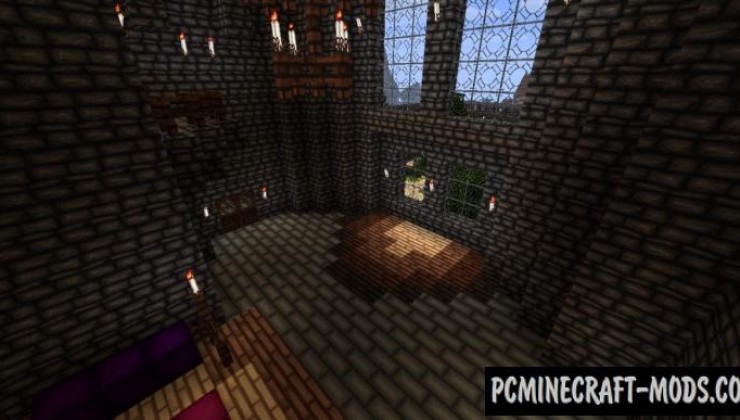
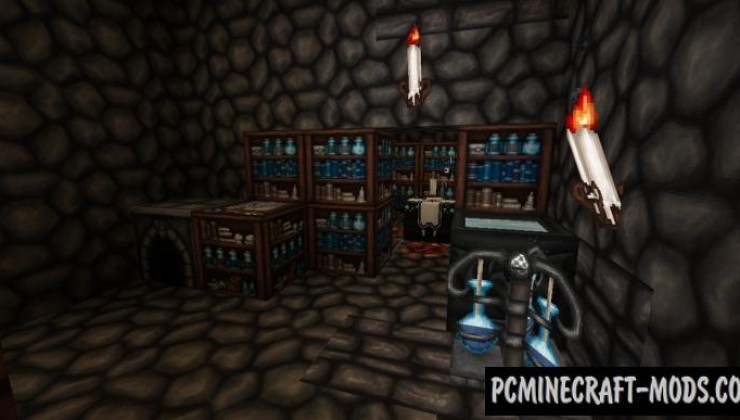
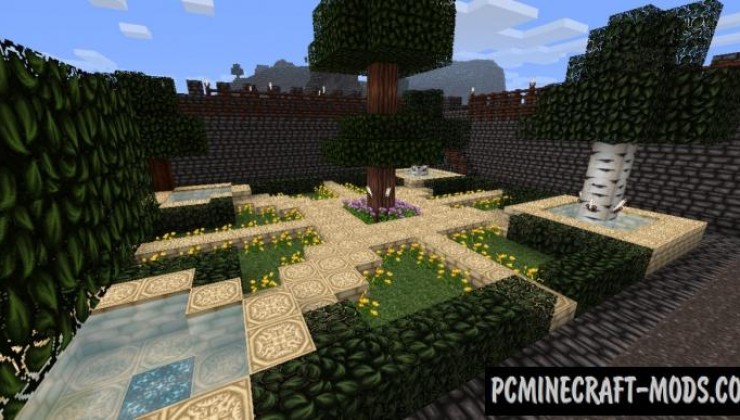
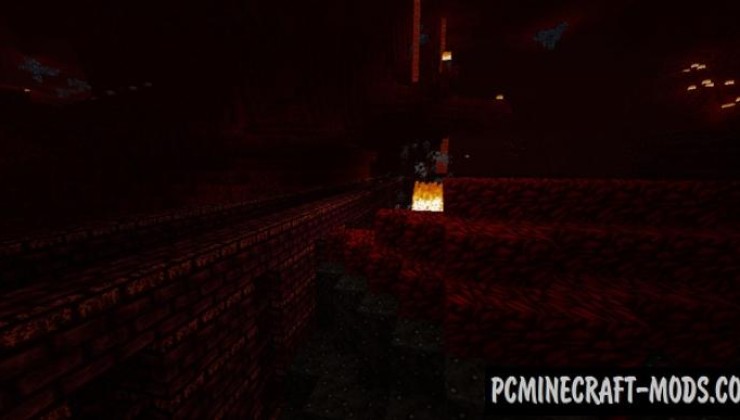
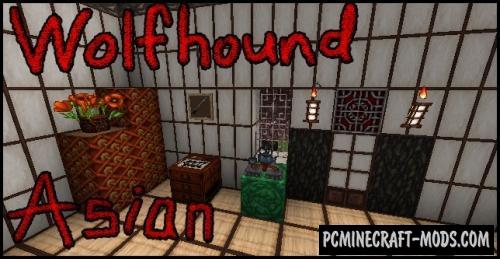
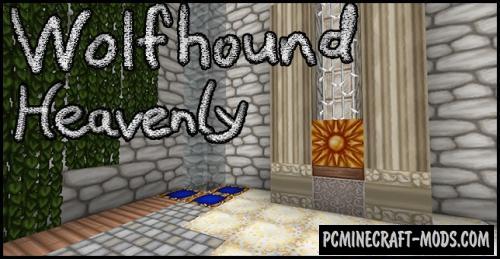
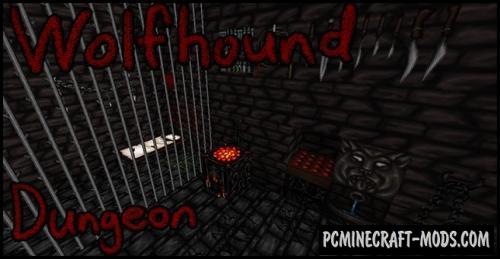
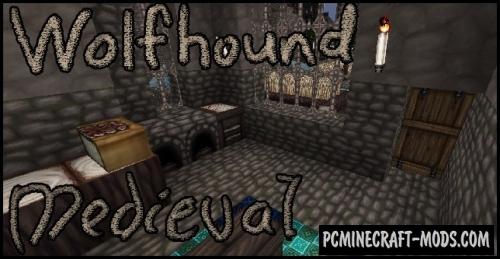
Wolfhound 1.20.1-1.19.4 is a fantastic collection of resources that will absorb you with its atmosphere and beauty in a real medieval world that is full of mythical creatures and objects. Basically, it uses a thematic design that allows you to combine any of the blocks from hundreds of other vanilla options, resulting in a building or room with magical notes of the interior and exterior.
Additionally, this is combined with popular shaders and most of the features of Optifine, so there are many reasons to praise the author and his work.
Especially pay attention to the resolution of 64 x 64 pixels. This resolution is optimal for most players, because it has an excellent graphic component both in terms of optimization and in terms of higher-quality images with a large number of FPS.
These textures are perfect for fans of castles like Hogwarts, or the fortress from the Lord of the Rings because the pack contains all the necessary improvements for frequently used blocks during the construction of such buildings.
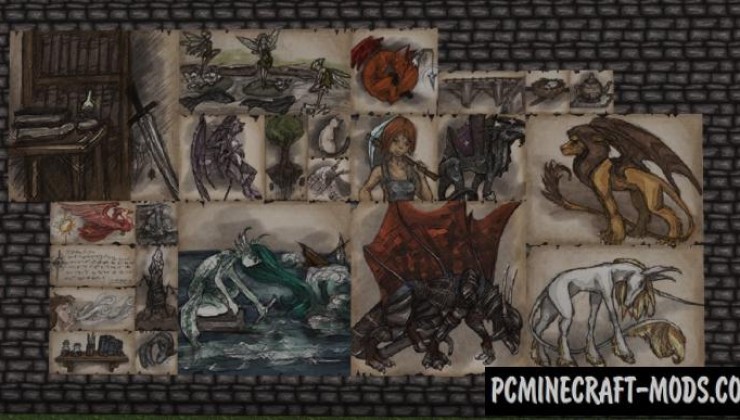
You can also get a number of innovations that will help with creative ideas, such as a new set of paintings that depict mythical creatures such as: unicorns, griffins, valkyries, mermaids and a set of pictures with the image of players who will explore different rooms in the game world.
Screenshots
Review
How to install Wolfhound
- Install Optifine HD (Not necessary but desirable)
- Download the texture pack from the section below.
- Sometimes the authors create different resolutions, Bedrock (Minecraft PE) or Java versions, so choose the option that you like or that you think your graphics card can handle.
- Please note that some releases may contain bugs, incompatibilities with shaders and other graphics addons, and in some cases may cause conflicts within Optifine HD. You can try installing a previous build to fix this.
- Move the “Zip” file to the “Resourcepacks” folder.
- This folder is located at the following path:
Mac OS X:
/Users/Your Profile Name/Library/Application Support/minecraft/
Quick way to get there: Click on the desktop and then press the combination of “Command+Shift+G” keys at the same time.
Type ~/Library and press the “Enter” key.
Open the Application Support folder and then MinecraftWindows 11, 10, 8, 7:
C:\Users\Your Profile Name\AppData\Roaming\.minecraft\
Quick way to get there: Press the “Windows” key and the “R” key at the same time.
Type %appdata% and press “Enter” key or click OK. - Next, use step 14 to complete the installation.
- Launch the game client via the launcher.
- In the main menu of the game, click “Options” button.
- In the “Options” menu, select the “Resource Packs” button.
- Click on the “Open Resource Pack folder” button.
- Move the downloaded zip file to an open folder.
- Click the “Done” button.
- Your pack should have appeared in the left “Available” list, just hover over it and click on the arrow pointing to the right.
- This will move the pack to the right “Selected” list that displays the used packs or shaders and other addons.
- Select the desired resolution, desired addons and click the “Done” button again.
- Now it’s loaded and ready to use in the game world!
Manual installation:
Quick installation:
Credits
Created by: ThistlePack
Official download link:
Downloads
Direct links:

 (8 votes, average: 4.38 out of 5)
//
I am trying to use this for a 1.16.5 server but when I click the link to download it it only shows 1.16.2 do you guys have any idea how to find one for 1.16.5