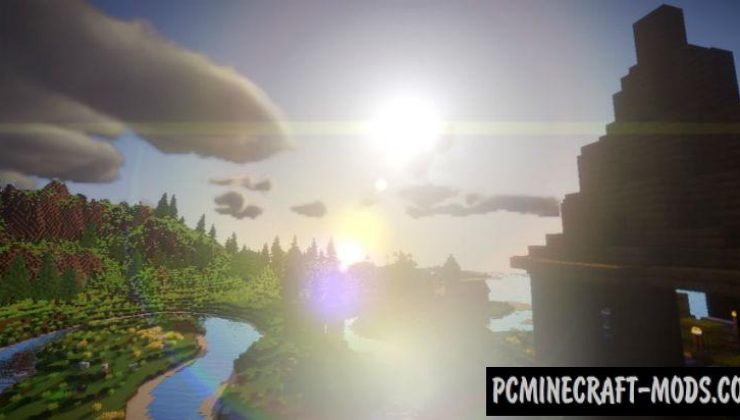
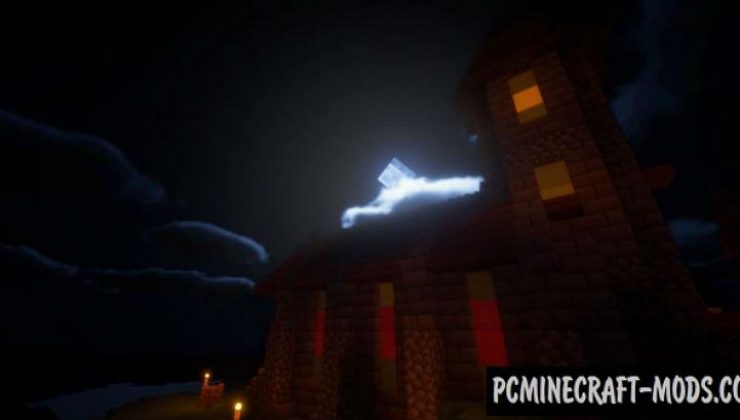
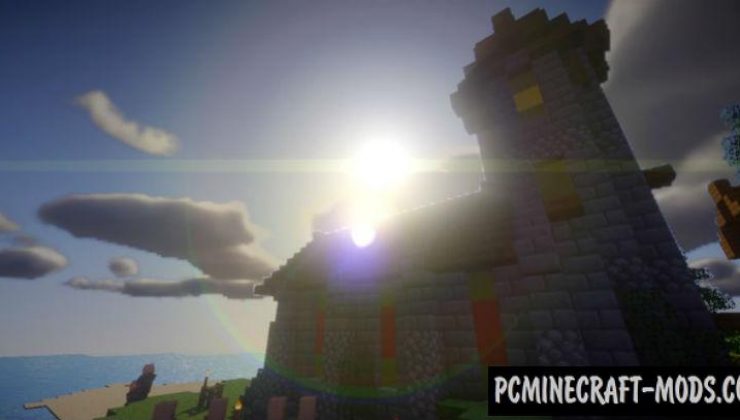
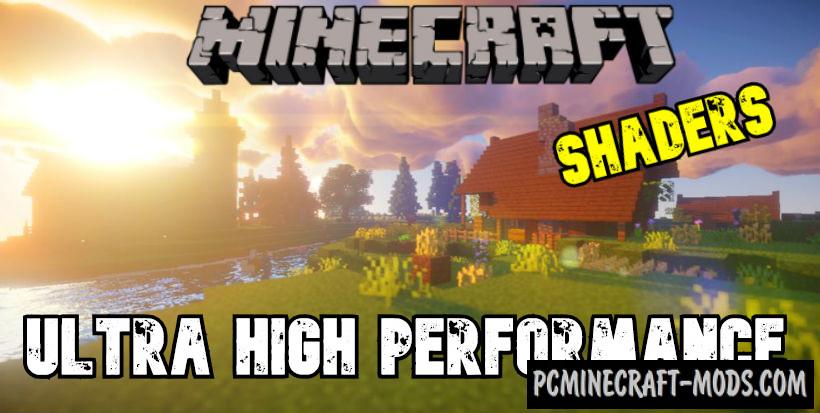
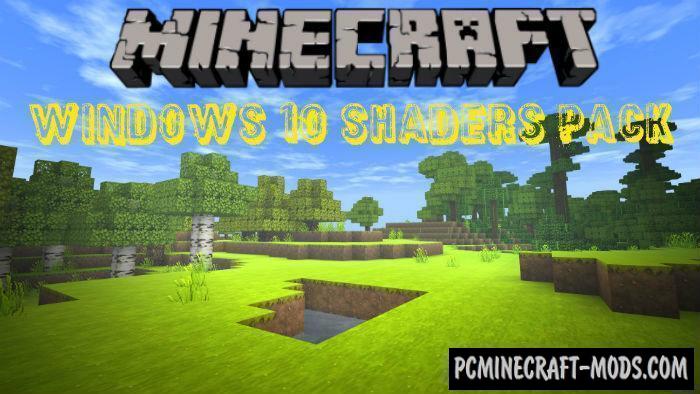
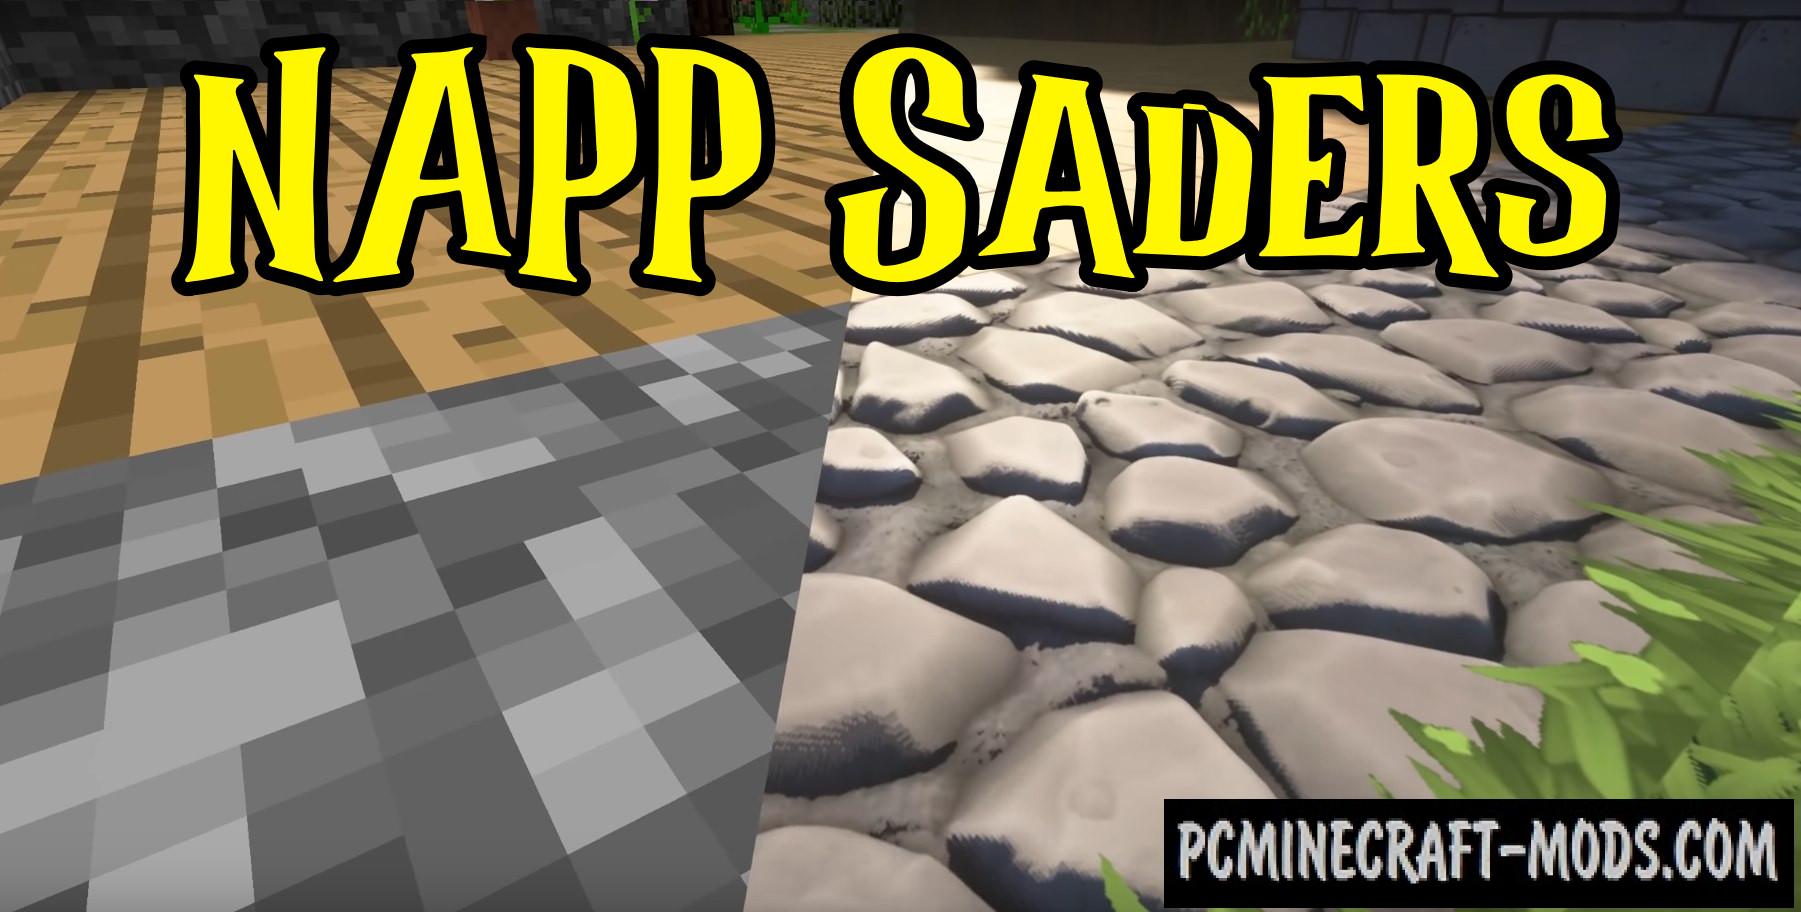
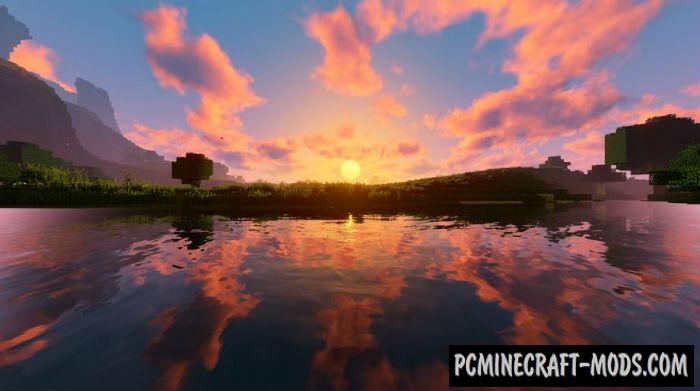
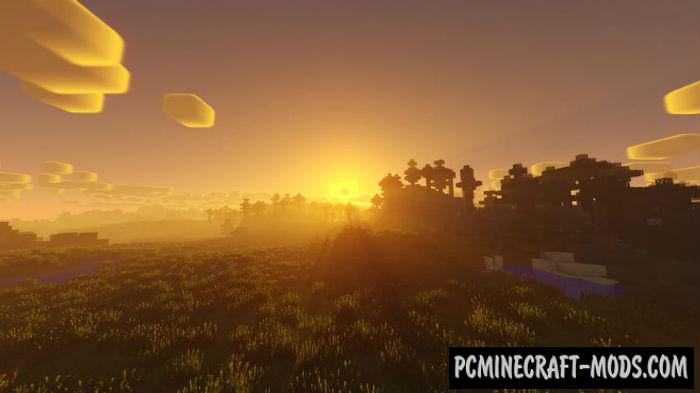
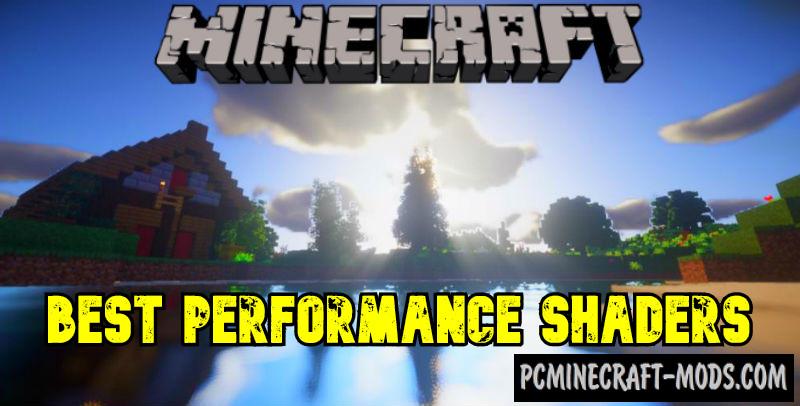
 This 1.20.2-1.19.4 shader pack includes a huge number of additional graphical features for Minecraft. The vanilla sky will be replaced with realistic moving 3D textures with random cloud generator. Shaders will add fog for different places in the game, for example over water it will be unobtrusive, in warm and winter biomes fog will be more saturated.
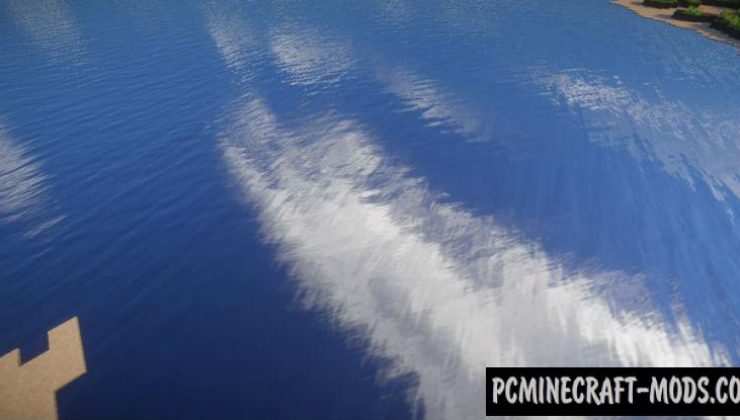
The vanilla unrealistic water will be replaced with smoothed realistic water with highlights and 3D waves. There is an algorithm to generate the refraction of light if the beam passes through the glass. Underground lighting will now be more realistic and it differs from the surface in that the particles of light will fight off the nearest block and fall so that the trajectory was realistic. The algorithm for the biome fogs has some logic and this will not be generated in the builds, because in buildings the level of humidity is minimal and this rule applies to other vanilla buildings.
Best Performance Shaders Features
- Screen Space Godrays, 2D Godrays, Lower quality GR that are only visible when looking at the sun.
- Light Emission from emissive objects in your hand.
- Increased fog in the mornings.
- Blurred vision when the camera moves fast, your eyes do this naturally so this is disabled
- This is used to counteract the effects of old lighting being enabled, if it is not fully removed in the version of optifine.
- Ice DepthFog, ice Transparency and ice Refract
- Underwater Fog
Screenshots
How to install Best Performance Shaders?
- Install the Optifine HD
- Download the shader pack from the section below.
- Sometimes the authors create different simplified or advanced, Bedrock (Minecraft PE) or Java versions, so choose the option that you like or that you think your graphics card can handle.
- Please note that some releases may contain bugs, incompatibilities with resource packs and other graphics addons, and in some cases may cause conflicts within Optifine HD. You can try installing a previous build to fix this.
- Move the “Zip” file to the “Shaderpacks” folder.
- This folder is located at the following path:
Mac OS X:
/Users/Your Profile Name/Library/Application Support/minecraft/
Quick way to get there: Click on the desktop and then press the combination of “Command+Shift+G” keys at the same time.
Type ~/Library and press the “Enter” key.
Open the Application Support folder and then MinecraftWindows 11, 10, 8, 7:
C:\Users\Your Profile Name\AppData\Roaming\.minecraft\
Quick way to get there: Press the “Windows” key and the “R” key at the same time.
Type %appdata% and press “Enter” key or click OK. - Next, use step 14 to complete the installation.
- Launch the game client via the launcher.
- In the main menu of the game, click “Options” button.
- In the “Options” menu, select the “Resource Packs” button.
- Click on the “Open Resource Pack folder” button.
- Move the downloaded zip file to an open folder.
- Click the “Done” button.
- Your pack should have appeared in the left “Available” list, just hover over it and click on the arrow pointing to the right.
- This will move the pack to the right “Selected” list that displays the used packs or shaders and other addons.
- Select the desired resolution, desired addons and click the “Done” button again.
- Now it’s loaded and ready to use in the game world!
Manual installation:
Quick installation:


 (8 votes, average: 3.50 out of 5)