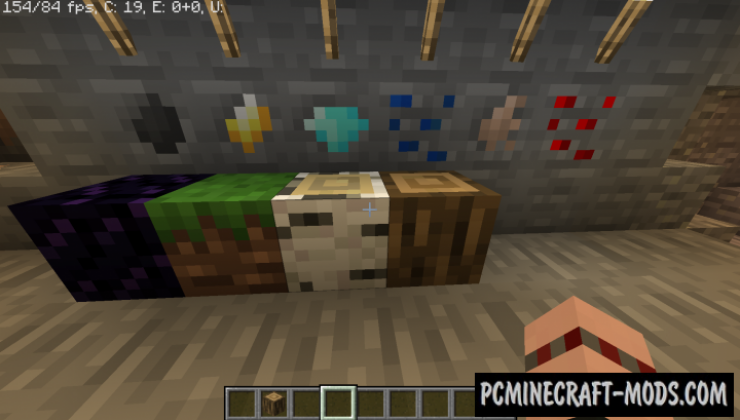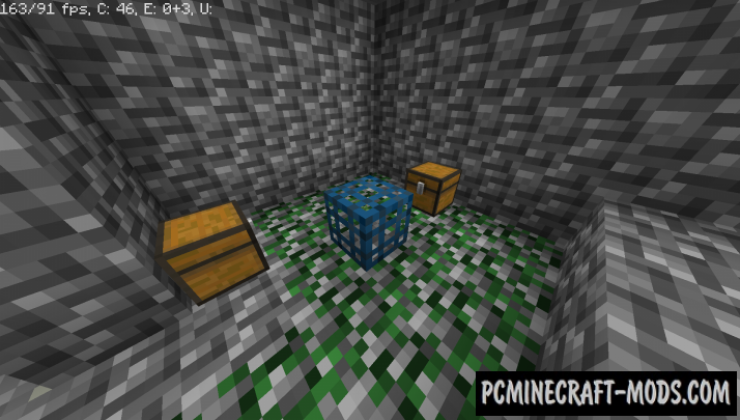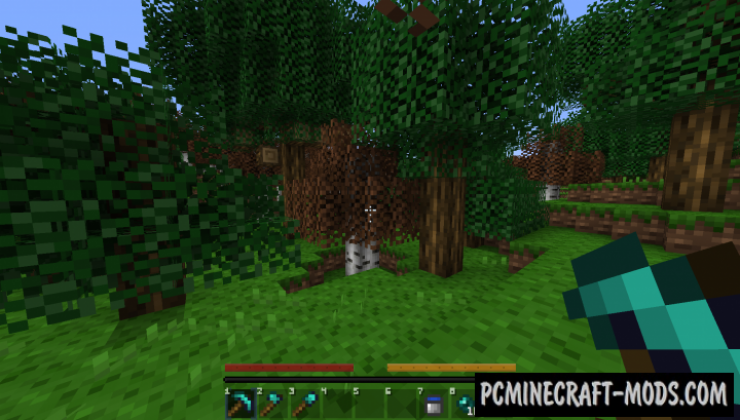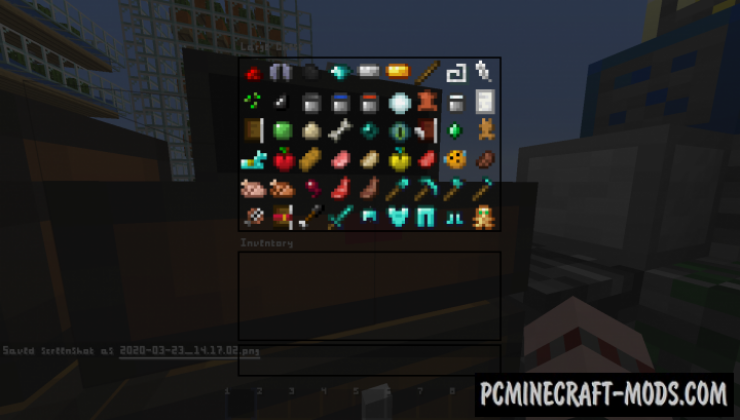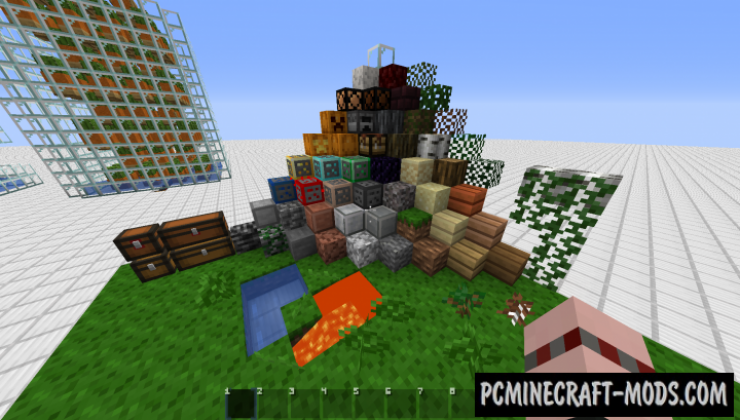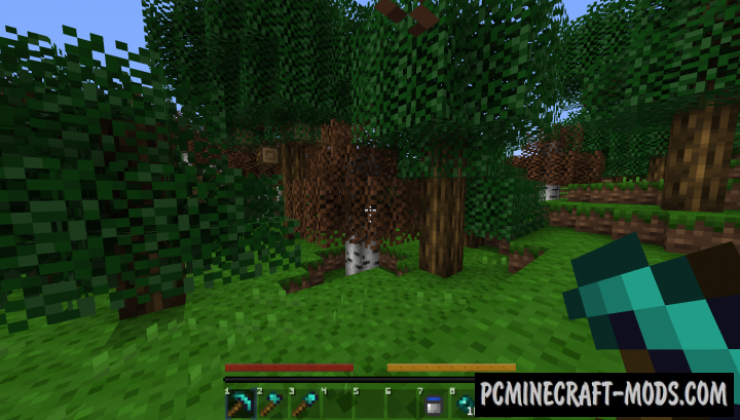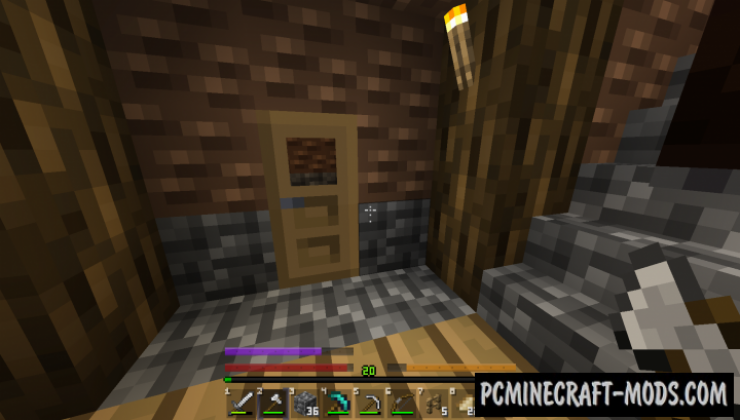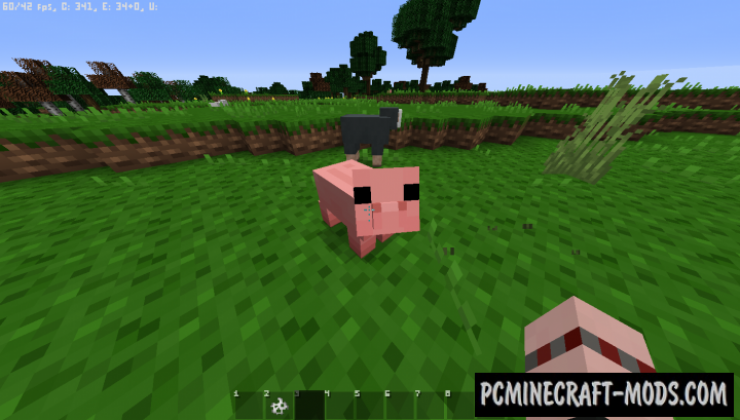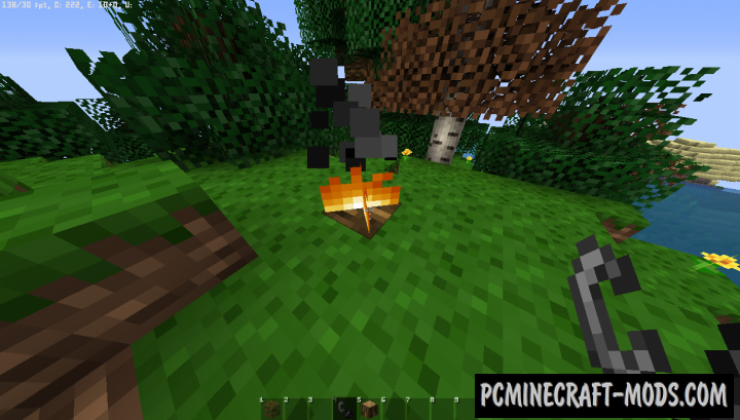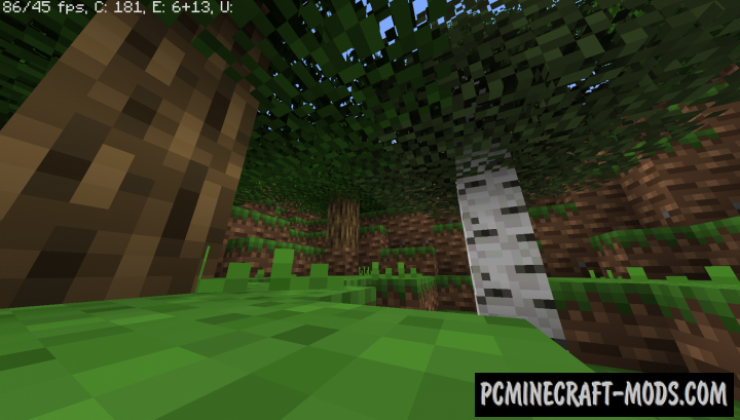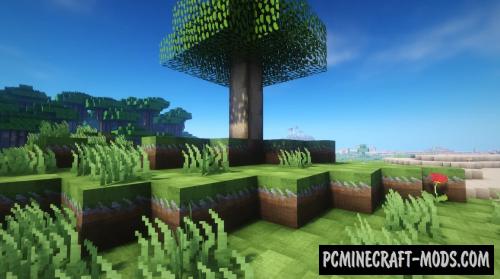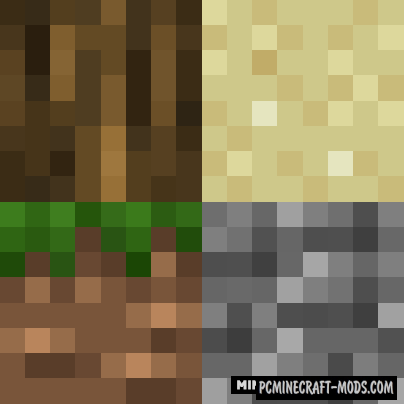
Here is a fairly simple resource package that has a reduced resolution of exactly two times, which is 8 by 8 pixels! Bytecraft 1.20.1-1.19.4 will be able to reduce lags as much as possible and make your game more productive. This will make it very comfortable to play your favorite Minecraft on old computers and, of course, will give you a slight advantage in PvP battles! Many players will love this pack!
The author has changed every frequently used block or object so that they all have intuitive textures, but the environmental blocks and other natural blocks have not changed much (the effect of simplification is noticeable only at close range). It is worth paying attention to the improved HUD, it has a cleaner appearance, this style is used in many PvP packs.
Now your gameplay will get a lot of improvements that will remove such disadvantages as long loading chunks, micro lags during the display of a large number of microparticles, and you will also be able to more quickly determine the type of mobs or precious ore from a long distance. All these features are most suitable for multiplayer servers, but you can also use this in single player mode to get more performance from the graphics card.
Screenshots
How to install Bytecraft
- Install Optifine HD (Not necessary but desirable)
- Download the texture pack from the section below.
- Sometimes the authors create different resolutions, Bedrock (Minecraft PE) or Java versions, so choose the option that you like or that you think your graphics card can handle.
- Please note that some releases may contain bugs, incompatibilities with shaders and other graphics addons, and in some cases may cause conflicts within Optifine HD. You can try installing a previous build to fix this.
- Move the “Zip” file to the “Resourcepacks” folder.
- This folder is located at the following path:
Mac OS X:
/Users/Your Profile Name/Library/Application Support/minecraft/
Quick way to get there: Click on the desktop and then press the combination of “Command+Shift+G” keys at the same time.
Type ~/Library and press the “Enter” key.
Open the Application Support folder and then MinecraftWindows 11, 10, 8, 7:
C:\Users\Your Profile Name\AppData\Roaming\.minecraft\
Quick way to get there: Press the “Windows” key and the “R” key at the same time.
Type %appdata% and press “Enter” key or click OK. - Next, use step 14 to complete the installation.
- Launch the game client via the launcher.
- In the main menu of the game, click “Options” button.
- In the “Options” menu, select the “Resource Packs” button.
- Click on the “Open Resource Pack folder” button.
- Move the downloaded zip file to an open folder.
- Click the “Done” button.
- Your pack should have appeared in the left “Available” list, just hover over it and click on the arrow pointing to the right.
- This will move the pack to the right “Selected” list that displays the used packs or shaders and other addons.
- Select the desired resolution, desired addons and click the “Done” button again.
- Now it’s loaded and ready to use in the game world!
Manual installation:
Quick installation:
Created by: ItsStitchyYT


 (13 votes, average: 3.77 out of 5)