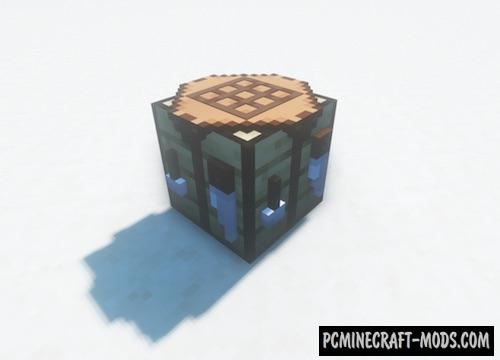
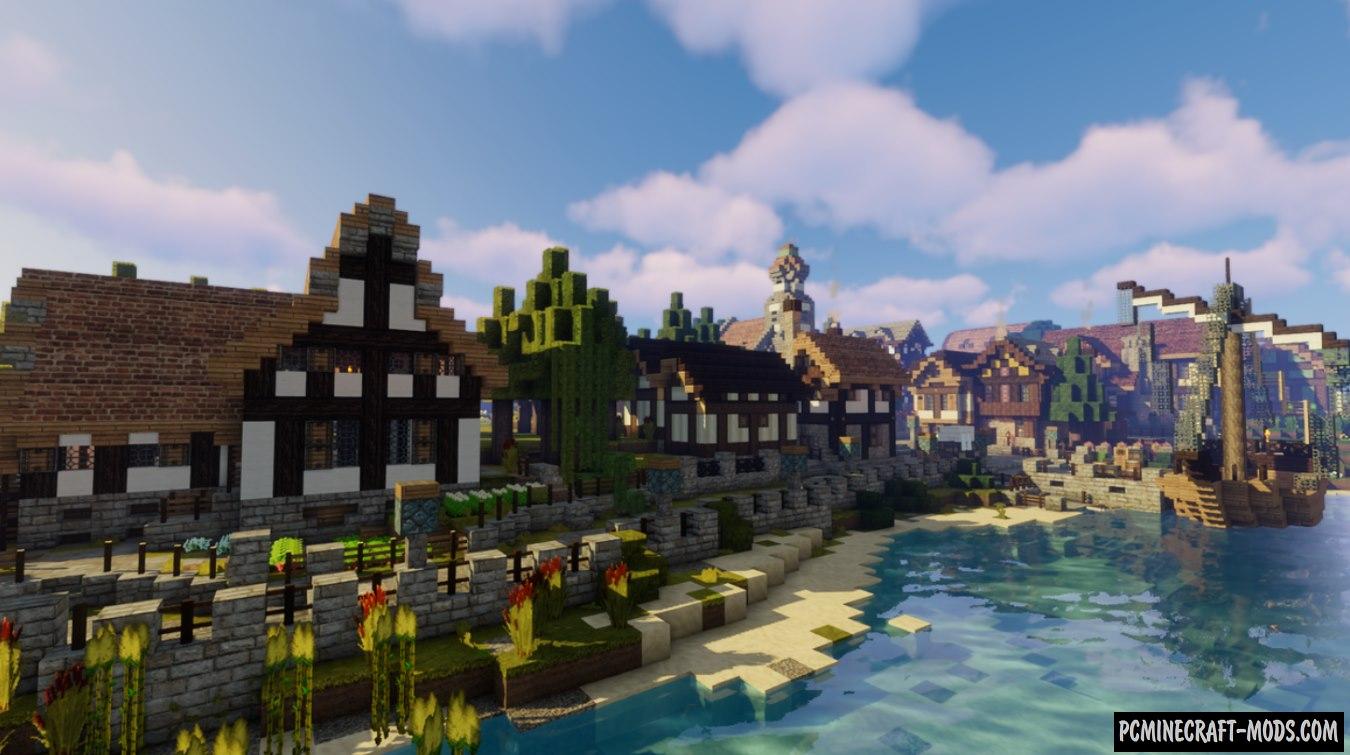
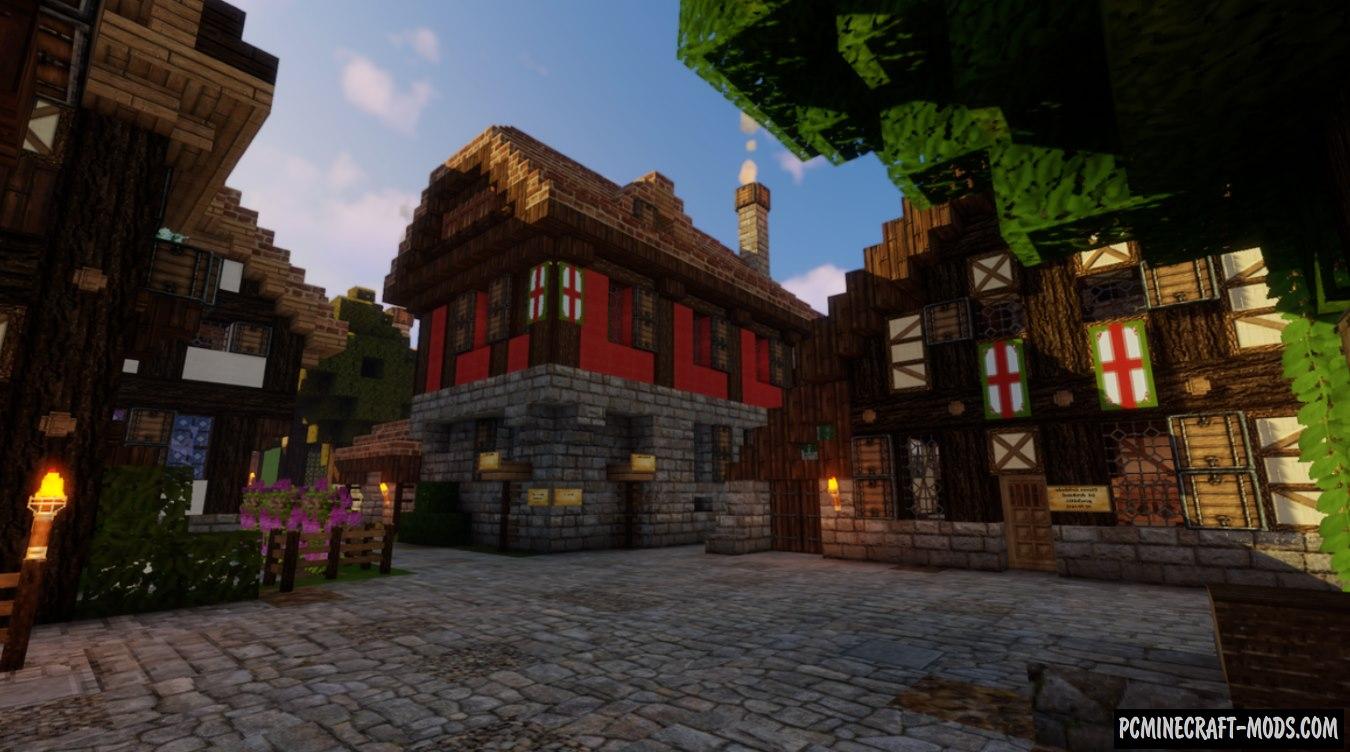
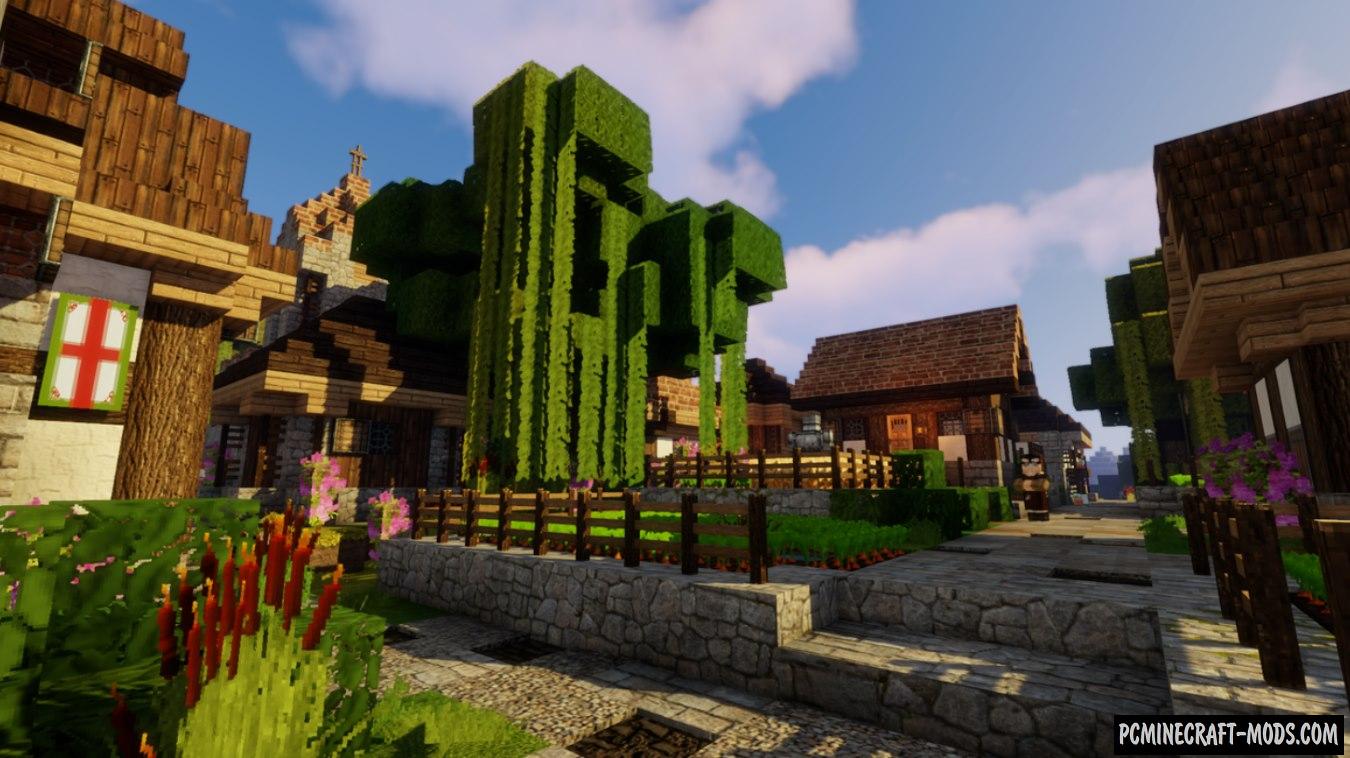
Here is another brand new 16×16 resource pack that will give your game the best and realistic 3D models of some blocks. Please note that Classic 3D 1.20.2-1.20.1 does not change vanilla textures, but only adds full 3D models to them!
But still, using this resource you will slightly diversify your usual gameplay and it will only become graphically richer. Now all the frequently used blocks will look even more beautiful and if you look very closely you will see a lot of new 3D elements. This is very nice if you use certain blocks and each time you consider something new.
Basically, it adds a bulge for frequently-viewed elements on the surface of the blocks, such as a three-dimensional grid on the workbench, a face shape for a pumpkin, micro ore particles on blocks of precious ore, three-dimensional 3D rails, three-dimensional lattice windows for doors and hatches, realistic 3D mushrooms and other vegetation, imitation of tree bark on blocks of “Tree Trunk”, realistic torches and many other both decorative and logical improvements for blocks with tools.
Screenshots
How to install Classic 3D
- Install Optifine HD (Not necessary but desirable)
- Download the texture pack from the section below.
- Sometimes the authors create different resolutions, Bedrock (Minecraft PE) or Java versions, so choose the option that you like or that you think your graphics card can handle.
- Please note that some releases may contain bugs, incompatibilities with shaders and other graphics addons, and in some cases may cause conflicts within Optifine HD. You can try installing a previous build to fix this.
- Move the “Zip” file to the “Resourcepacks” folder.
- This folder is located at the following path:
Mac OS X:
/Users/Your Profile Name/Library/Application Support/minecraft/
Quick way to get there: Click on the desktop and then press the combination of “Command+Shift+G” keys at the same time.
Type ~/Library and press the “Enter” key.
Open the Application Support folder and then MinecraftWindows 11, 10, 8, 7:
C:\Users\Your Profile Name\AppData\Roaming\.minecraft\
Quick way to get there: Press the “Windows” key and the “R” key at the same time.
Type %appdata% and press “Enter” key or click OK. - Next, use step 14 to complete the installation.
- Launch the game client via the launcher.
- In the main menu of the game, click “Options” button.
- In the “Options” menu, select the “Resource Packs” button.
- Click on the “Open Resource Pack folder” button.
- Move the downloaded zip file to an open folder.
- Click the “Done” button.
- Your pack should have appeared in the left “Available” list, just hover over it and click on the arrow pointing to the right.
- This will move the pack to the right “Selected” list that displays the used packs or shaders and other addons.
- Select the desired resolution, desired addons and click the “Done” button again.
- Now it’s loaded and ready to use in the game world!
Manual installation:
Quick installation:
Created by: RyanGar46

 (55 votes, average: 4.20 out of 5)
//
I’ve really wanted to get into the creation of 3D models as I see some personal improvements I could make on your already AMAZING resource pack, but I have zero knowledge at all on how to do this sort of thing. If it wouldn’t be too much trouble, could you contact me on instagram @dizznotdizzy and answer a few of my questions? I would really appreciate it!!!