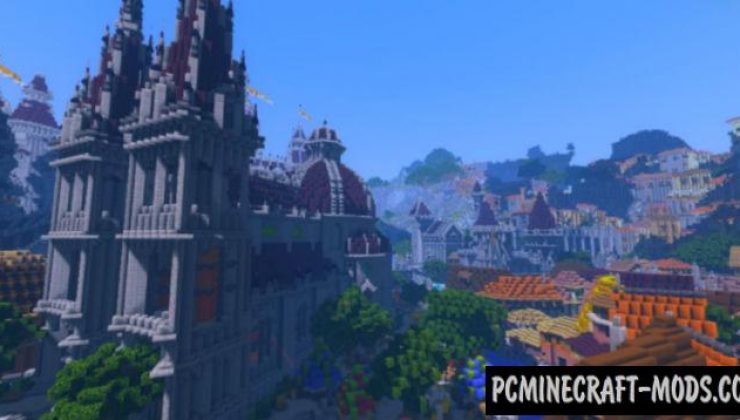
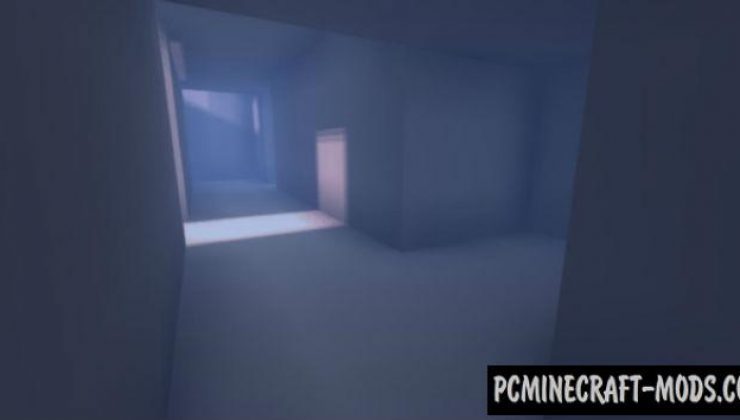
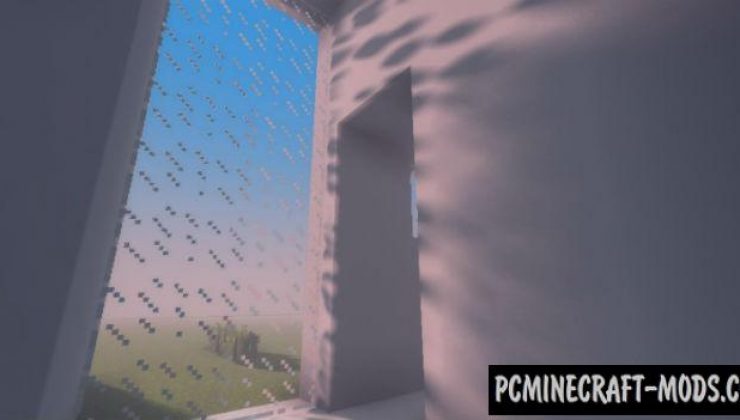
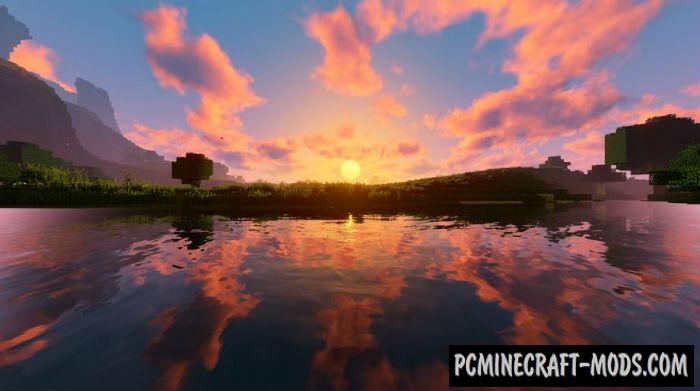
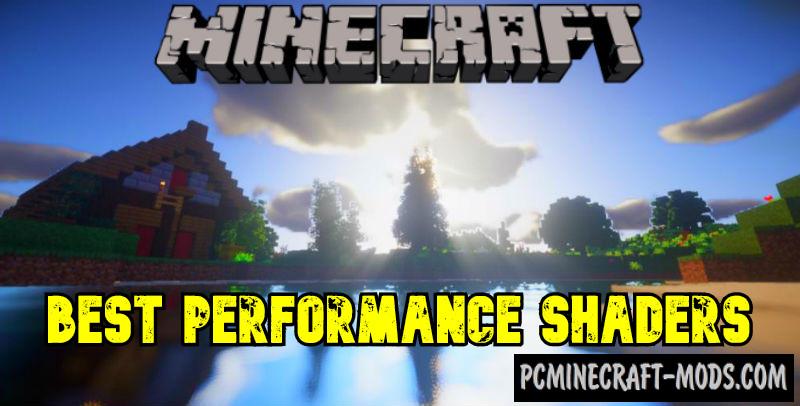
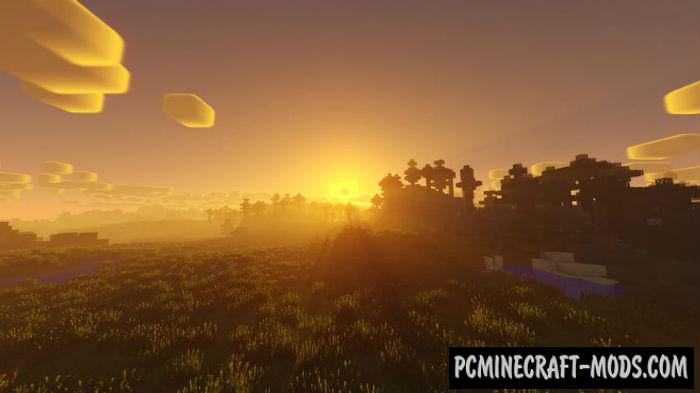
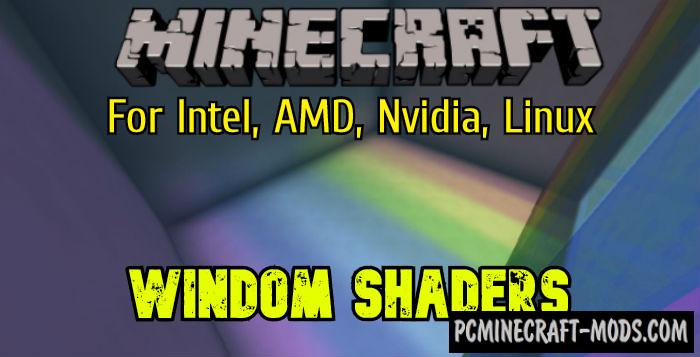
 Windom 1.20.1-1.19.4 is a perfectly optimized shader pack for the most popular and weak processors: Intel, nVidia, Linux and AMD. In Minecraft it will work very quickly and efficiently, the algorithm for generating shadows and custom light does not have any extra values and this makes the Shader pack very fast. The author had to add a blur effect so that you do not notice some defects, but it is still a great option for weak processors.
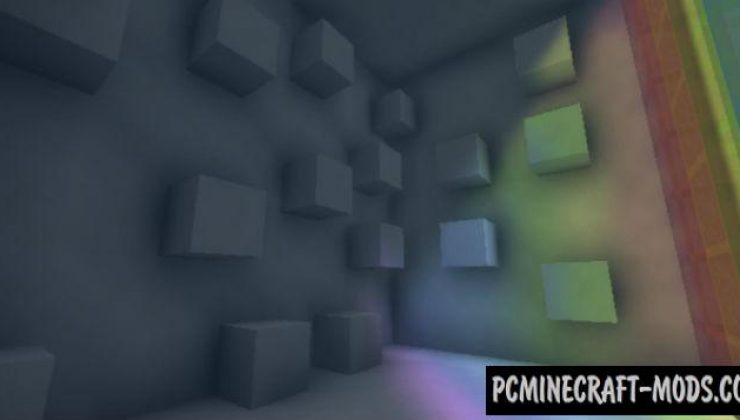
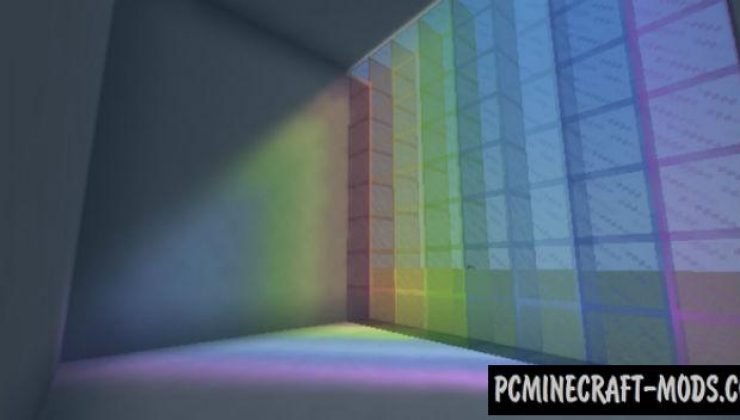
There is an interesting effect associated with colored glasses, for example, if the light passes through the green glass, then on the back side you will see a green shadow. Also, the Shader algorithm includes taking into account various obstacles on the blocks of glass, for example, there may be scratches and indoors you will see dark areas. This Shader pack is best used in the city or castle, because you can notice the fog that is peculiar only to the streets of a big city or smoky rooms or bars.
Screenshots
How to install Windom Shaders?
- Download and install Sodium or Optifine HD
- Download the shader pack from the section below.
- Sometimes the authors create different simplified or advanced, Bedrock (Minecraft PE) or Java versions, so choose the option that you like or that you think your graphics card can handle.
- Please note that some releases may contain bugs, incompatibilities with resource packs and other graphics addons, and in some cases may cause conflicts within Optifine HD. You can try installing a previous build to fix this.
- Unpack the “Zip” file in the “Shaderpacks” folder.
- This folder is located at the following path:
Mac OS X:
/Users/Your Profile Name/Library/Application Support/minecraft/
Quick way to get there: Click on the desktop and then press the combination of “Command+Shift+G” keys at the same time.
Type ~/Library and press the “Enter” key.
Open the Application Support folder and then MinecraftWindows 11, 10, 8, 7:
C:\Users\Your Profile Name\AppData\Roaming\.minecraft\
Quick way to get there: Press the “Windows” key and the “R” key at the same time.
Type %appdata% and press “Enter” key or click OK. - For GLSL Shaders: Click on “Shaders”, choose the desired Shader and click “Done”
- For OptiFine: In settings, click on “graphics options” -> “Shaders”, choose the desired Shader and click “Done”
- Now it’s loaded and ready to use in the game world!
Manual installation:
Quick installation:


